be quiet! re-emerge on the liquid CPU cooling market with the Pure Loop. Can the 240mm model offer decent thermal and acoustic performance?

Product on Review: Pure Loop 240
Manufacturer: be quiet!
Street Price: £111 GBP | £95 USD | $150 AUD
be quiet! has always been associated to maintaining a degree of functionality. Their very name endorses this fact and for a number of years regardless of temperature performance figures, their cooling products have always been about achieving low-noise emission.
This month be quiet! stepped back into the CPU cooling game with a brand new set of liquid coolers called Pure Loop. This new lineup offers varying sizes ranging from 120mm, all the way through to 360mm.
Rather than opting for a CoolIT or Asetek designed pump, this time we have a KD Industrial solution – which is decoupled and has shifted from the CPU block to reside between it and the radiator. Pure Loop is destined for users who want a slice of liquid CPU cooling action, without the glitz of RGB lighting and therefore the heavy price-tag.
Have they cut any corners? Let’s find out!
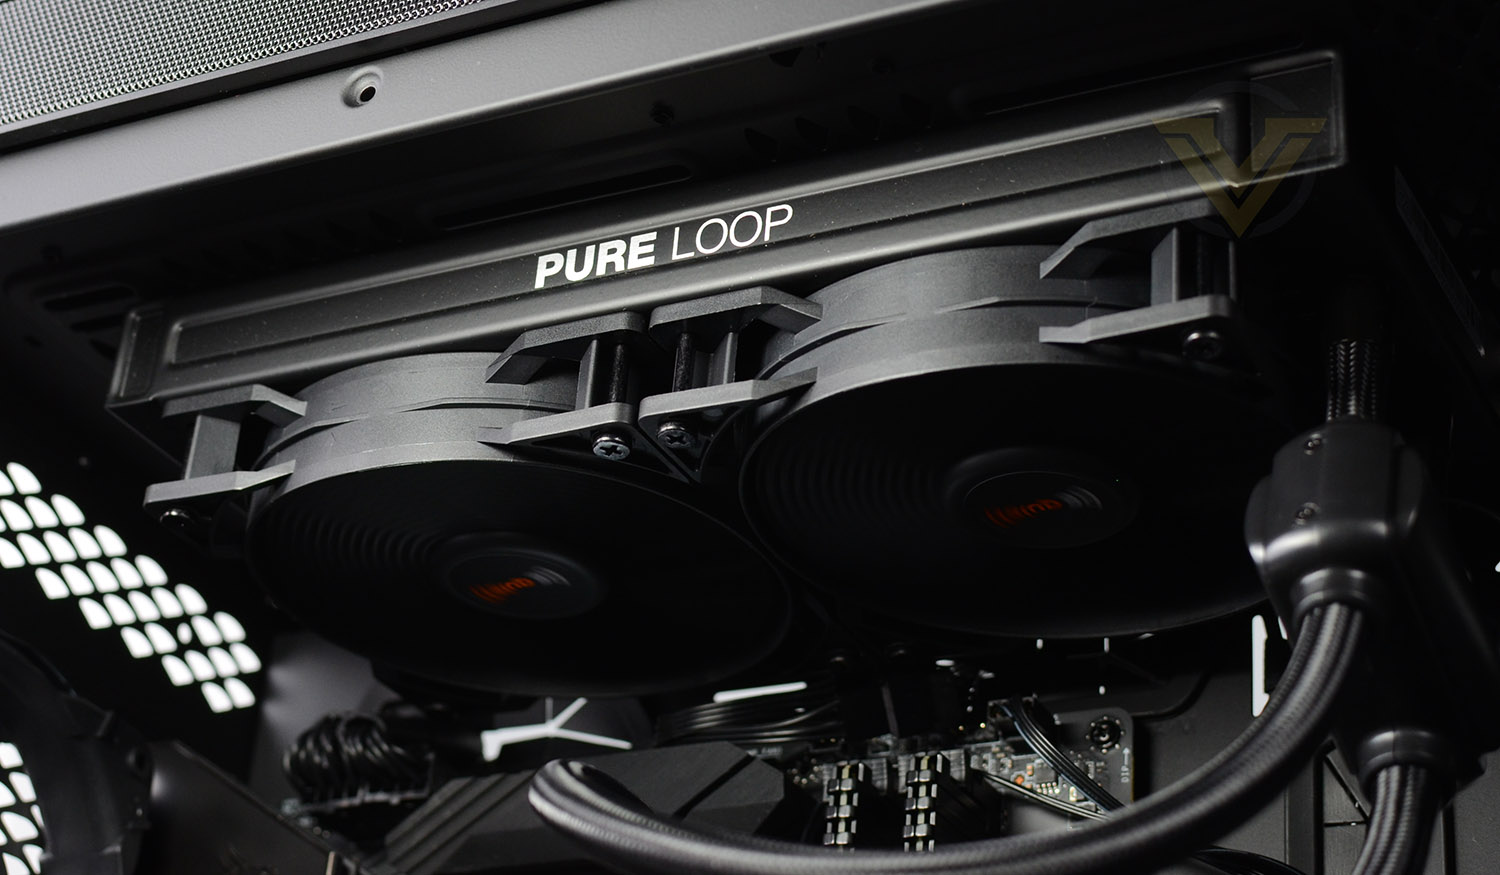
be quiet! On their Pure Loop
Pure Loop is the water cooling unit of choice for all price-conscious users that seek high performance and silent operation. Numerous features like the doubly decoupled pump and the be quiet! Pure Wings 2 fans make the Pure Loop silent and reliable, while the white LED illumination and the all-black design set high standards in appearance.
Technical Specifications
Below are the technical specifications surrounding the Pure Loop 240mm, directly from be quiet!:
Model
Pure Loop 240mm
Dimensions radiator, incl. fan
(H x W x D), (mm) 277 x 120 x 52
Total weight (kg)
1.05
Socket compatibility
Intel 1200 / 2066 / 1150 / 1151 / 1155 / 2011(-3) square ILM;
AMD: AM4 / AM3(+)
Fan model, number
2x Pure Wings 2 120mm PWM high-speed
Noise level (dB(A))
@ 25 % / 50% /100% rpm 19 / 26.6 / 39.5
Pump speed (rpm)
5500
Pump connector 3-pin
Tube length (mm)
400
Refill port
✓
Pure Loop 240mm
Dimensions radiator, incl. fan
(H x W x D), (mm) 277 x 120 x 52
Total weight (kg)
1.05
Socket compatibility
Intel 1200 / 2066 / 1150 / 1151 / 1155 / 2011(-3) square ILM;
AMD: AM4 / AM3(+)
Fan model, number
2x Pure Wings 2 120mm PWM high-speed
Noise level (dB(A))
@ 25 % / 50% /100% rpm 19 / 26.6 / 39.5
Pump speed (rpm)
5500
Pump connector 3-pin
Tube length (mm)
400
Refill port
✓
Packaging & Bundle
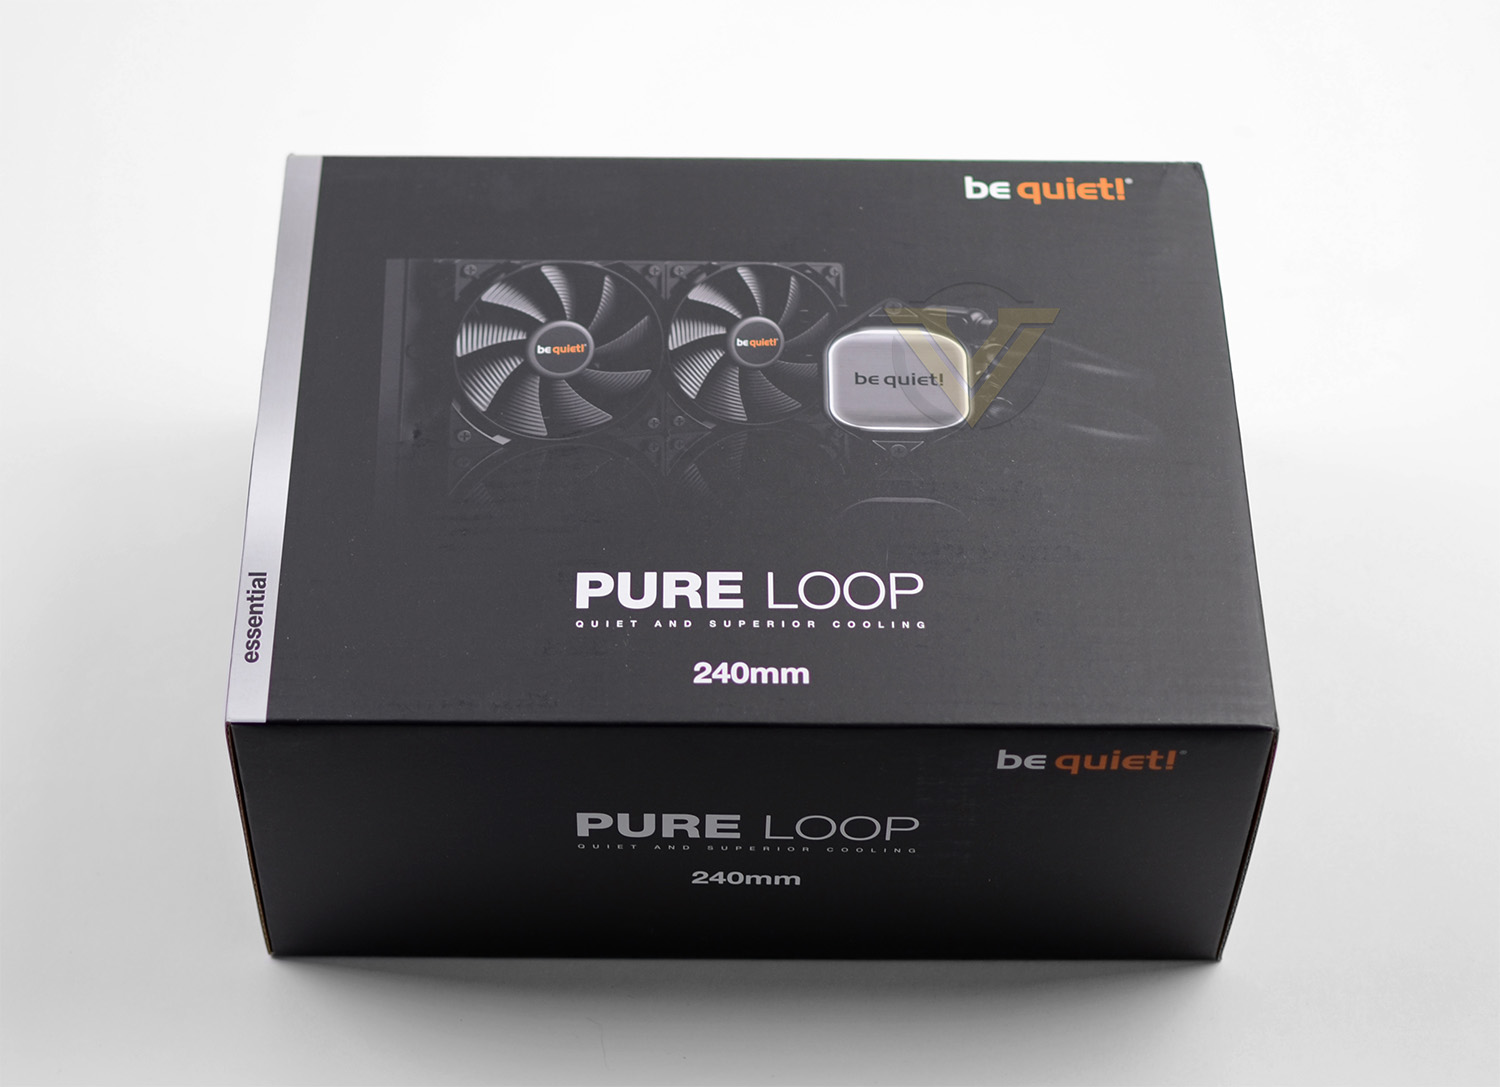
In true be quiet! fashion, the Pure Loop is presented in a nicely designed box which shows a depiction of the cooler. Over on the reverse we have a rundown of the significant features, along with the technical specifications which we listed on the previous page.
Inside this box, all of the accessories are neatly packaged and well-protected.
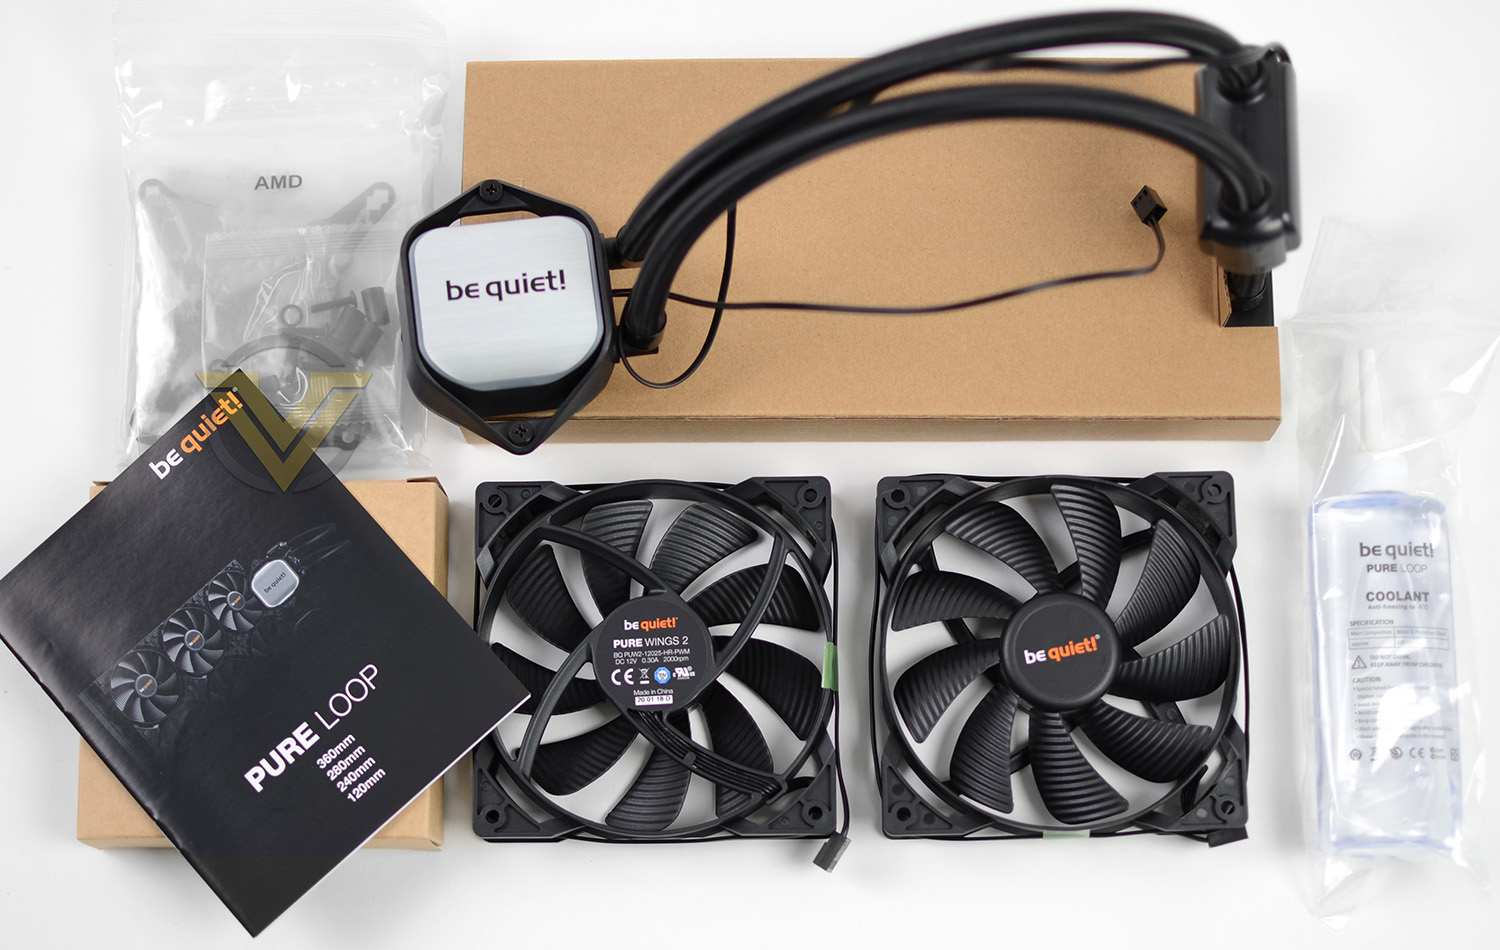
There are quite a number of included accessories which form the bundle for Pure Loop. They are as follows:
– Radiator/pump
– 2x Pure Wings 2 120mm fans
– Mounting kit for Intel/AMD platforms
– Coolant re-fill bottle
– User manual
To our knowledge, this is the first-time coolant has been provided with a CPU cooler but it’s a great idea since over time fluid within the radiator will disappear. Having the right solution to re-fill means you no longer need to seek out a replacement cooler. (There is a re-fill point at the end of the radiator).
Closer Look
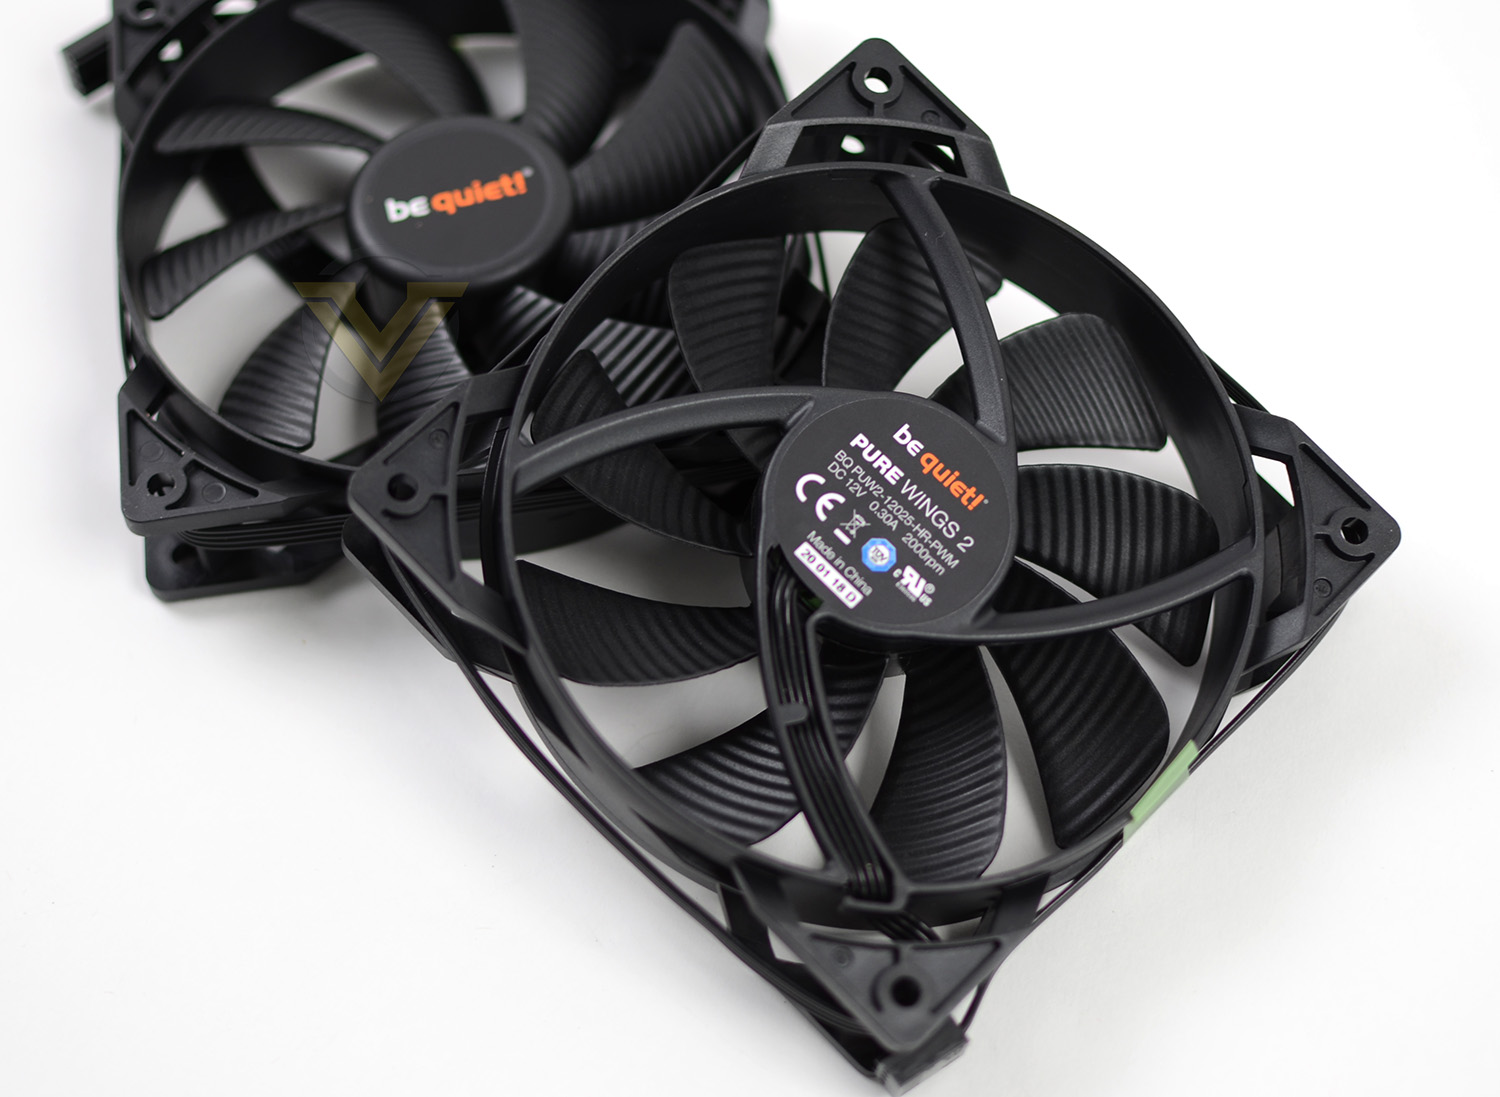
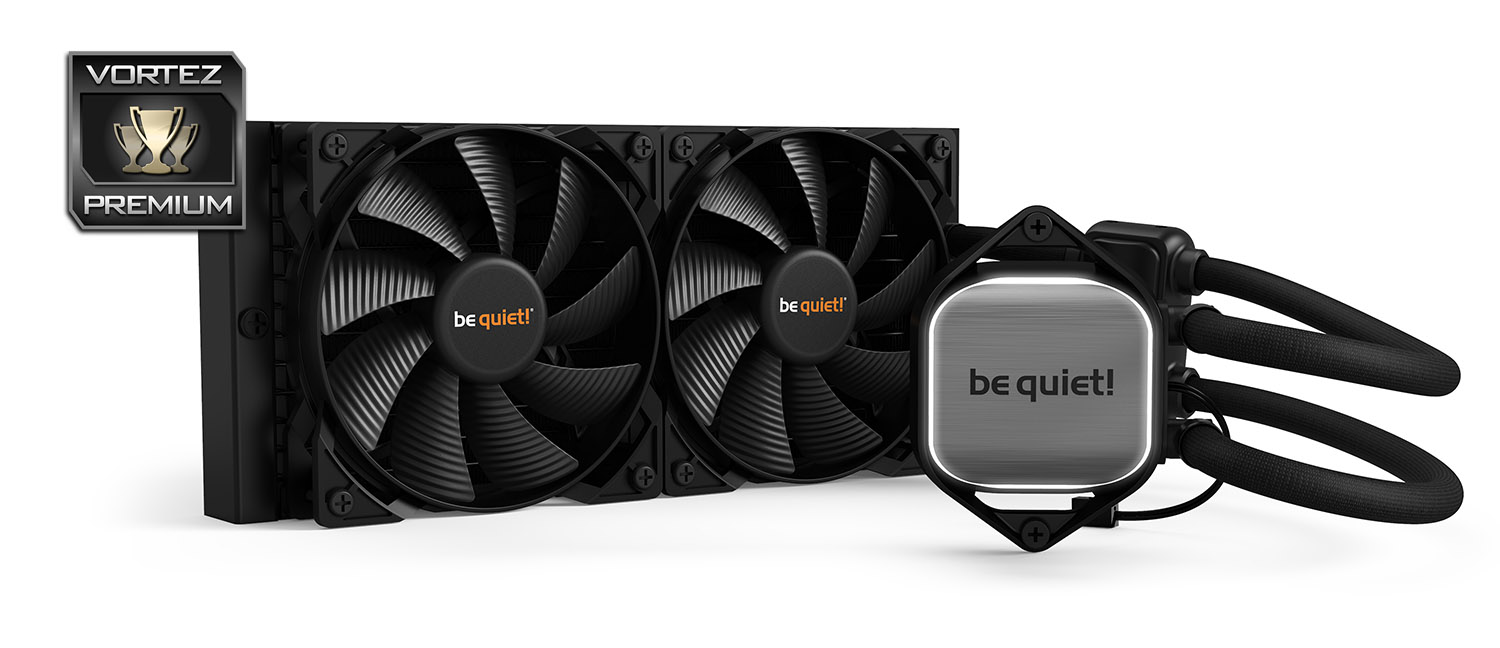
be quiet! provide two cooling fans with this model of Pure Loop – both are 240mm and are the Pure Wings 2 model – capable of up to 2000RPM.
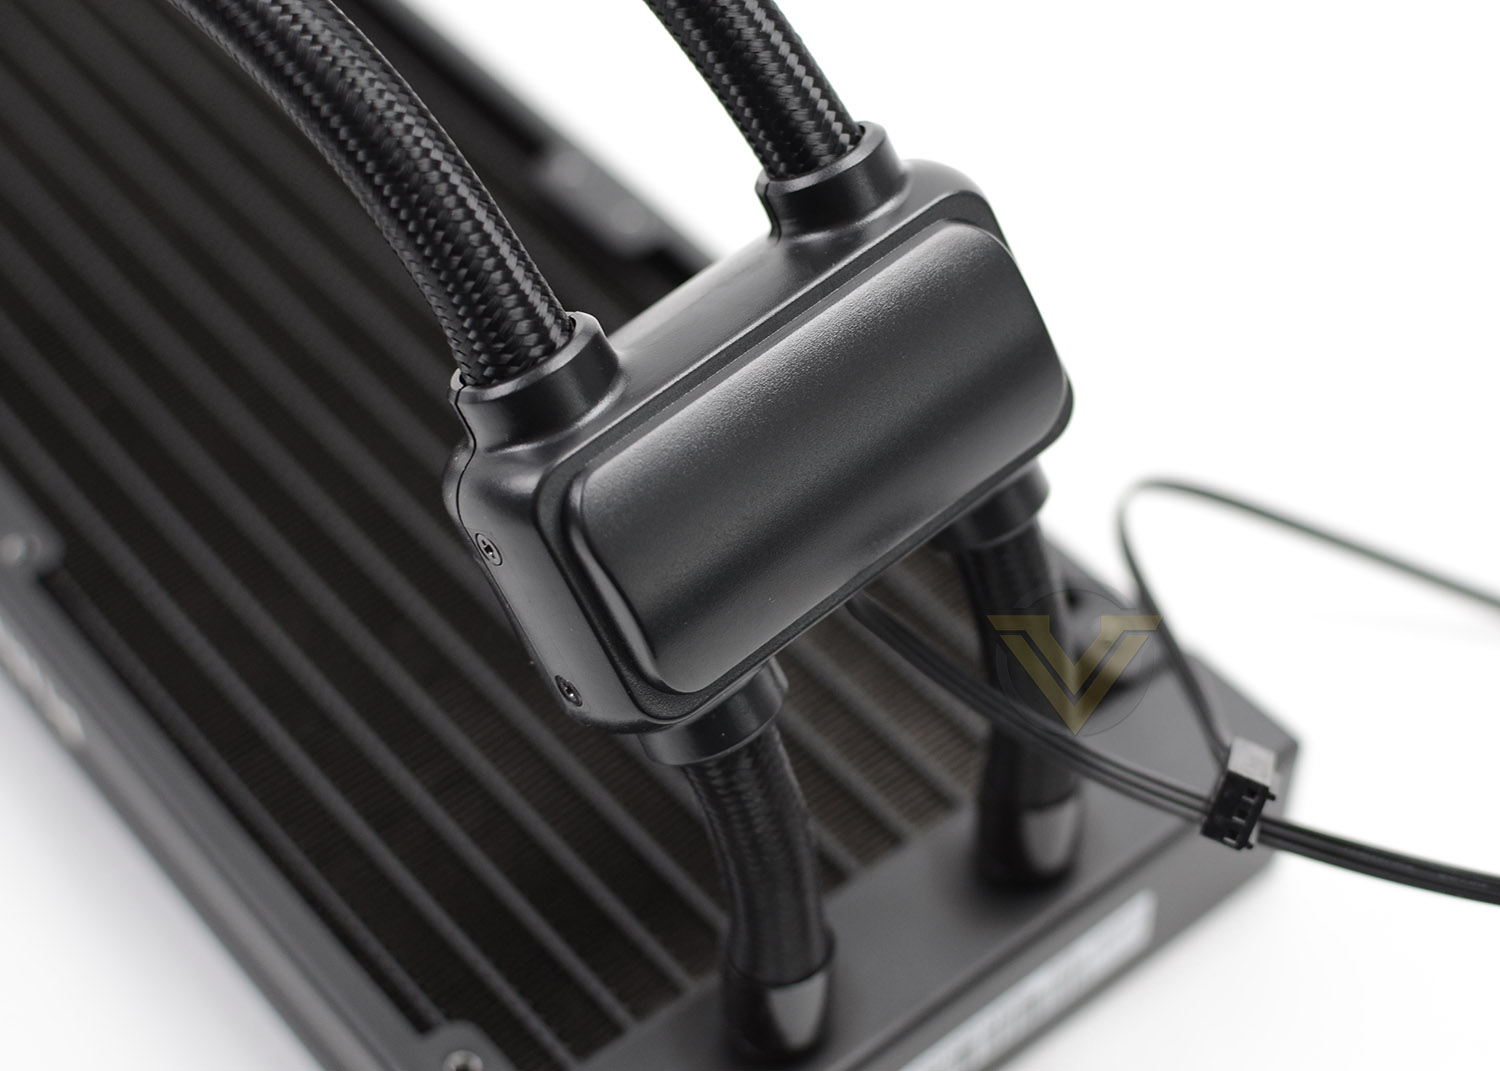
For Pure Loop, the pump placement is located in a different spot to what we’re typically accustomed to. The pump found attached to the tubing – between the radiator and the block and is decoupled for a reduction in vibration. This pump is designed by KD Industrial – breaking away from the usual Asetek/CoolIT OEM.
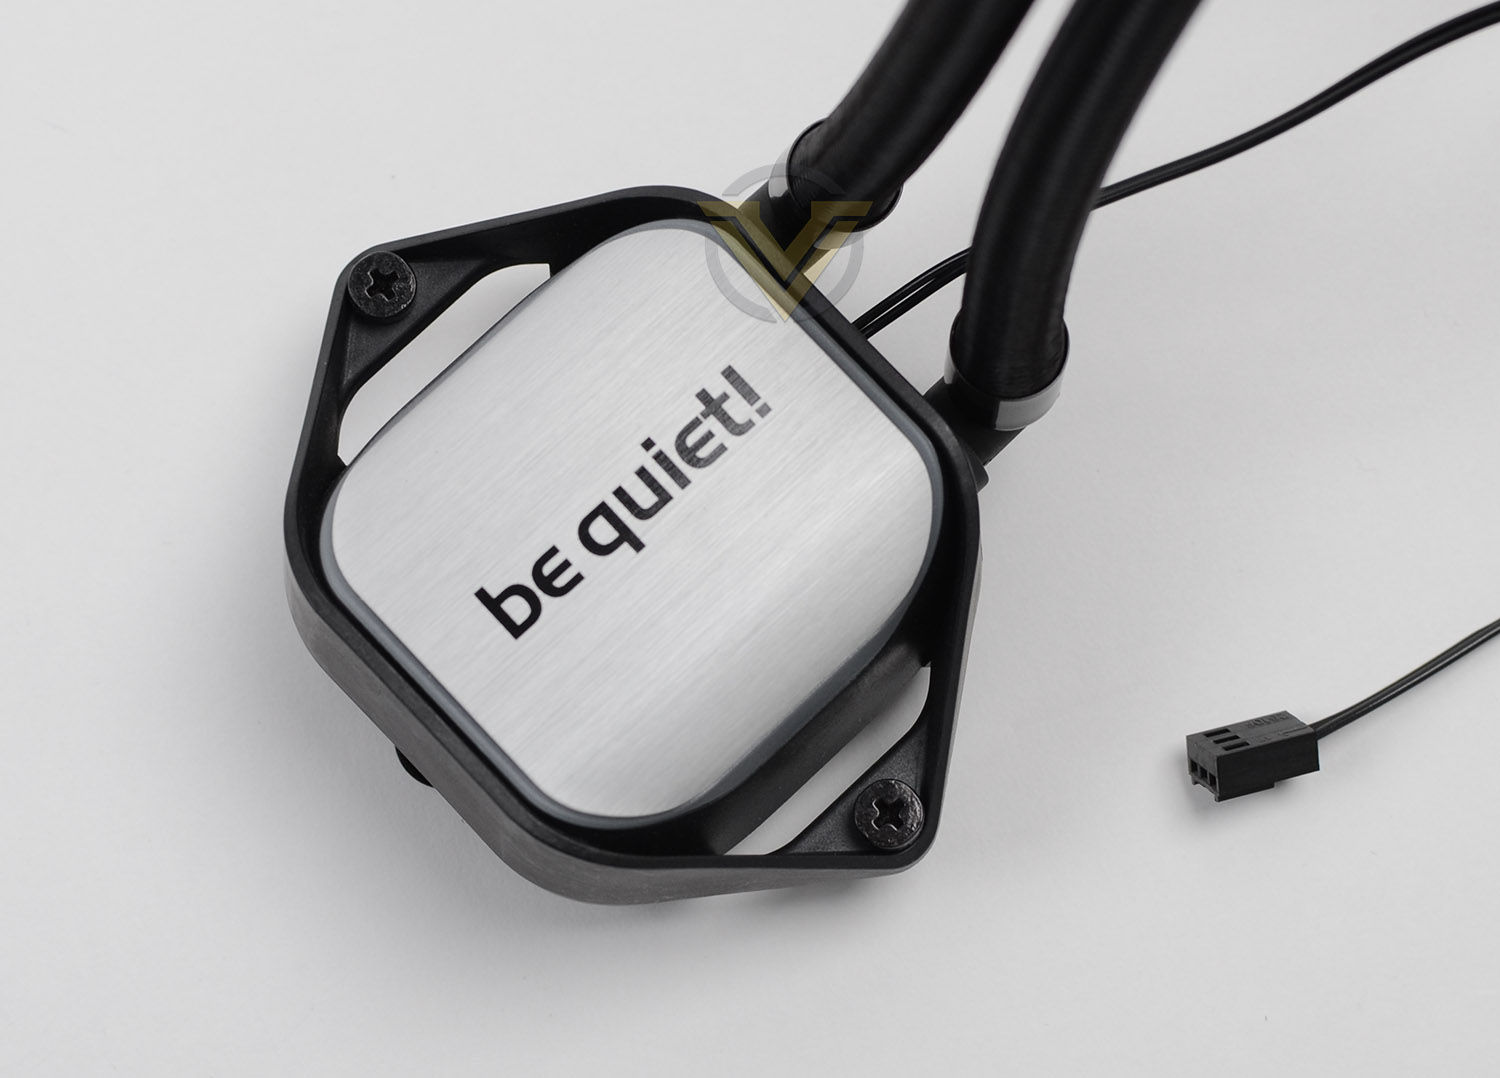
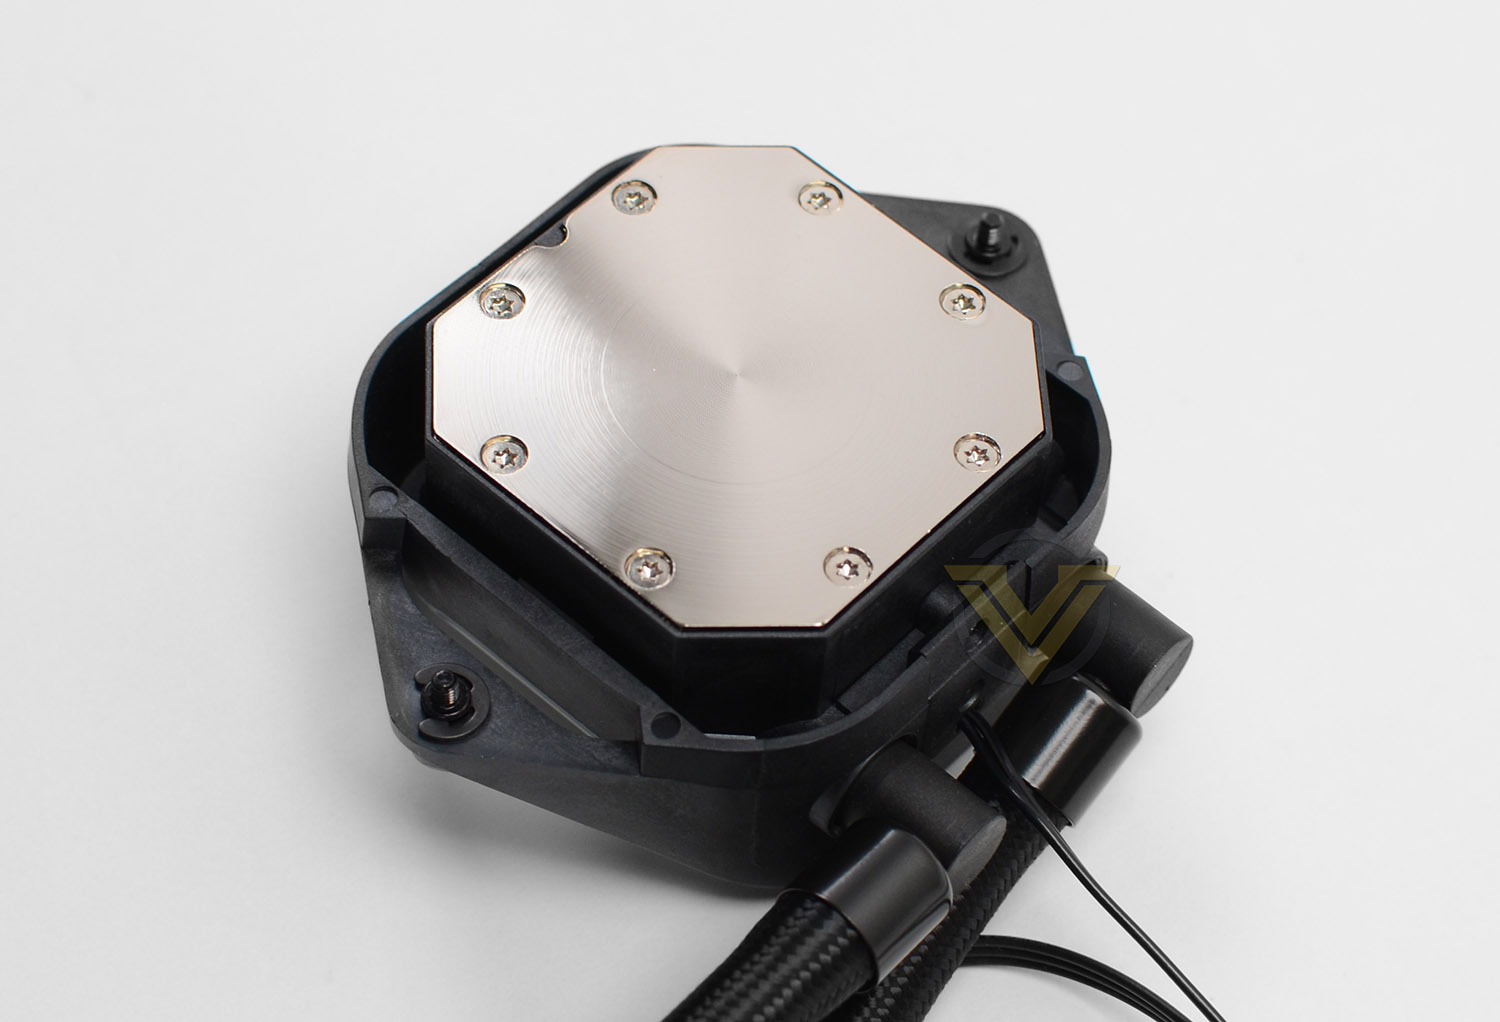
Most liquid coolers follow a block design which can house RGB lighting, but Pure Loop opts for a subtle design – choosing to offer a brushed metal cover which hosts a thing white LED border. The overall look and feel to this is good.
Over on the base, we have a surface which is nickel-plated and be quiet! has chosen not to pre-apply thermal paste.
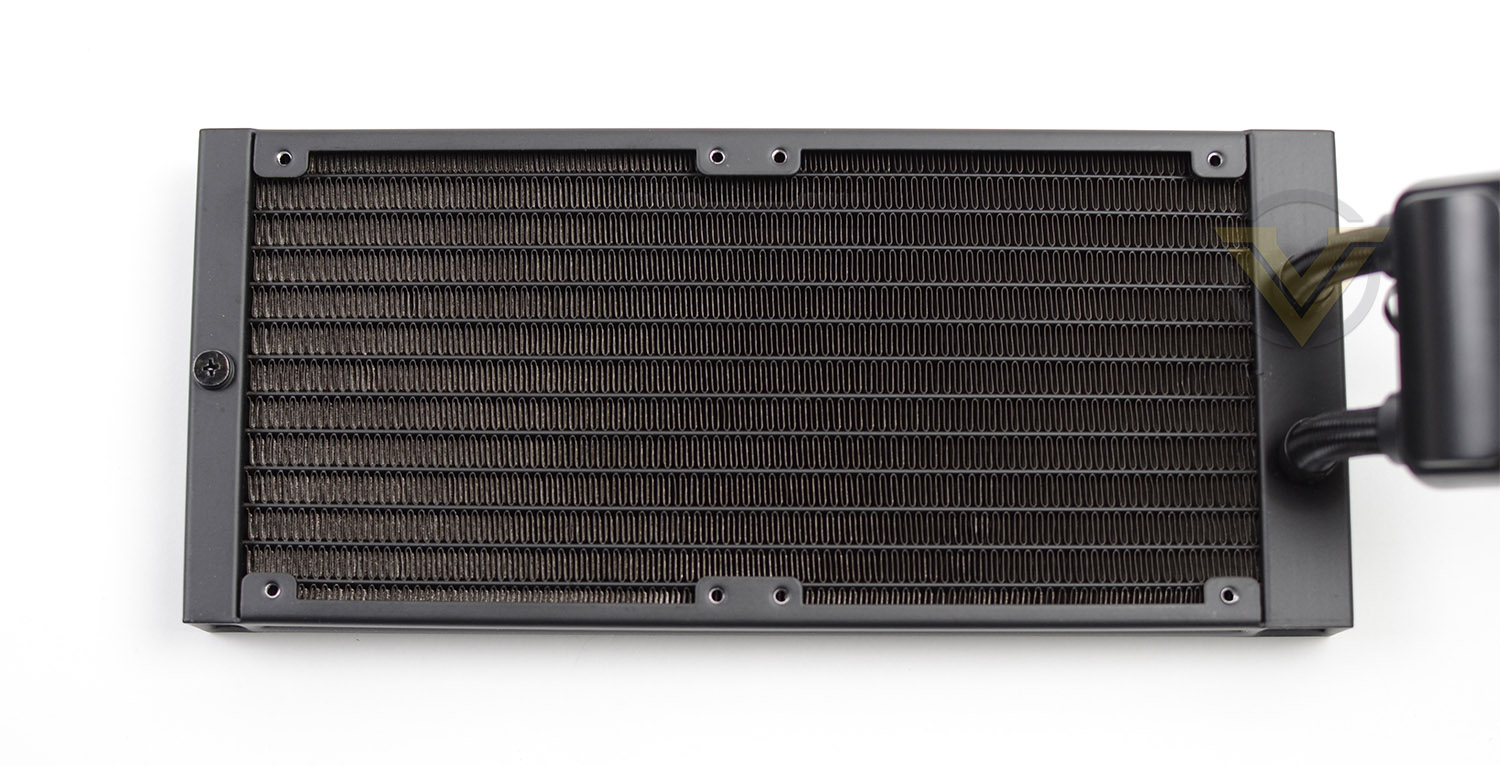
There are various models within the Pure Loop lineup, under review today is the 240 model which features a 240mm radiator.
Installation Process
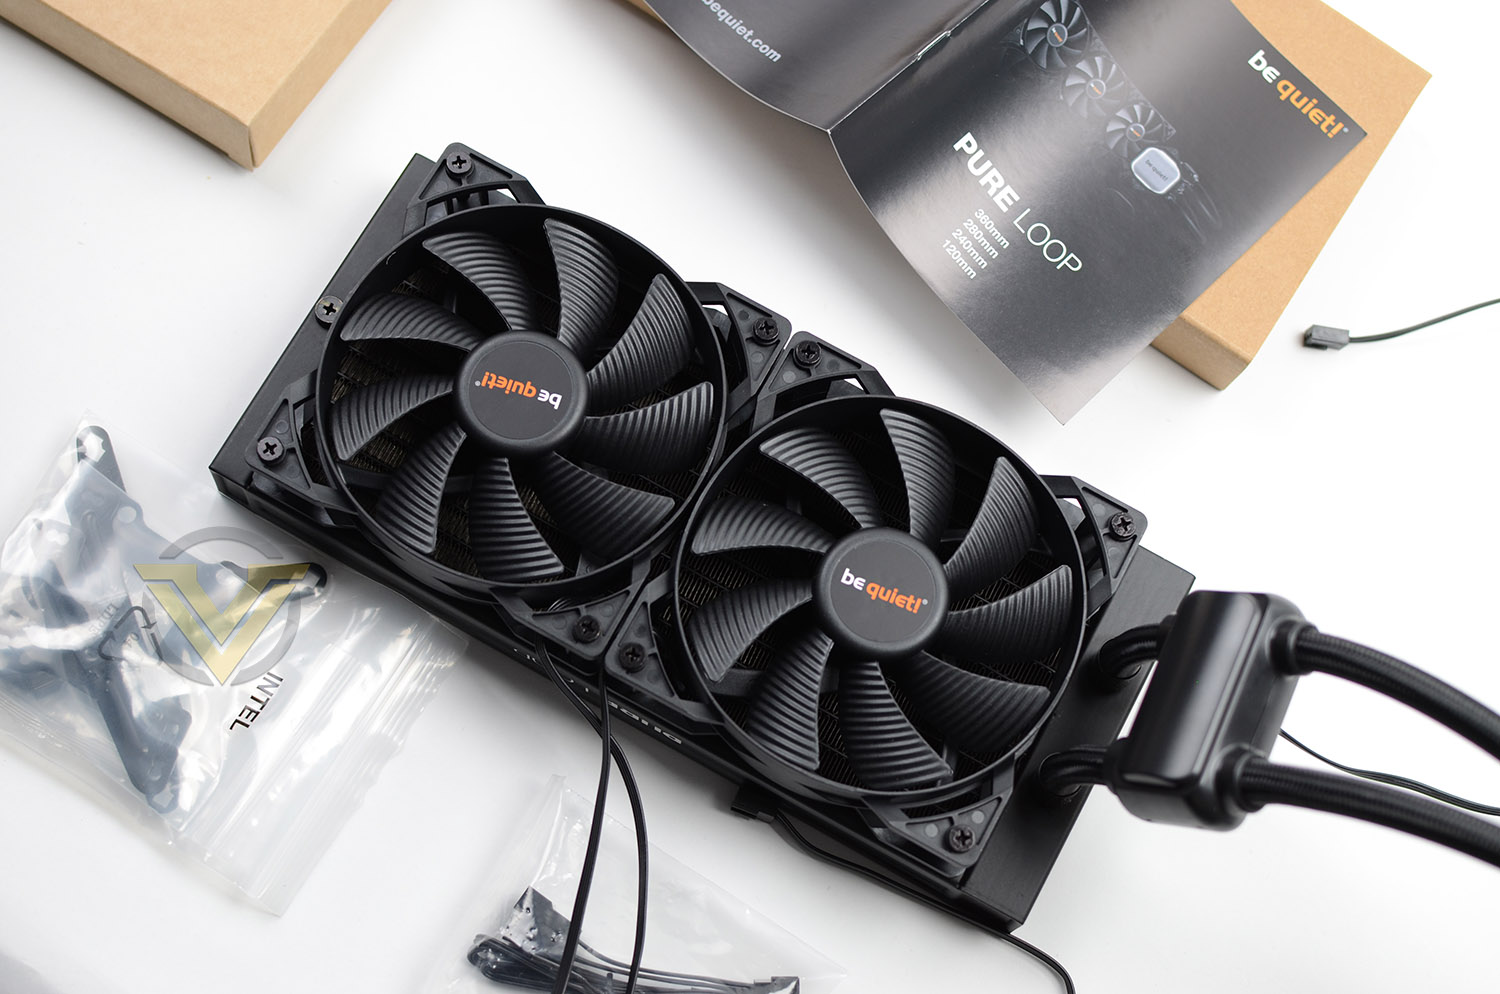
In the very first step of installing Pure Loop into our test system, we attached the two cooling fans to the radiator. be quiet! recommend a push configuration and so we installed the fans in this particular orientation, with airflow passing through the radiator (and then out through the top of the case). As usual, long screws need to be tightened into all four corners of each fan.
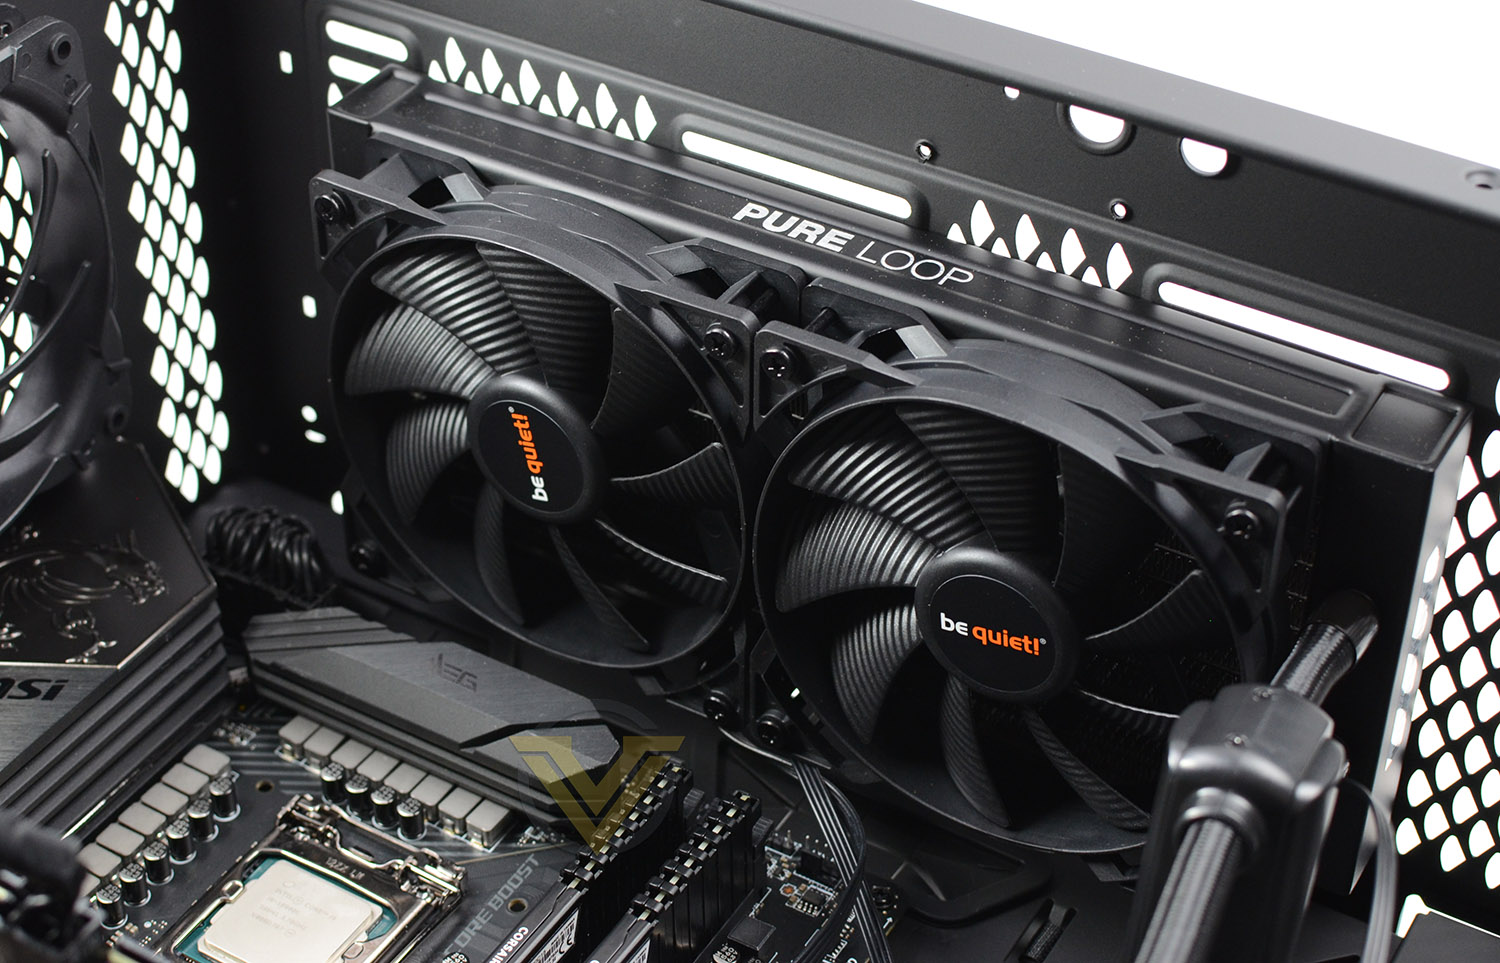
The largest and most challenging aspect to installing a liquid cooler within a case comes when trying to fix the radiator and fan combo into the roof of the case, so this is the next phase of our installation. Since our case has plenty of space, and we’re dealing with the smaller dual-fan model of Pure Loop, we have plenty of space to move into a position of choice. Screws just need to be attached to the top-side.
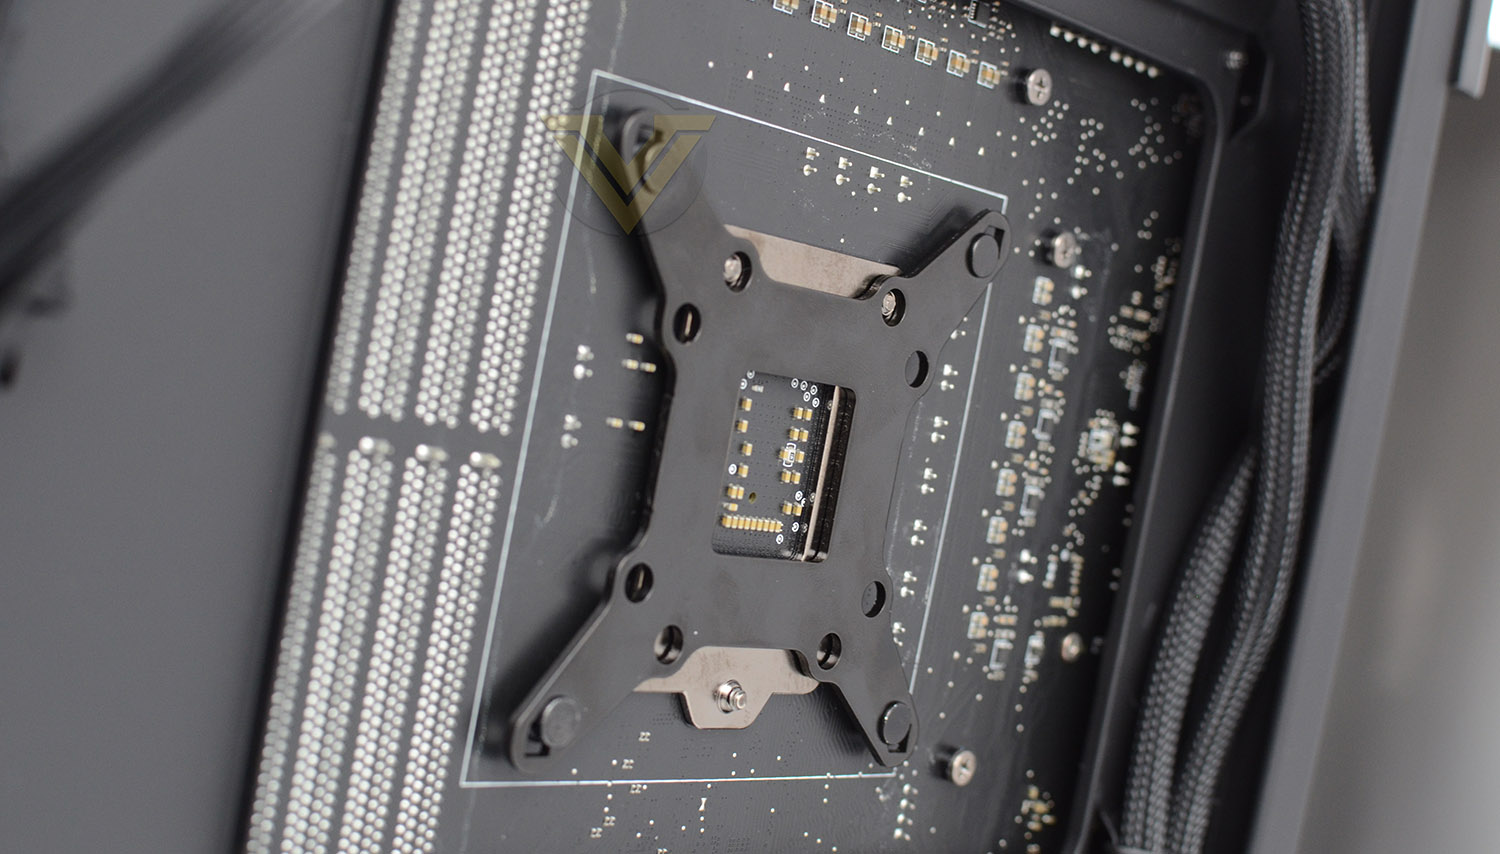
For our CPU cooler reviews we’re using LGA 1200, which is Intel’s new socket for 10th Gen. processors. This configuration fits into the same dimensions as previous Intel sockets bearing the LGA 115x. A backplate simply needs to be placed through the back of the motherboard so the mounting holes are visible on the front side.
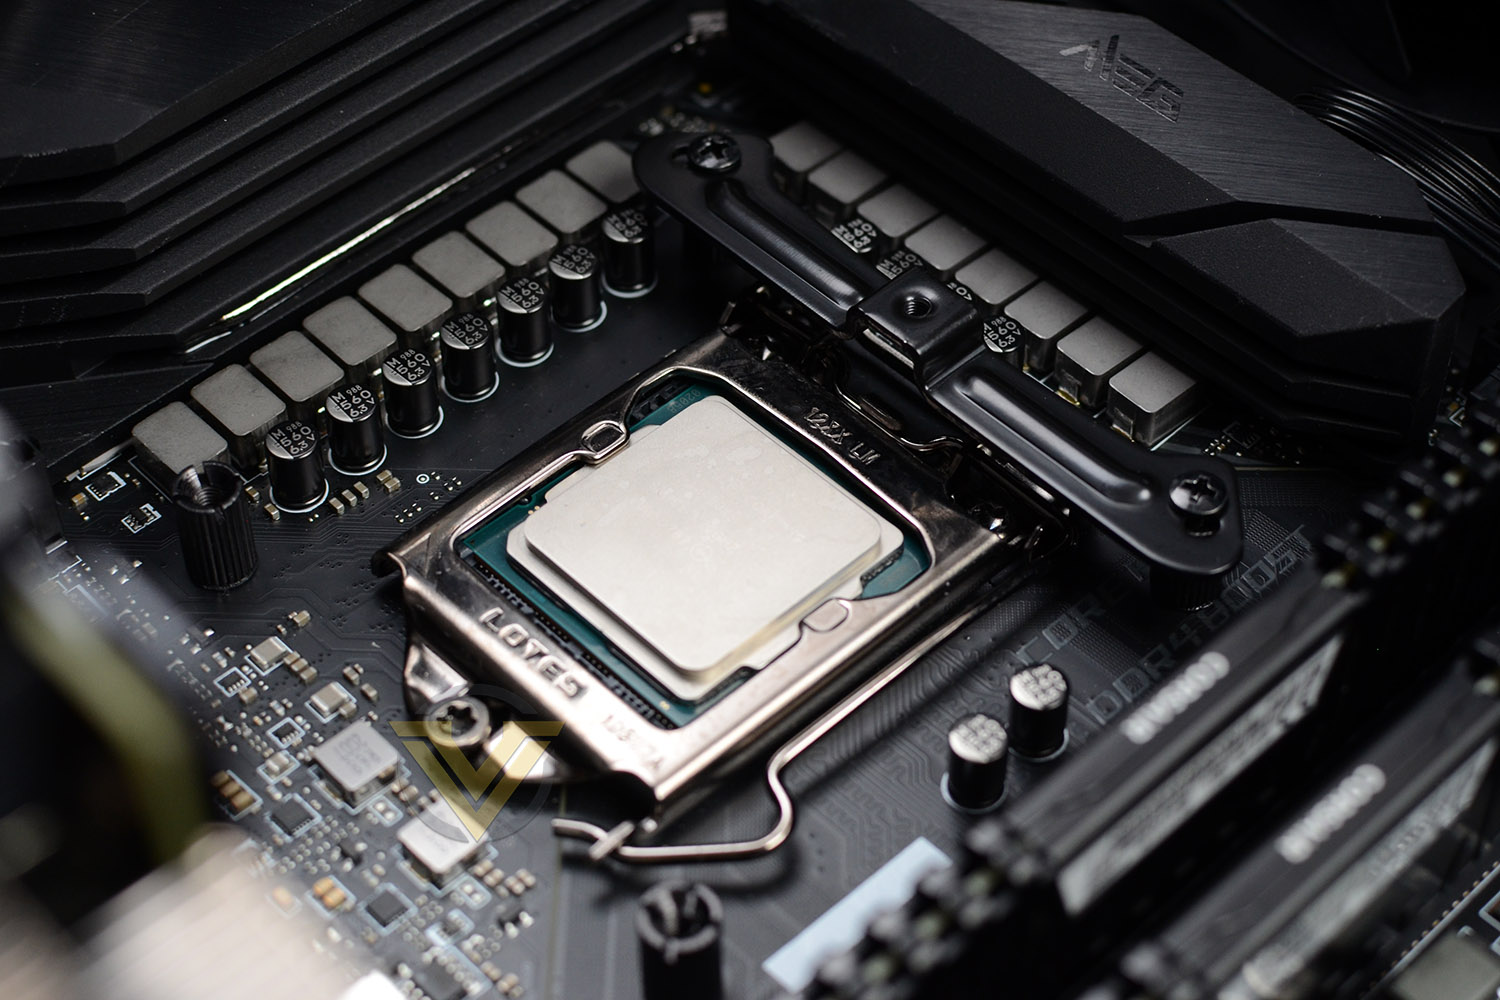
Over on the other side, four studs need to be screwed into the backplate from the previous step and then two brackets as shown above are then placed over the top and standard screws are attached to the top for fixing into place. This is definitely a fiddly procedure and one which seems to be cumbersome compared to other coolers we’ve installed.
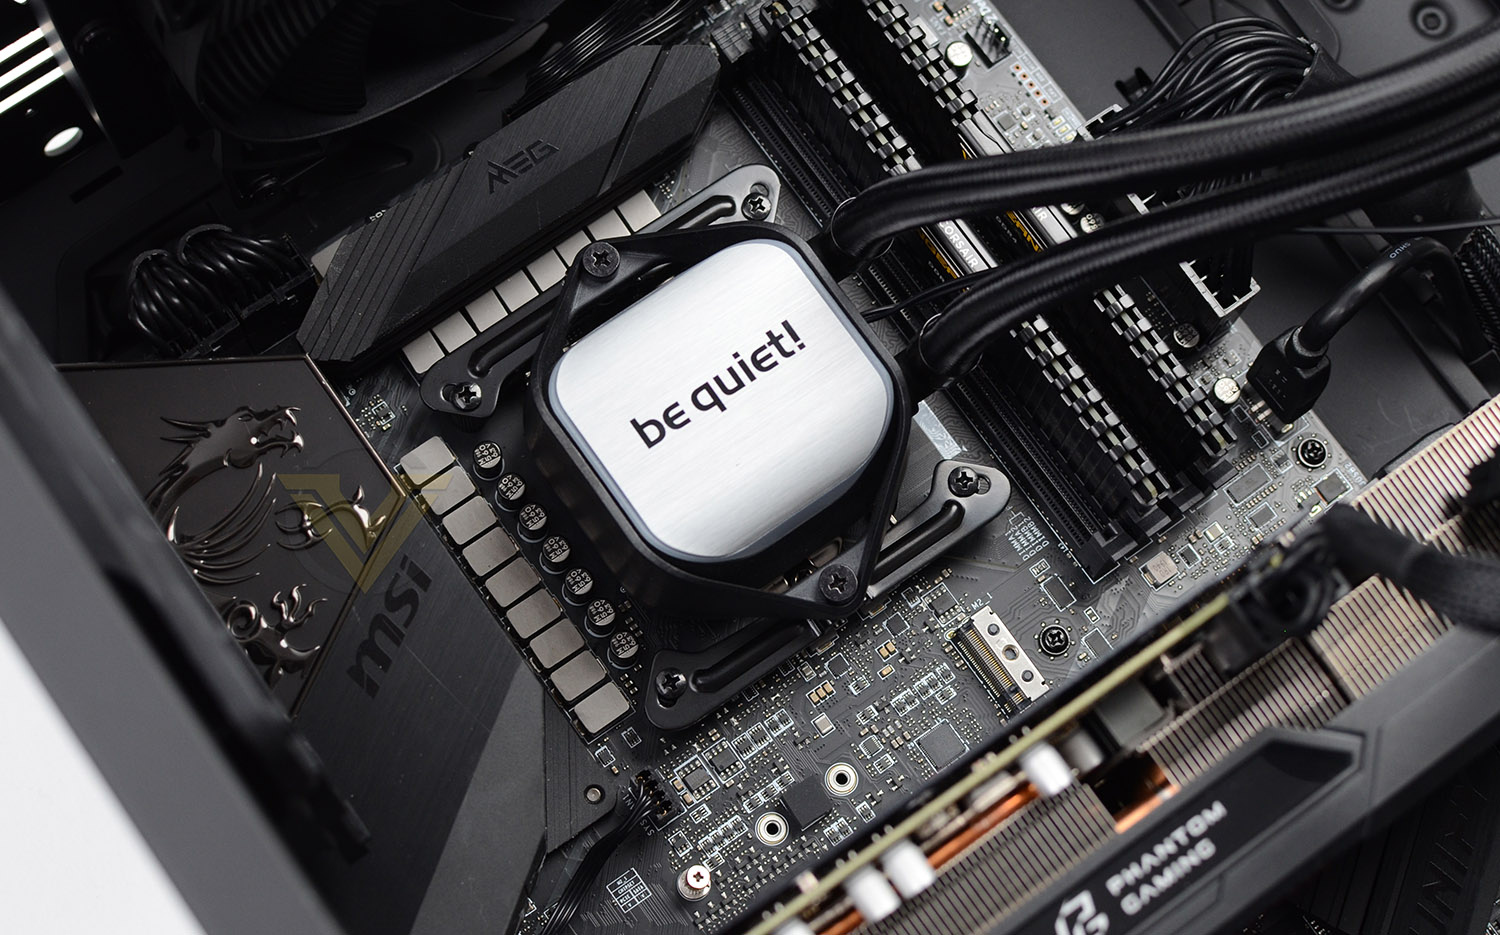
The last step in the install process is to place the block over the CPU, lining up the pre-attached screws to the black crossbars. It’s interesting that be quiet! has chosen to go with just two fixing points rather than four that we typically see on CPU coolers. What this means is that you need to apply one turn with the screwdriver on the first screw (until it bites) and then immediately follow up with a turn on the other screw, otherwise there isn’t enough leverage.
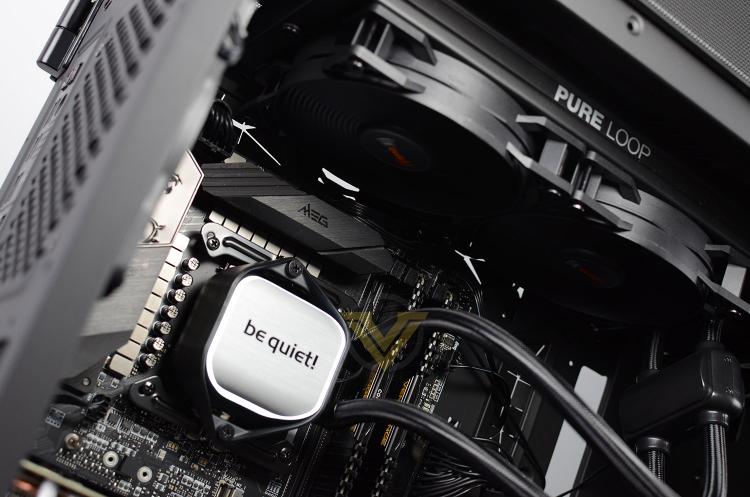
With all these steps complete, we’re left with a striking design which certainly adds an element of flair to the set up. The white LED border around the block is a nice touch, but it would be more effective and visible if the top plate was darker.
Overall the installation process is fairly easy, we just wish the installation of the crossbars didn’t require having to fiddle with screws.
Test Setup & Methodology
HARDWARE
Rather than analyse CPU coolers on a test bench, we prefer to simulate a real-world configuration where all of the components are housed within a computer case. By doing this, our readers are able to see the CPU cooler in a real-world scenario.Special thanks go to Intel, MSI, Corsair, Noctua and AverMedia for providing the hardware configuration for our CPU cooler reviews:
Motherboard:
CPU: Intel Core i9-10900K
MSI Z490 UNIFY
RAM – Corsair Vengeance LPX 3600MHz
Graphics Card – ASRock Phantom Gaming RX 5600 XT (0 dbA)
Power Supply – Corsair RMx850
Hard Drive – Intel S3500 128GB
Case – MSI SEKIRA 500G
CPU: Intel Core i9-10900K
MSI Z490 UNIFY
RAM – Corsair Vengeance LPX 3600MHz
Graphics Card – ASRock Phantom Gaming RX 5600 XT (0 dbA)
Power Supply – Corsair RMx850
Hard Drive – Intel S3500 128GB
Case – MSI SEKIRA 500G
BENCHMARKS
In order to perform our thermal and acoustics tests we use AIDA64 Stability test. The 10900K CPU is left in its default stock state with EIST, Turbo enabled.For the moment, the comparison results highlight only a small number of CPU coolers, this is because we’ve updated our hardware configuration. The number of tested coolers will increase.
To reflect the most accurate user experience we always test our coolers in their out of the box state, with the cooling fans/components they are sold with. However, we do not use the supplied thermal paste as this would skew results – for our thermal paste we use Noctua NT-H2 which provides us with that level playing field and consistency.
To record the idle temperatures result, our system is booted into Windows and left to idle for 20 minutes. The average core temperatures are recorded (Using Core Temp), and then we following this we apply the AIDA64 Stability test to apply an intensive load on the CPU. After 20 minutes have elapsed, we then record the average core temperatures.
All temperature results are delta, this is calculated by subtracting the ambient from the average core temperature. Ambient temperature is recorded using a digital thermometer placed near the front intake of the case.
In regards to acoustics we use the exact methodology above except all case system fans are disabled. This isolates the CPU cooler fans and allows us to accurately report on the decibel readings. We record acoustics using the NDI KC-330D Sound Level Meter at a distance of approximately 30cm.
Thermal Results
Below are the results for our thermal test. We record both the idle and load temperatures – stress is applied to the CPU using AIDA64’s stability test.
Acoustic Results
In terms of the acoustics test, we disable all case fans and place our sound level meter approximately 30cm away from the cooling fans and the result is then obtained.
Conclusion
After revamping our CPU cooling test system, we were left with a clean slate and the opportunity to test out a bunch of new thermal solutions consecutively, providing a baseline for our 2020 reviews and beyond!
The Pure Loop isn’t marked out as a flagship product but rather, more of an entry-level option for those wanting liquid cooling without the overbearing flamboyance of RGB LED lighting. The design is simple, and it works well. Pure Loop does deliver some lighting but it is minimal, unfortunately there isn’t any way to adjust the brightness or disable altogether.
The installation process we found to be without any glaring issues, though we did find the requirement to install crossbars and fiddle around with small crews slightly cumbersome. It would be nice to have and easier process.
On the performance front Pure Loop performs exceedingly well. It had no problems controlling the temperatures on our Intel Core i9-10900K. In fact, of the lineup of CPU coolers we tested out, Pure Loop came out on top – delivering the best temperature under idle and load conditions. This was further solidified with a win in the acoustics division too. True to form, be quiet! also came out on top in low-noise operation providing great thermals without the need to irritate the ears!
Pricing sees Pure Loop 240 arrive with a price-tag of £111 GBP | £95 USD | $150 AUD. Such a pricepoint means that this 240mm cooler is neither the cheapest or most expensive of its kind. In fact, it’s slap bang in the centre of the marketplace. However, it is backed by a lengthy 3 year warranty and also comes accompanied with re-filling solution which definitely adds value to the deal!
Pure Loop may compromise on RGB lighting but it doesn’t fall behind on performance. This cooler provides impressive results both in the thermals and acoustics department and is worty of consideration for those in the market for a new liquid cooler.
Pros
+ Clean looking design
+ Multiple size options (120-360mm)
+ Excellent thermal performance
+ Low-noise
+ Come with re-fill solution
+ 3 years warranty
Cons
– Fixed lighting
+ Clean looking design
+ Multiple size options (120-360mm)
+ Excellent thermal performance
+ Low-noise
+ Come with re-fill solution
+ 3 years warranty
Cons
– Fixed lighting
Click here for an explanation of our awards at Vortez.net.
Stay connected with the Vortez Social Media pages:
Join in with the discussions on Discord