







A mid-tower case centred around gamers on the move. Featuring an interesting array of bundled accessories like the BitFenix S2.
Product on Review: BitFenix Survivor
Manufacturer and Sponsor: BitFenix
MSRP: £89 / $139
Street Price: £95 @ Overclockers UK Price at time of review
BitFenix have certainly been busy this last year. Since their inception just 6 months ago they have endeavoured to bring to the community style and functionality. Just 6 months on and they are already launching another fully fledged gaming chassis.
Today we will be taking a look at BitFenix second product to launch, the Survivor. This time we aren’t faced with a full tower case, weighing 18KG. This time, we are looking at a 10KG mid-tower case aimed at the gaming market. The idea behind the Survivor is that it will be a flexible unit, able to be transported to LAN parties, gaming events or even your buddies house because it has a easy to access handle that enables it to be more portable than other cases currently on the market. That’s not all either, BitFenix have coated the Survivor in a beautiful matt surface material named BitFenix Softouch, that not only gives it a fantastic look but a pleasing feel – easy to clean and scratch resistance. There is plenty more aspects of the Survivor to engage in so lets not delay any longer…

BitFenix Take:
Ruggedized features combined with elegant styling, Survivor is a new paradigm in chassis design. Engineered for the mobile digital warrior, Survivor comes fully equipped with BitFenix S2™ security, an innovative carrying handle that hides away when not in use, and full compatibility with extra-long graphics cards. BitFenix’s SofTouch™ coating helps the system resist a few bumps on the way to the LAN party, and balanced airflow means Survivor remains cool and stable in the heat of battle. All of this is geared to help you dominate at your next LAN event, rather than worrying about if your hardware will survive the day.
Specifications
Materials
– SECC, ABS
Color (Int/Ext)
– Black/Black
Dimensions (WxHxD)
– 230 x 502 x 510 mm (ATX Mid Tower)
Weight (Kg)
– 11.10 / 9.40 (Gross / Net)
Motherboard Sizes
– Mini-ITX, mATX, ATX
5.25″ Drive Bays
– x 3 external, x 1 internal
3.5″ Drive Bays
– x 7
2.5″ Drive Bays
– x 9
Cooling Front
– 1 x 200mm Spectre™ Red LED Fan (or optional 2 x 120mm)
Cooling Rear
– 1 x 120mm (optional)
Cooling Side Panel
– n/a
Cooling Top
– 1 x 200mm Spectre™ Red LED Fan
PCI Slots
– 7 (tool-free)
I/O
– 2 x USB3.0, 2 x USB2.0, eSATA, Audio
Power Supply
– PS2 ATX (bottom, multi direction)
Extras
– S2™, Lockdown™, LED on/off control
Exterior (1)
The Survivor follows with similar styled packaging as the Colossus arrived in. Essentially a black box, the BitFenix insignia stamped on the front whilst the back reveals a lot more detail regarding the case we are to look at. The back of the box details critical features such as USB3.0 support, BitFenix SofTouch etc. Inside, the Survivor is encased in a clear plastic film and supported by polystyrene pillars – something that is fairly standard with case manufacturing nowadays.
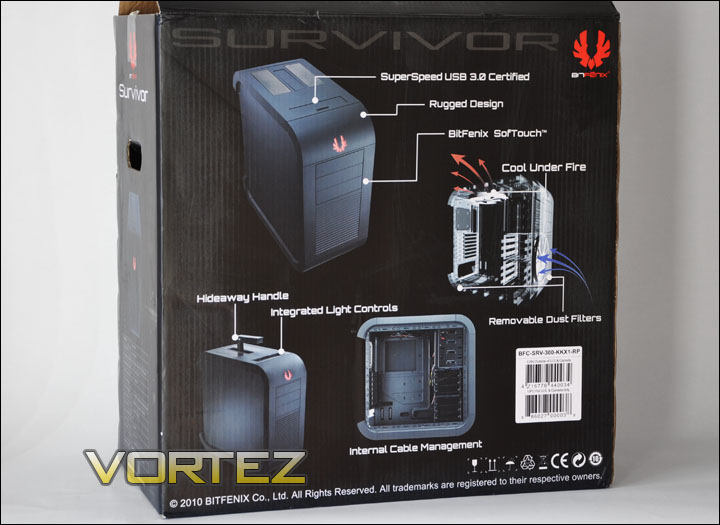
The Survivor packaging
Within moments the Survivor is out of the box and right away the message is clear. This is a very stylish little number. Designed to be at the LAN party, the Survivor is certainly going to stand out. It has a rugged exterior but soft undertones. It’s edges are smooth and the feel of the SofTouch is something that has to be felt to understand its texture and quality. It has a matt look but is very smooth. Scratching the surface does leave a mark, but lightly rubbing this away removes the mark immediately.
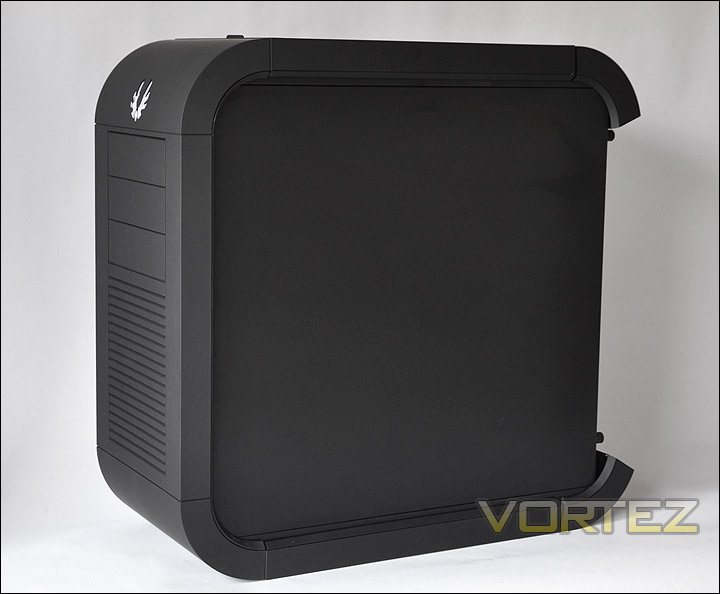
Our first glimpse of the Survivor – a very stylish little unit
Observing the front of the Survivor we see a rather striking BitFenix insignia. This will in fact light up when we have all the components and cabling configured. Below this are 3 x 5.25″ drive bays, further down there is a corrugated area that covers the 200mm fan underneath. This area has ventilation and will allow for air intake. This panelling is very soft to touch and will press in with slight pressure.
To the rear of the Survivor – starting at the bottom we have an opening there for mounting a PSU. Above this area are 7 x expansion slots that are perforated to encourage good airflow inside. A gap can be seen above the expansion slots this is of course for the I/O on the motherboard and to the right further perforation to accommodate a rear exhaust fan. As with the Colossus, BitFenix have chosen not to include a rear exhaust fan on the Survivor. This will have to be provided by yourself. Finally at the top of the case are 3 outlets for cable management or external cooling solutions.
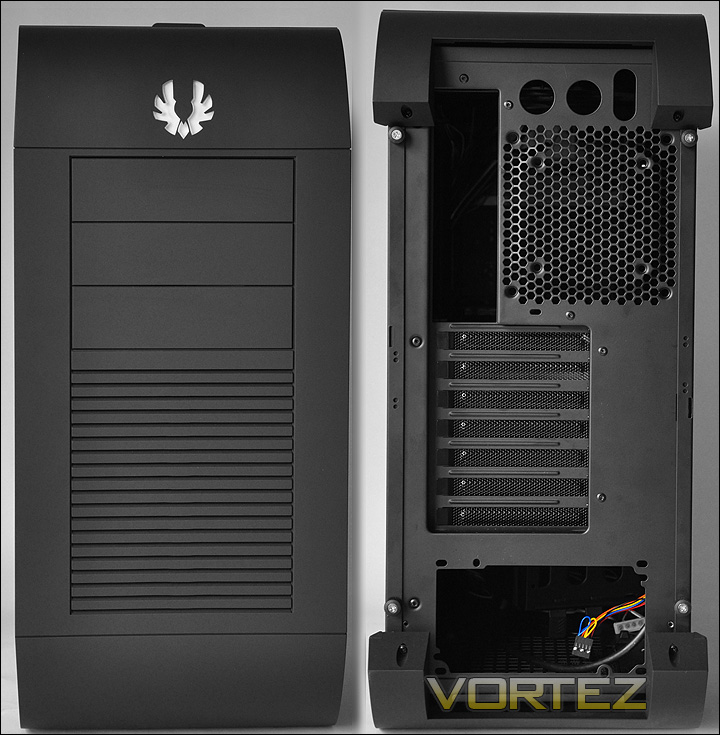
The front and back of the Survivor
Exterior (2)
On the topside of the Survivor we have a cover that shields the front panel controls, pushing this down and backwards reveals some great functionality. There we have audio ports (headphone and microphone), activity lights, 2 x USB3.0 ports, 2 x USB2.0 ports, light switch, power button and a reset button. Nice to see the addition of USB3.0 there, a good move by BitFenix. All cases being produced this year should incorporate this technology.
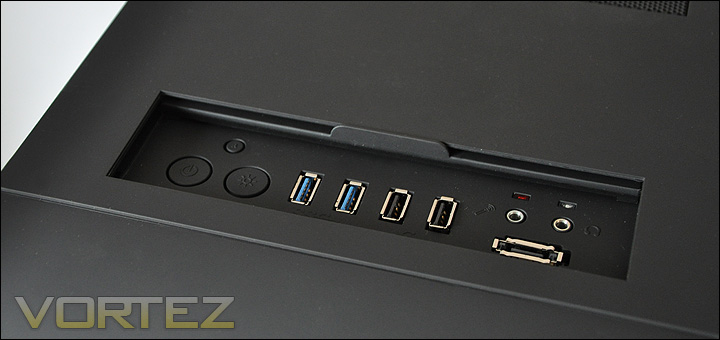
The front panel, sporting lots of functionality
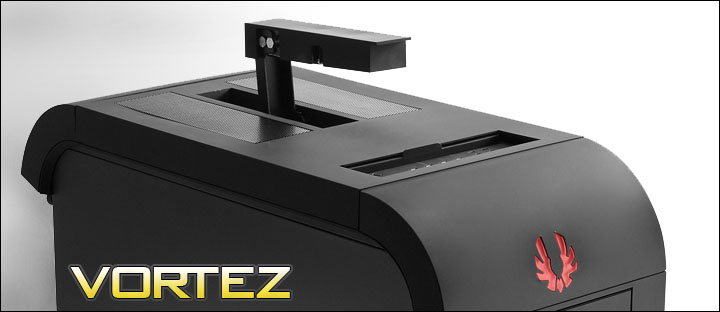
Further along the top of the case are 3 marked out sections, the two mesh areas are for the top mounted 200mm fan whilst he middle is designated for the transportation handle. Pressing this area in causes the handle to pop out. This handle whilst it doesn’t feel very sturdy is capable of sustaining the weight of the case, even with a full set of components inside. This makes moving the case around much, much easier and there is less chance of the entire unit being dropped.
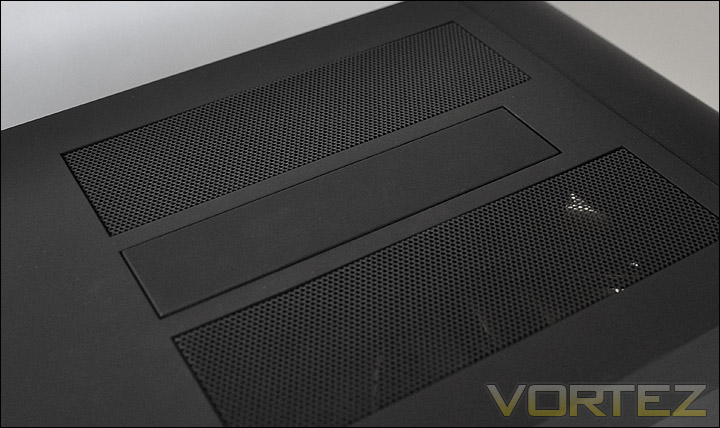
The handle depressed
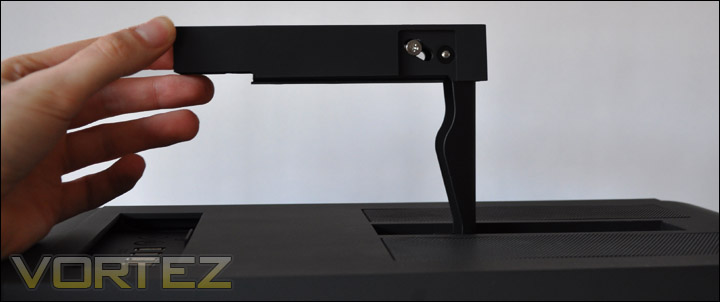
The handle erected for easy transportation
To get inside the Survivor you unfortunately have to remove some of its construction in order to be able to get the side panel off. When I first saw this, I quite literally laughed. It does seem ridiculous that to get inside you have to get the screwdriver out and remove both the top and bottom sections of the case before the side panels are even going to be able to have clearance to move away from the case. Primarily though this case is designed for gamers, quite a lot of those who attend LANs have no idea what is inside their system. I’ve seen and met them, they get their kit inside and leave it for a few years. So essentially, this procedure of removing these objects to get inside won’t be performed that many times if indeed we are talking about the typical LAN party addict. But there will be those who don’t do this and do access their machines often, and I can see both arguments. Is this style over substance?
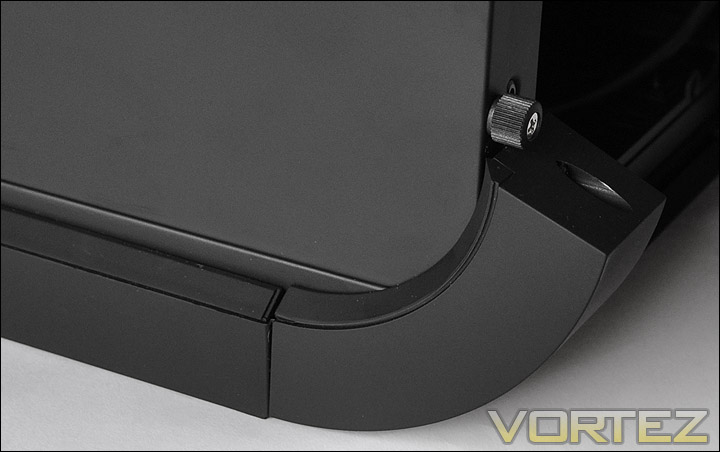
The side panels are obstructed at the top and bottom by curvy construction
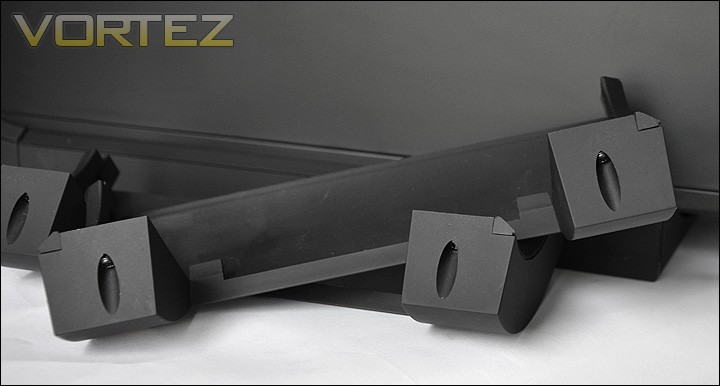
The brackets are then removed. Two screws in each need to be removed
Interior (1)
Removal of the side panels reveals quite a tight enclosure. Inside you can make out tool-less installation for expansion cards – thumbscrews are present and over on the other side two HDD cages feature 3.5″/2.5″ frames for media devices. An area is marked out for the CPU cooler backplate and it is one of the biggest I have see inside a case of this size. It almost takes up half of the motherboard tray – which by the way is not removable. Inside the Survivor we can install Mini-ITX, mATX, and ATX motherboards.
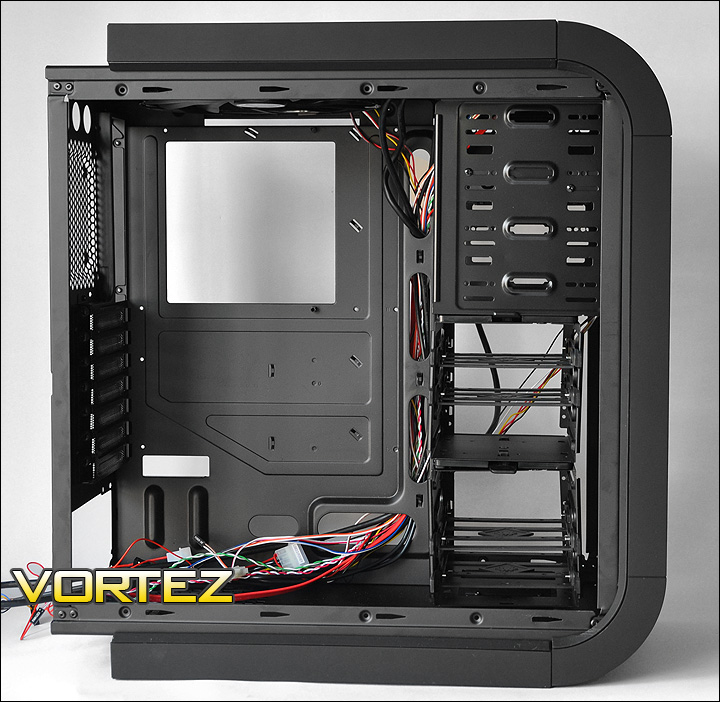
The Survivor with its side panels removed
Moving inside for a closer look, we see that the bottom area has rubber mounts for giving the PSU a comfortable place to rest whilst giving it anti-vibration properties. Underneath the grid is a removable filter that can be removed (from the underside) and cleaned.
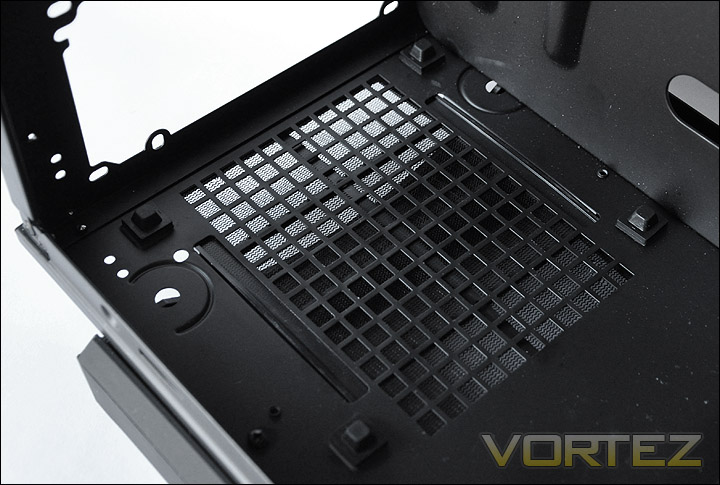
The area marked out for the PSU with rubber mounts
As already mentioned there are thumbscrews in each of the expansion brackets – this allows you to get on and add/remove cards without the hassle of having to use a screwdriver. A novel idea.
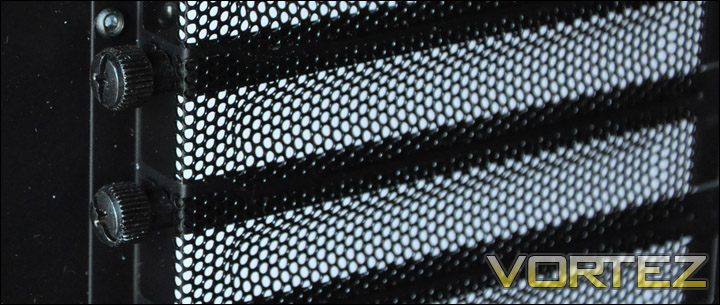
The brackets are then removed. Two screws in each need to be removed
At the top of the Survivor is a 200mm BitFenix Spectre LED ready fan. There is another of these fans present behind the HDD rack at the front of the case. Coming off both of these fans are 3-pin connectors, so you will either need to plug these connectors into the headers on the motherboard or use a molex-to-3-pin from the PSU.
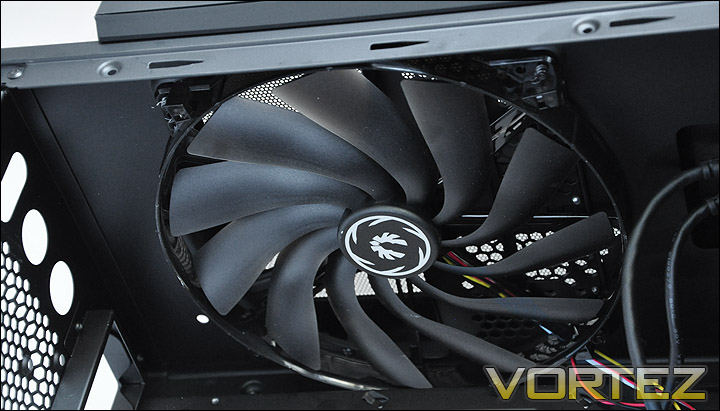
200mm Spectre LED ready fan at the top and front of the Survivor
Interior (2)
With regards to installing 3.5″/2.5″ devices into the Survivor, BitFenix have integrated a similar system to that of the Colossus this time the frames fit much better, they are tighter and the cages feel sturdy. There are two cages, a lower and upper – the upper can be removed entirely. Inside each channel of these cages are frames that allow the each installation of 3.5″ drives. There are also screw holes for installing 2.5″ drives so getting SSDs into the Survivor is not a problem.
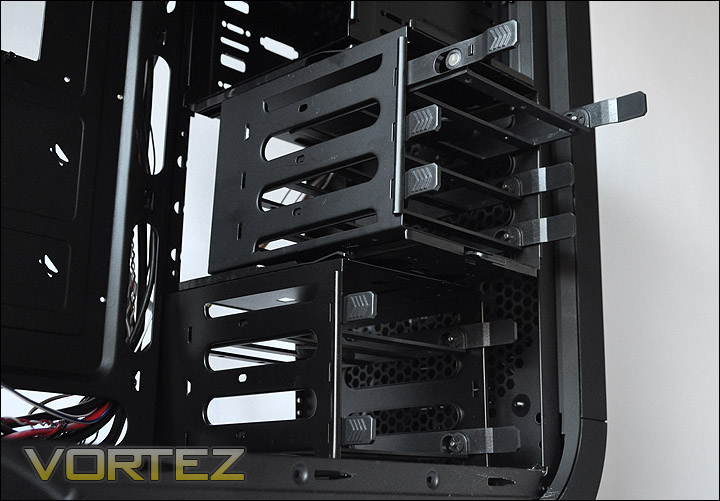
The HDD cages
Inside the 5.25″ drive bay area is a shelf – this allows for the installation of a 3.5″ drive.
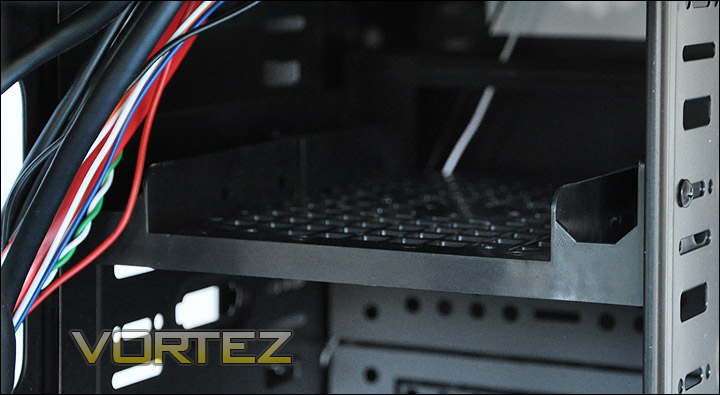
A convenient shelf for slotting in a 3.5″ drive
Behind the motherboard tray there is a small connector that has 18 pins. This is needed to take advantage of the LEDs on the fans and front BitFenix logo. Running from the fans and front panel are cables that are similar in appearance to those you would use for the power switch to motherboard. These cables need to be installed here in the correct alignment so refer to the instructions manual for these details: Instructions Manual – BitFenix Survivor.
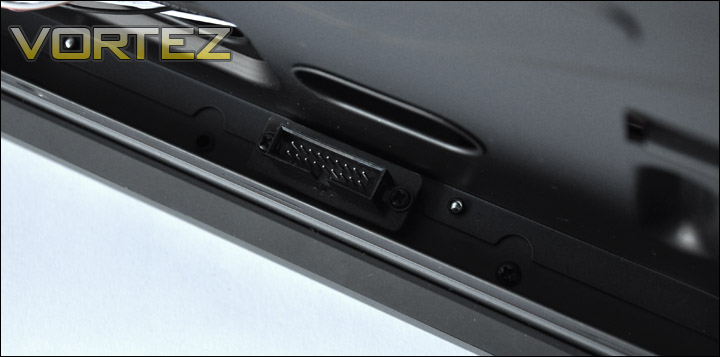
The 18-pin plug used for connecting LED cables to
Installation (1)
Installing components inside the Survivor is quite an easy task, admittedly though the LED cables do get in the way of arranging cables inside the case. The LED cables need to be routed around the back of the motherboard tray but they are bundled together with the set of cables that concern the power switch/reset switch/activity LEDs. The job would be easier if BitFenix hadn’t already cable tied these cables together with the others. Nevertheless, everything went smoothly and this case can accommodate high end components.
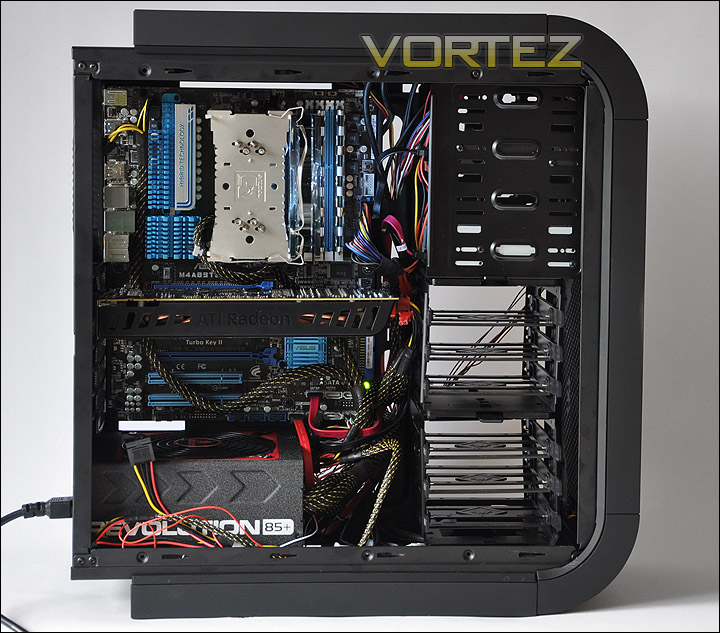
Installation complete – all components are in!
Bundled with the Survivor we get a good assortment of accessories. BitFenix Lockdown is included for giving additional stability to the graphics card, USB to USB header adapter, SSD brackets, BitFenix S2 – which prevents thieves from stealing your gear, various screws, speaker, and some cable ties.
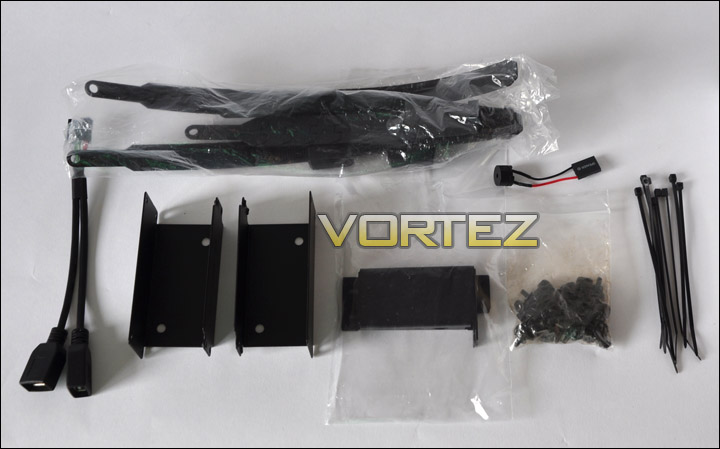
The bundled accessories with the Survivor – a nice package
I decided to install the a 3.5″ HDD into the shelf that BitFenix have included in the 5.25″ bay. Sliding the drive into this compartment is really easy, no screws for mounting are required and when the drive slides in you can tell straight away that its a really tight fit. This is a good idea because I can use the same SATA power cable for both HDD and optical drive.
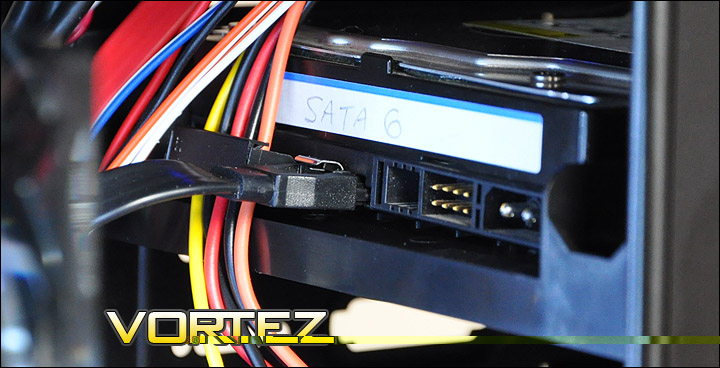
A convenient shelf for slotting in a 3.5″ drive
Incidentally the optical drive doesn’t feature any tool-less mechanism but is fairly standard – requiring screws to fix it into position. Remember though there are thumbscrews included with in the Survivor and these can be used for installing such devices to make the process that little bit easier.
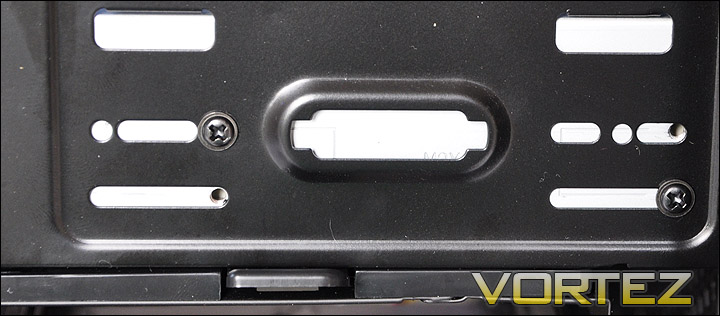
Standard screws for installing 5.25″ drive
Installed inside the Survivor is the Noctua NH-U12P CPU cooler. This cooler stands at around 158mm tall. BitFenix claim the Survivor will accommodate CPU coolers of up to 174mm in height. As you can tell from the photograph below, there isn’t much space get the side panel back on.

The CPU cooler with limited clearance to the side panel
Installation (2)
Moving to the graphics card, inside the Survivor is an XFX HD5870. This card is 11″ in length and unlike other HD5870s has the PCI-e connector slots at he end of the card – shaving off even more clearance. As you can see from the below photograph its quite a tight affair. Sadly the HD5970 with 12″ as its length measurement isn’t going to fit with the HDD cage still inside but the upper cage can be removed to allow a further 5″.
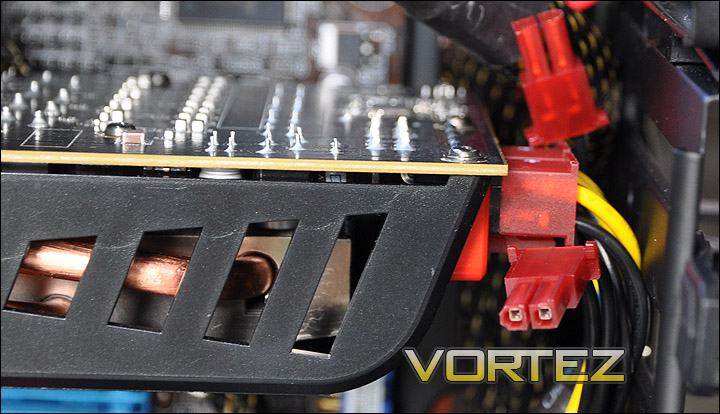
Tight space on the end of the HD5870
Over on the other side, the massive cut-out for the CPU cooler backplate provides ample coverage for the AM3 socket. There isn’t just a few mm either side either, so you have plenty of space to get at that backplate should you want to swap out the cooler.
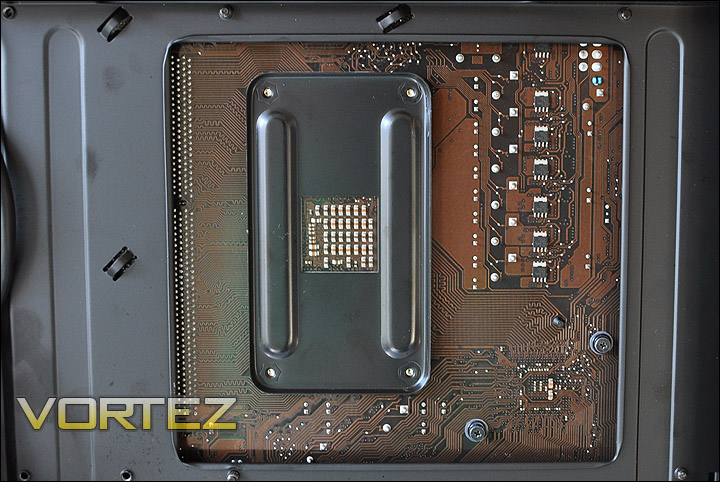
Massive space for the CPU cooler backplate
For reference – the LED cables I have shown below all link into the 18-pin socket on at the back of the motherboard tray. See the manual for correct cable configuration as each of the cables needs to go into a designated spot for the pin alignment.
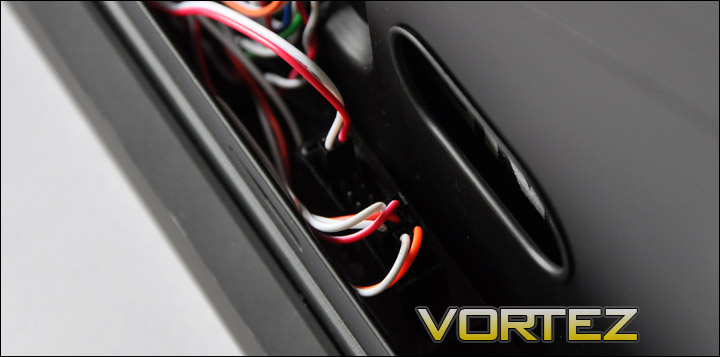
LED cables installed onto the 18-pin socket
Behind the motherboard tray, the distance from the tray to the side panel is just under 2cm which is ample space for routing all your cables round the back. The 24-pin PSU cable can be awkward to get around the back on some cases but with the Survivor this isn’t a problem I encountered.
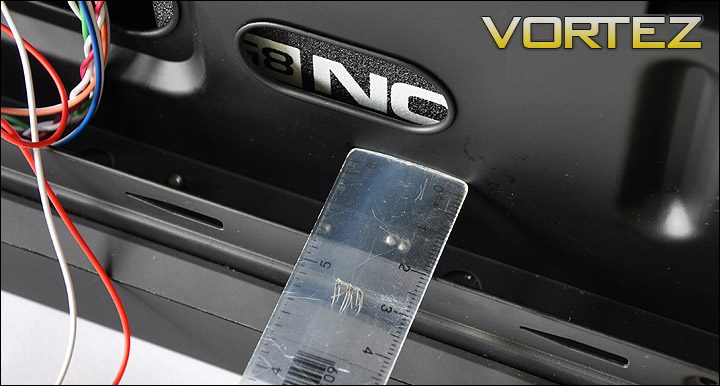
Almost 2cm available clearance between the motherboard tray and side panel
Thermal Performance
The BitFenix Survivor has two rather large pre-installed fans, measuring in at 200mm a piece. Now, as mentioned previously there is no rear exhaust fan included with this case but for the purpose of testing I will be installing a Noctua NF-P14.
To discover the thermal performance of the Colossus I will record idle temperatures after 20 minutes from a cold boot. I will then stress the system and temperatures will again be monitored after a 30 minute have elapsed.
System Components
CPU AMD Phenom II X6 1055T 2.8GHz
Motherboard ASUS M4A89TD PRO
Graphics XFX HD5870
Memory 4GB Mushkin EM3-10666 DDR3
HDD Samsung Spinpoint 500GB SATA-II
PSU OCZ Fatal1ty 750W
The above results match closely to the recently reviewed BitFenix Colossus and they should do too. Both cases feature similar cooling configurations. Its good to see a smaller mid-tower battling it out with a full-tower case and matching its performance. These results are certainly pleasing.
Noise: You may not have seen the video accompanying this review – there I get close to the top mounted 200mm Spectre fan and for a cooling solution that is 200mm in size its not in the least bit disturbing but is actually very quiet.
Conclusion
I was thoroughly impressed with the BitFenix Colossus just 3 weeks ago and I can’t help but feel the same way about the Survivor. This case is a sersious contender and rival to the recently launched Cooler Master HAF 912 PLUS.
Appealing primarily to the gamer on the move, the Survivor also finds a sweet spot for the for the minimalist too. BitFenix have done a great job on the aesthetics, from the curvy contours to the innovative SofTouch. Whilst inside there is adequate space for high end components. Tall CPU coolers can be accommodated as well as long graphics cards that reach up to 11″ with the HDD cage installed and up to 16″ without the HDD cage.
The only niggle that I could find with the Survivor was the annoyance of having to remove top and bottom brackets towards the back of the case just to get the side panels off. Some would argue that gamers attending LAN events don’t generally upgrade or make alterations to their system like hardware enthusiasts and overclockers. In the back of my mind this flaw seems to cause me to utter the words “style over substance”.
With an MSRP of £89 / 99 / $136 the Survivor is a good buy. Included you get the excellent BitFenix S2 and a group of other useful accessories. I am impressed by what BitFenix have produced in just 6 months of establishment and I was only speaking to an employee a few days ago who was telling me about other exciting cases due for release in the coming months. They are an exciting brand and they are definitely shaking things up in the chassis category.
NOTE: BitFenix are launching the Survivor CORE – a cheaper version of the Survivor with less options. No USB3.0, no front cooling and bundled extras S2 and lockdown are also not included. Take look here: BitFenix Survivor CORE
If video is your thing here is a quick tour of the Survivor. This by no means covers all of the features but gives you an idea of the way some of the aspects of this case operate such as the handle. Please feel free to comment on the video.
Pros
+ Fantastic styling
+ Very portable
+ Great cooling
+ Excellent bundle
Cons
– Accessibility
+ Fantastic styling
+ Very portable
+ Great cooling
+ Excellent bundle
Cons
– Accessibility

