With the dust barely settling after the launch of the Corsair H100i Pro RGB, how can the Platinum possibly improve on that formula? Let’s find out.

Product on Review: Corsair H100i RGB Platinum
Manufacturer: Corsair
Street Price: GBP £124.99 / USD $159.99
Corsair are, without doubt, one of the most recognisable brands in the PC industry; they produce products of commendable quality in many different sectors and for multiple price points. Cooling is certainly a strong suit of theirs, within which we’ve seen many releases in the last few years. At the start of 2018, we saw Corsair release their Pro series of CPU coolers, with the 360mm and 280mm released in January. Fast forward to July and we got the 240mm H100i Pro RGB. Well today we see the 240mm throne succeeded by the H100i RGB Platinum.
The H100i RGB Platinum adds to the previous iteration in several ways, including a more pronounced presence of RGB lighting, with multi-zone LED lighting on the pump housing, with 16 individual LEDs, as well as ML120 RGB fans on the radiator. We also see an improved radiator core and copper cold plate which increases surface area and therefore performance.
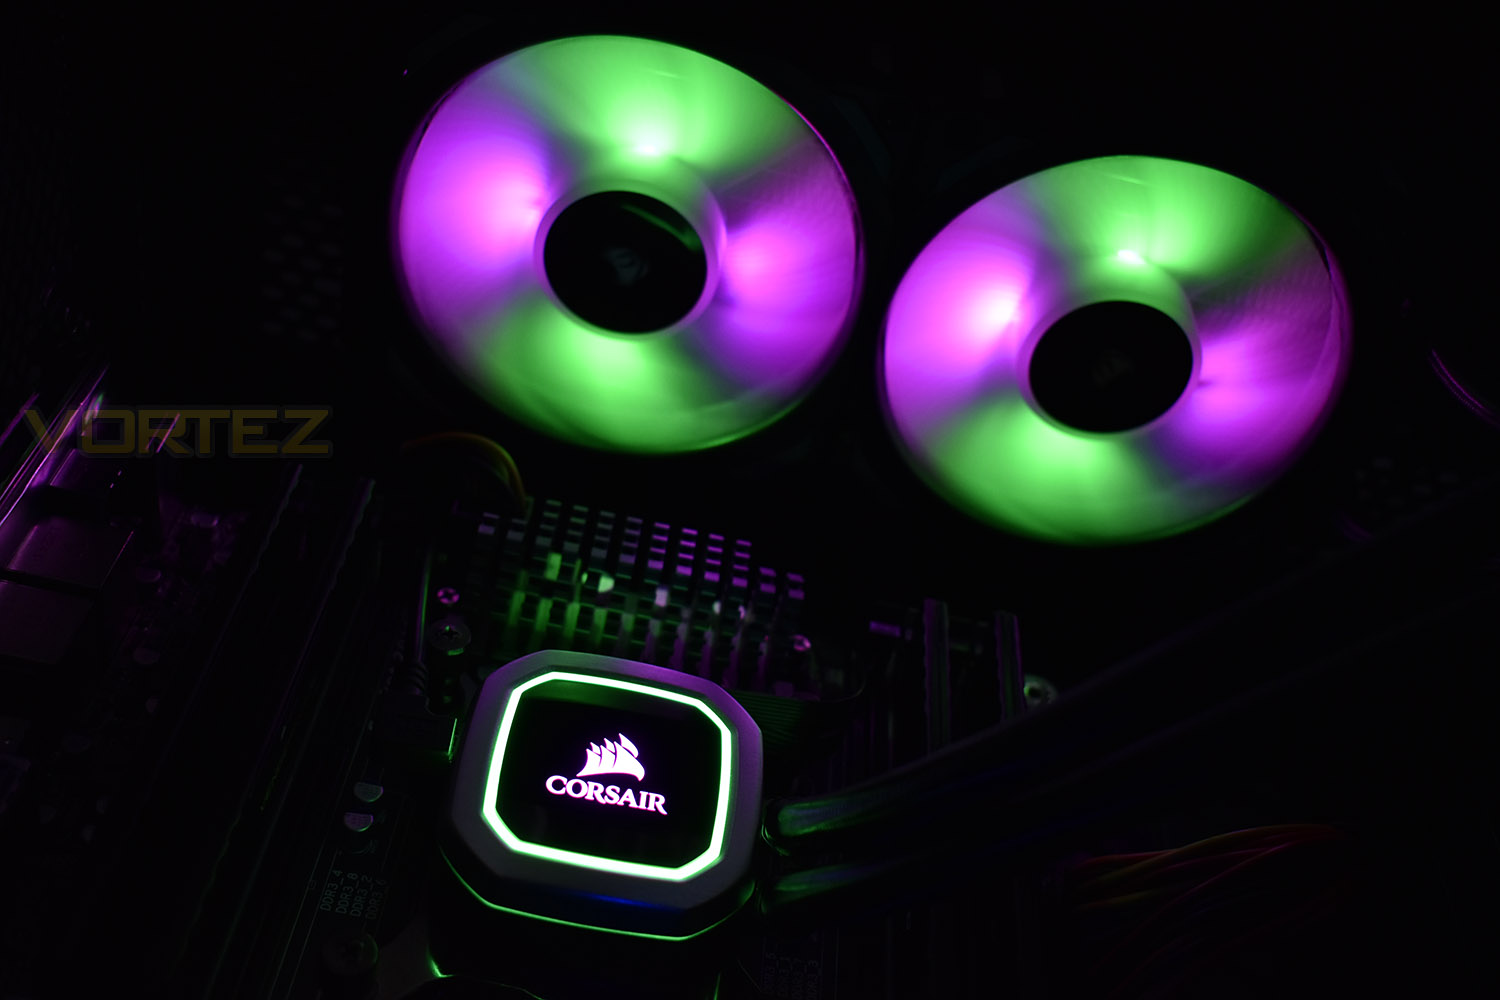
Socket installation and compatibility has been revised to allow AMD TR4 support alongside all of the usually Intel and AMD sockets, while being completely tool-free and easier to install.
The visual differences should be immediately apparent, but how does the new copper transfer plate and improved radiator affect performance? Let’s delve into the review and find out.
Corsair on the H100i RGB Platinum:
The CORSAIR Hydro Series H100i RGB PLATINUM is an all-in-one liquid CPU cooler built for extreme cooling with a 240mm radiator and vivid RGB lighting from 24 LEDs. Two CORSAIR ML PRO RGB 120mm PWM fans run up to 2,400 RPM, alongside an optimized cold plate and pump design that delivers the high performance Hydro Series cooling. Take control with CORSAIR iCUE software to customize lighting effects and enable Zero RPM mode at low temperatures. Easy to install and compatible with most major CPU sockets, the H100i RGB PLATINUM pairs killer looks with chiller performance.
Technical Specifications
Coldplate Material: Copper
Tubing Material: Low permeation with black sleeving
Radiator Material: Aluminum
Radiator Size: 276mm x 120mm x 27mm
Fan(s) included: 2x ML PRO RGB 120mm PWM Fans
Fan Max Speed: 2400 RPM
Fan Airflow: 75 CFM
Fan Static Pressure: 4.2 mm-H2O
Fan Noise Level: 37 dB(A)
Tubing Material: Low permeation with black sleeving
Radiator Material: Aluminum
Radiator Size: 276mm x 120mm x 27mm
Fan(s) included: 2x ML PRO RGB 120mm PWM Fans
Fan Max Speed: 2400 RPM
Fan Airflow: 75 CFM
Fan Static Pressure: 4.2 mm-H2O
Fan Noise Level: 37 dB(A)
Packaging & Bundle
Corsair’s typical black and yellow theme is still on the go, with the H100i RGB Platinum being no exception. The front shows an excellent image of the product as well as some brief information snippets.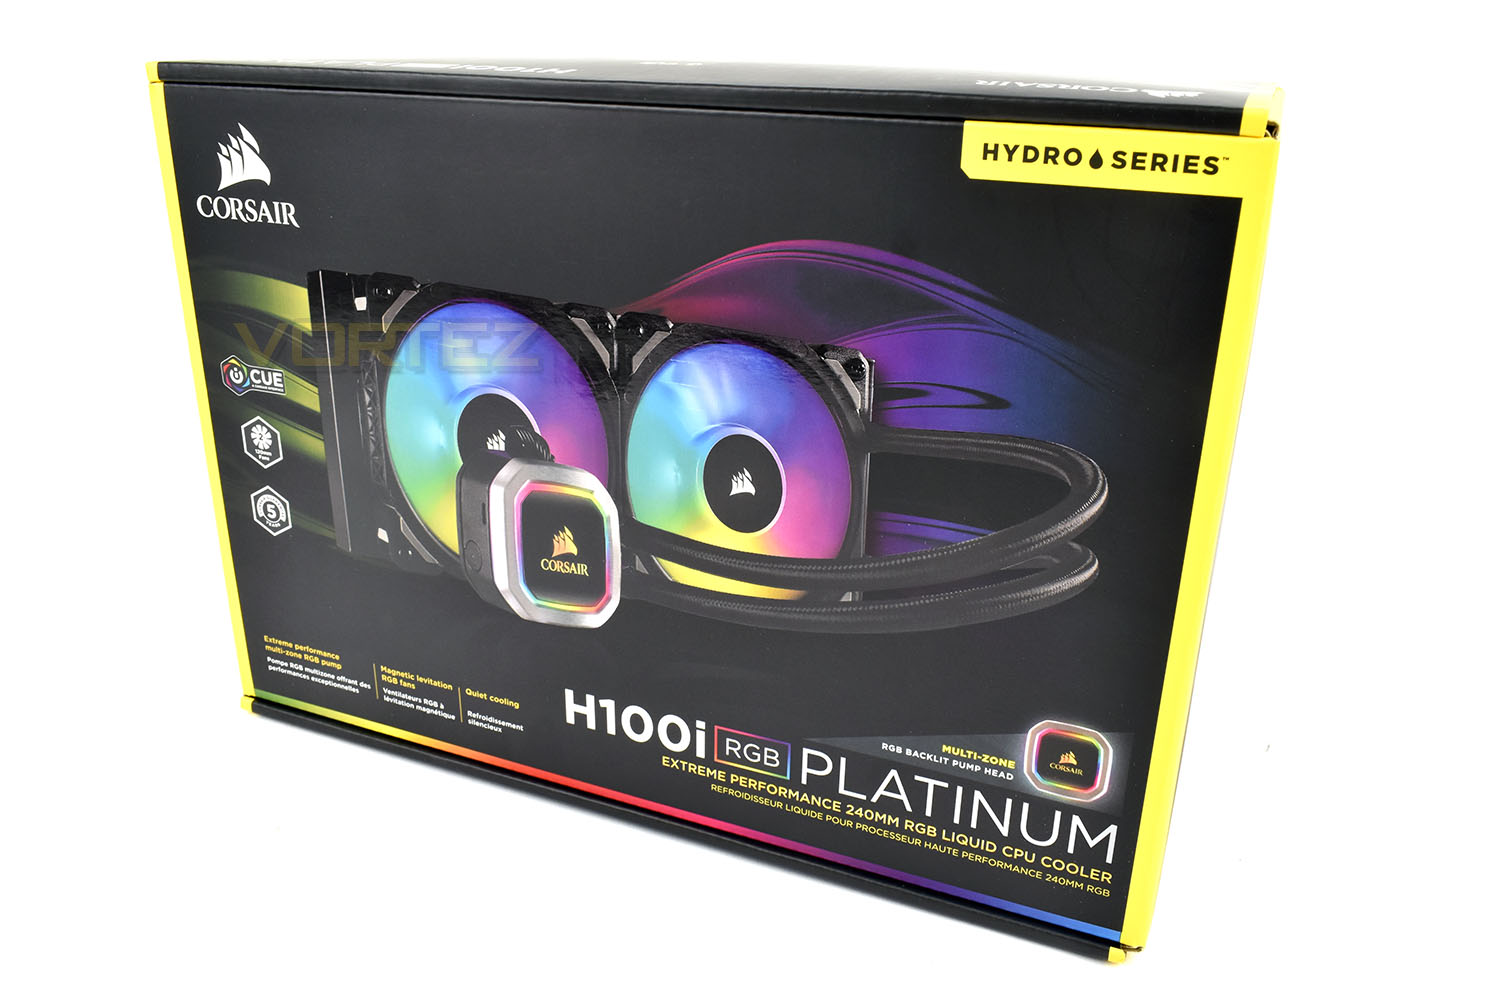
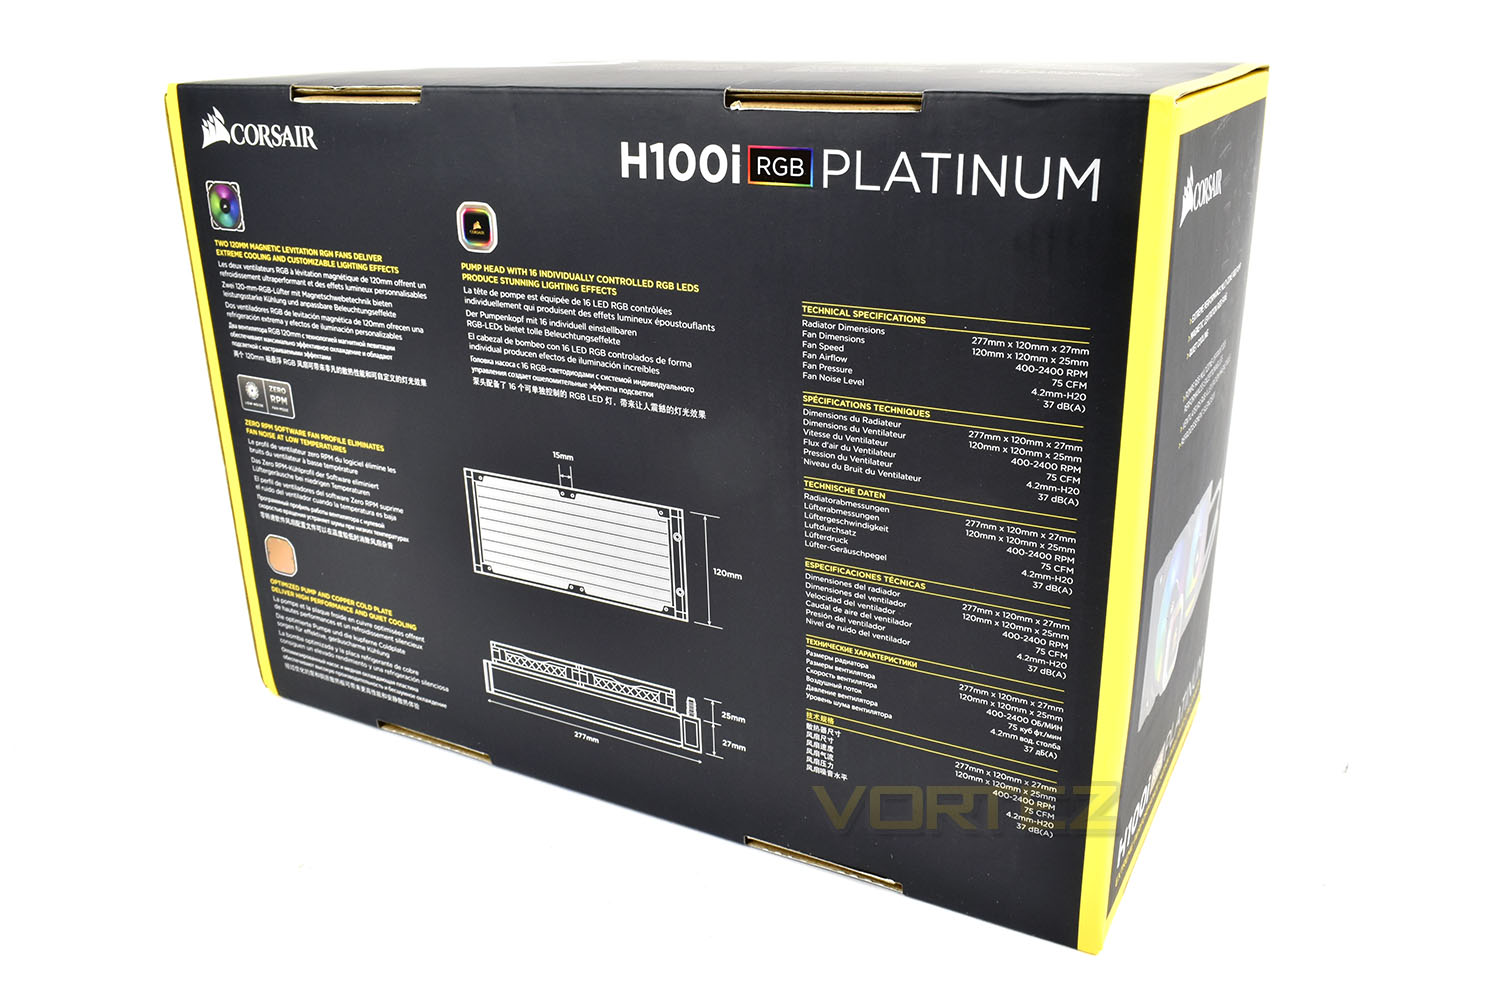
On the reverse, we get the usual schematics of the radiator with and without fans as well as a proper technical specifications section. Corsair always do well on their packaging and information layout.
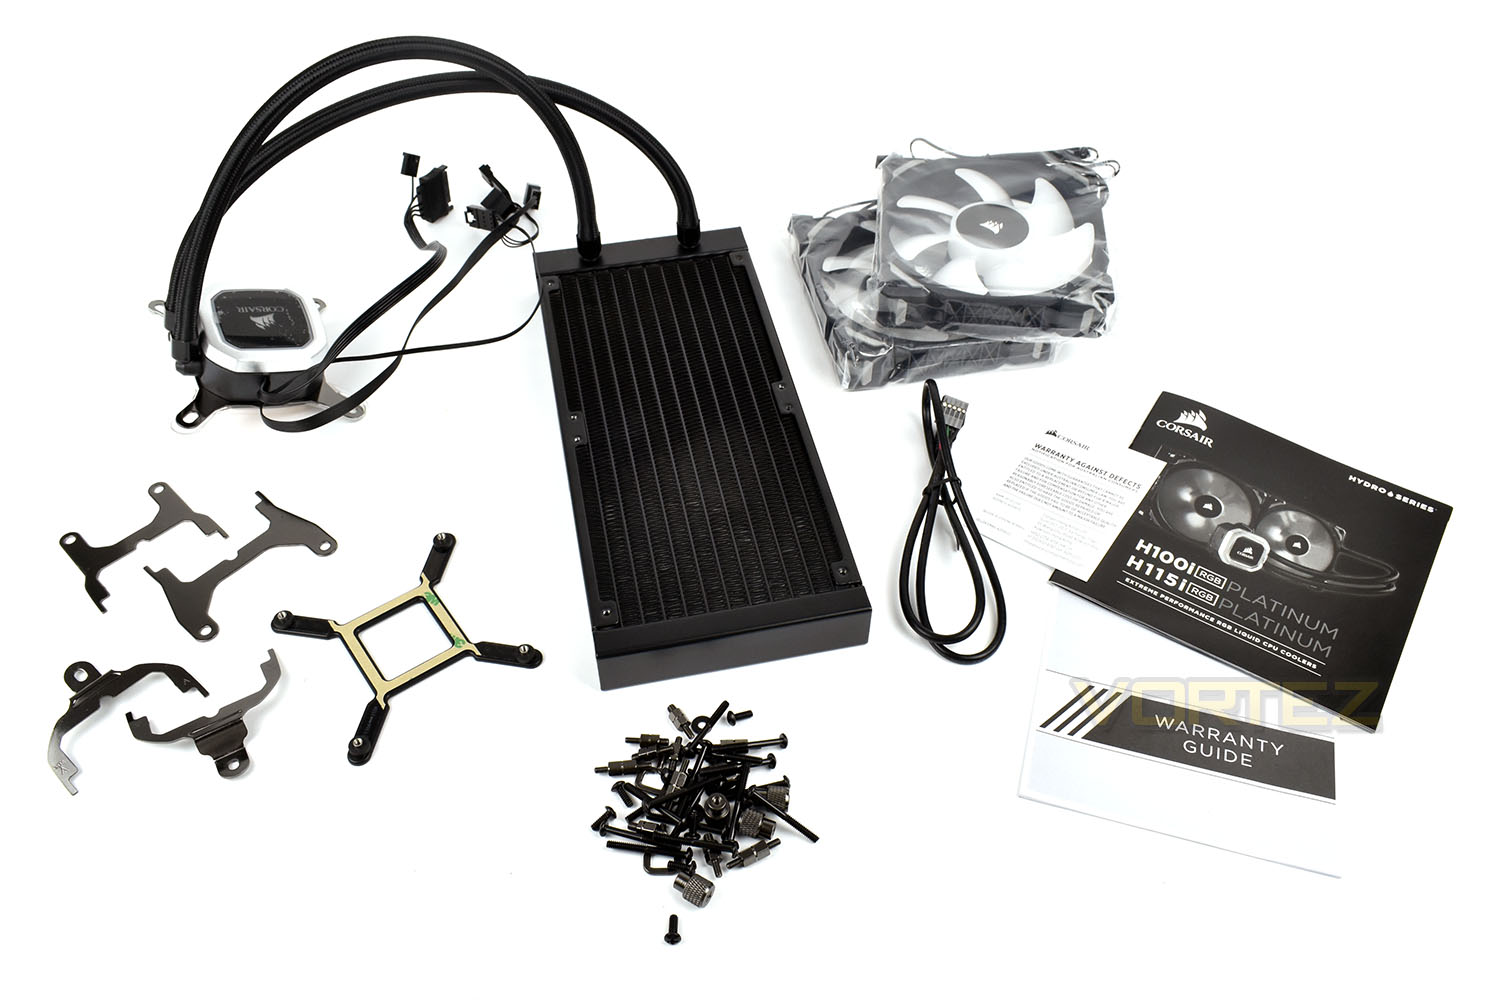
To complement the H100i Platinum, we’re provided with quite a stack of parts.
CPU mounting brackets include full Intel LGA and AMD support, with the latest AMD TR4 socket supported also.
We also get a whole stack of screws, bolts and fixings, with additional screws for an additional pair of fans if you wish to arrange 4 fans in a push-pull configuration. Included are a pair of ML 120 RGB fans.
Closer Look
Starting with the pump, this is somewhere that Corsair have made a considerable change to the design of the Corsair H100i Pro RGB. Firstly, the lighting has been upgraded from a single colour to 16 separately addressable RGB LEDs, with multiple effects selectable within the Corsair iCUE software.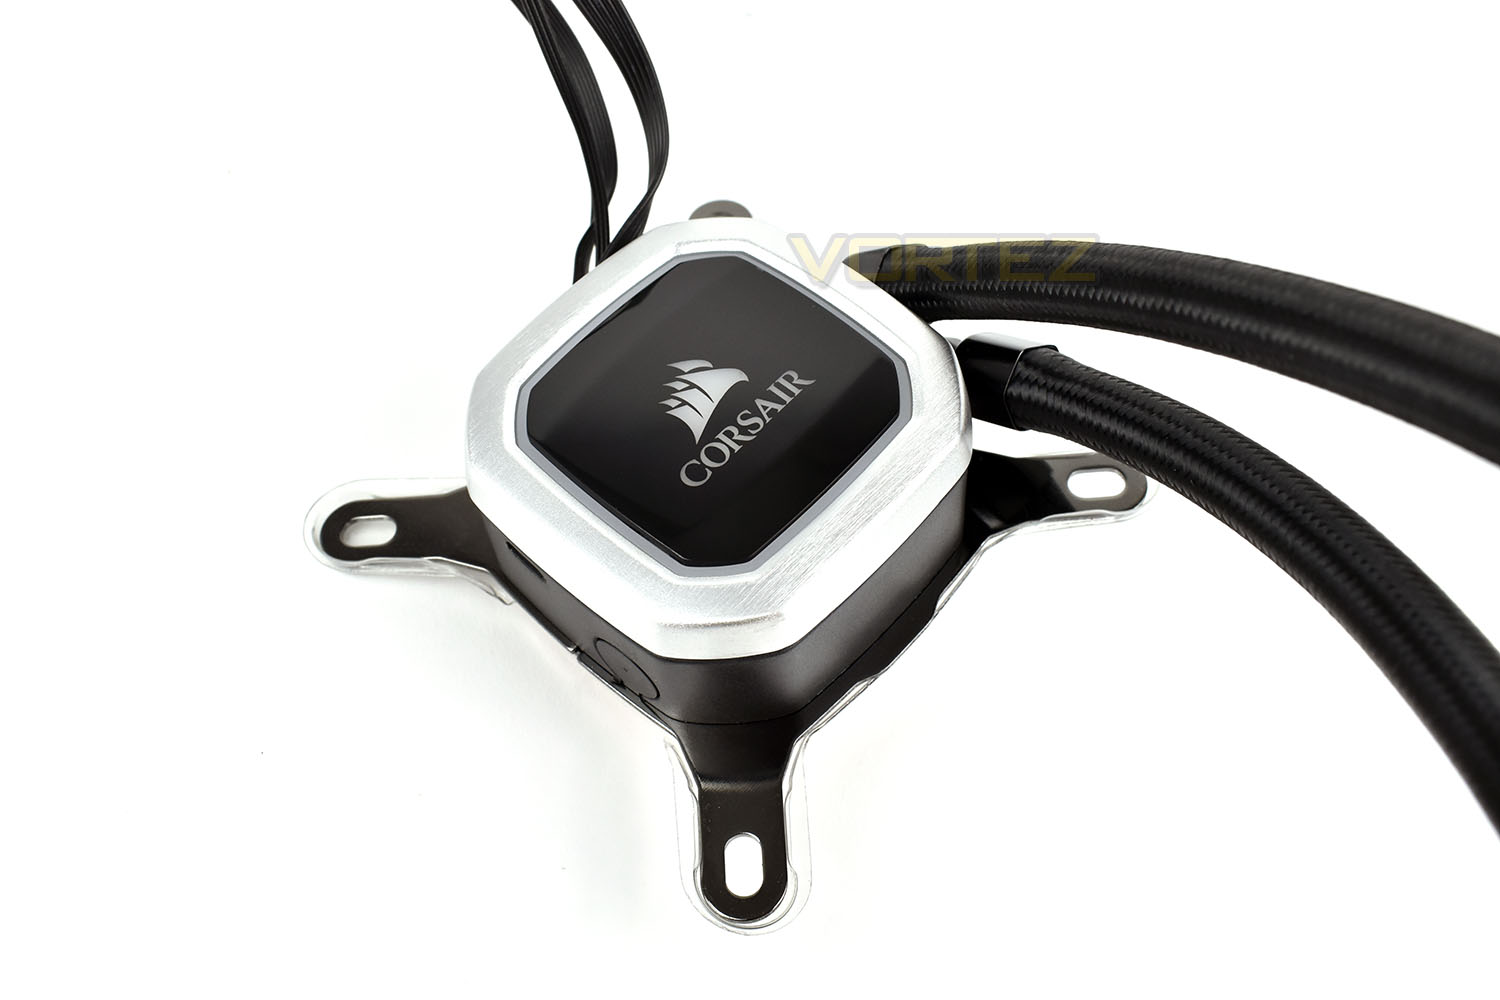
The cabling is also revised, with the SATA power, pump header and fan connections (PWM and RGB) all now protruding from the top of the pump, this should make cable routing that little bit tidier.
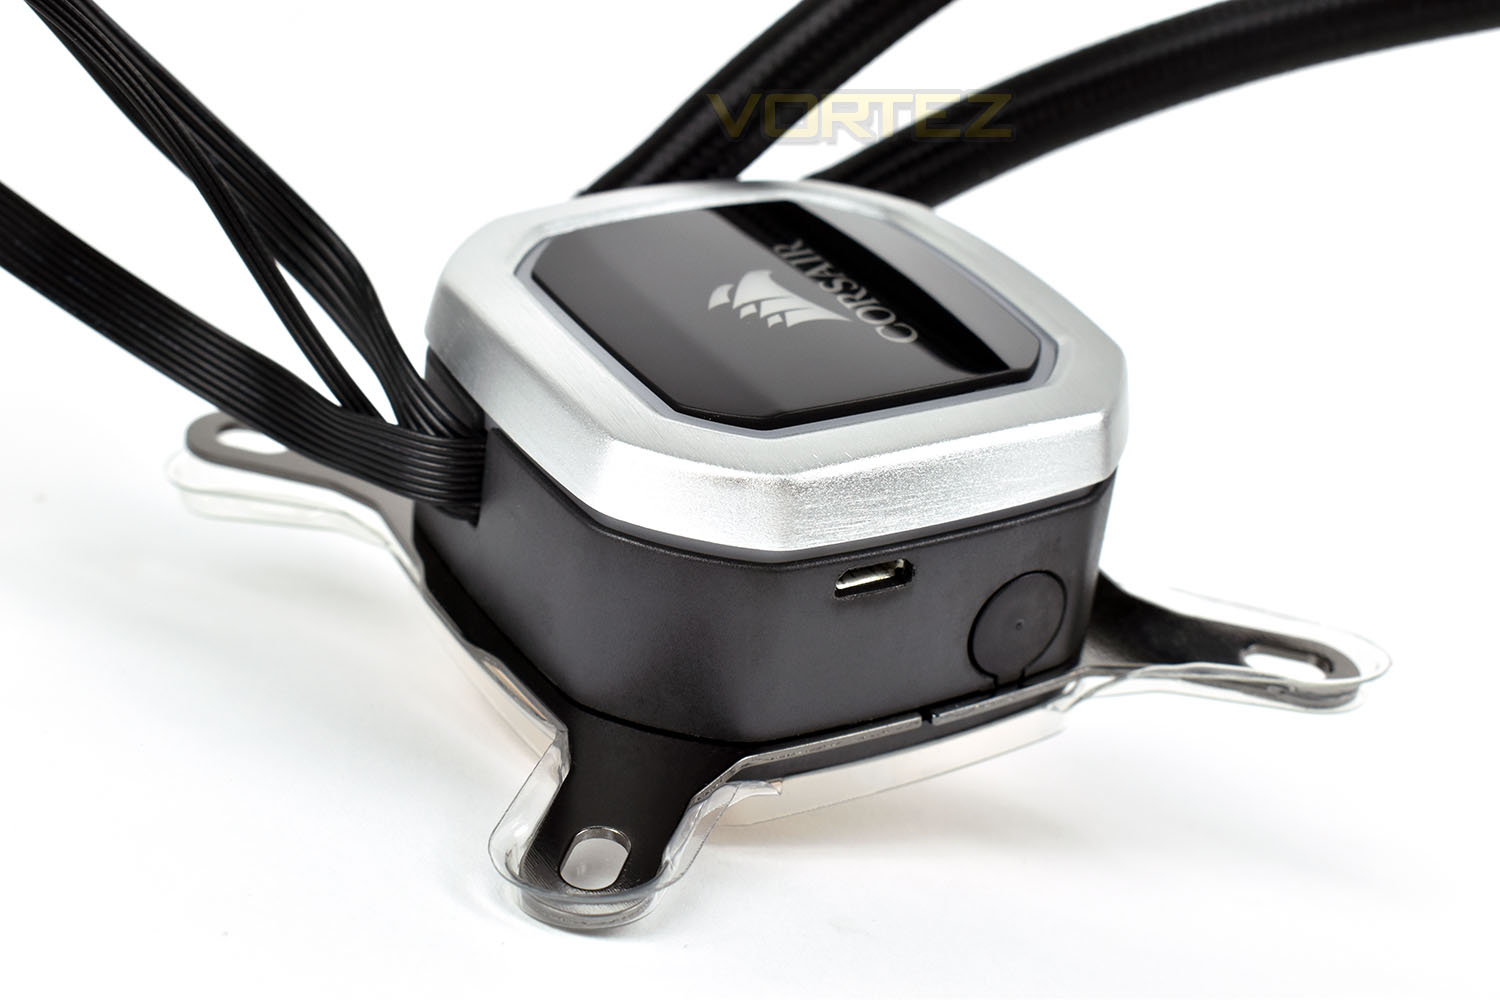
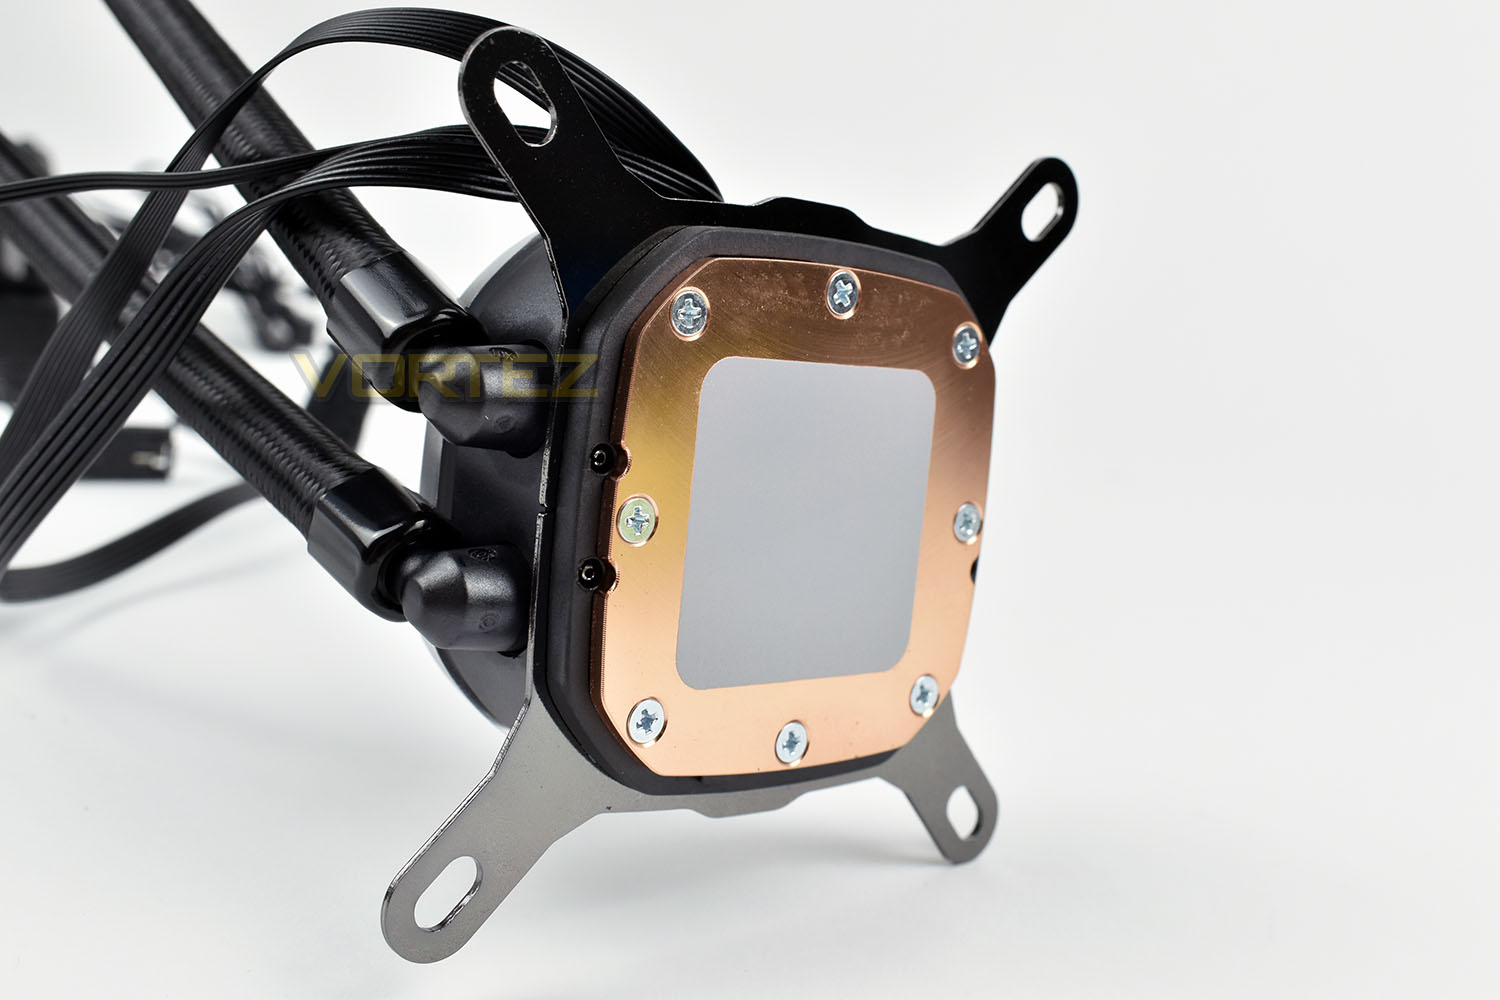
The base of the pump has been enlarged also, most likely to suit the massive size of the Thread Ripper CPUs. Thermal paste is pre-applied for your convenience but that layer is only good for a single use so we’ll clean this off and use Noctua’s NT-H1 thermal paste.
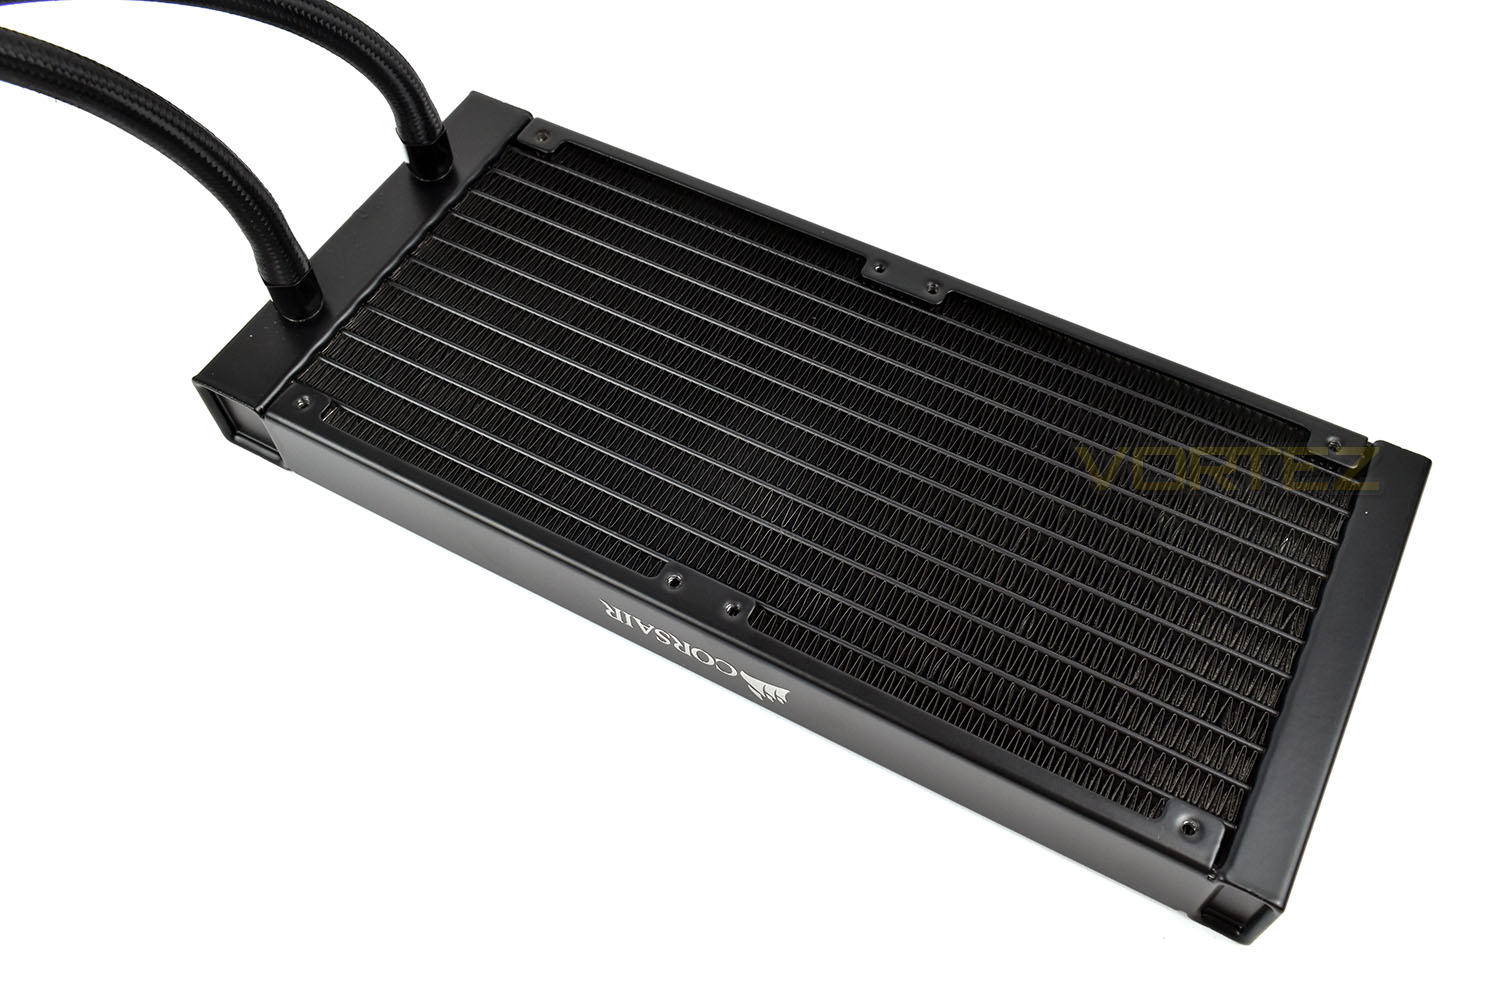
The radiator has also been pimped by Corsair, with increased surface area and a larger core to help dissipate heat quicker.
The included fans are a pair of Corsair ML120 RGB fans, with an operating range between 400 and 2400 RPM; they can also be set to a “quiet mode” which disables them entirely until the coolant temperature reaches 45°C. If you’re using a relatively modest CPU, this may mean near-silent operation for the majority of the time.
RGB lighting is controlled by the pump, with each fan housing four separate RGB LEDs within the motor hub.
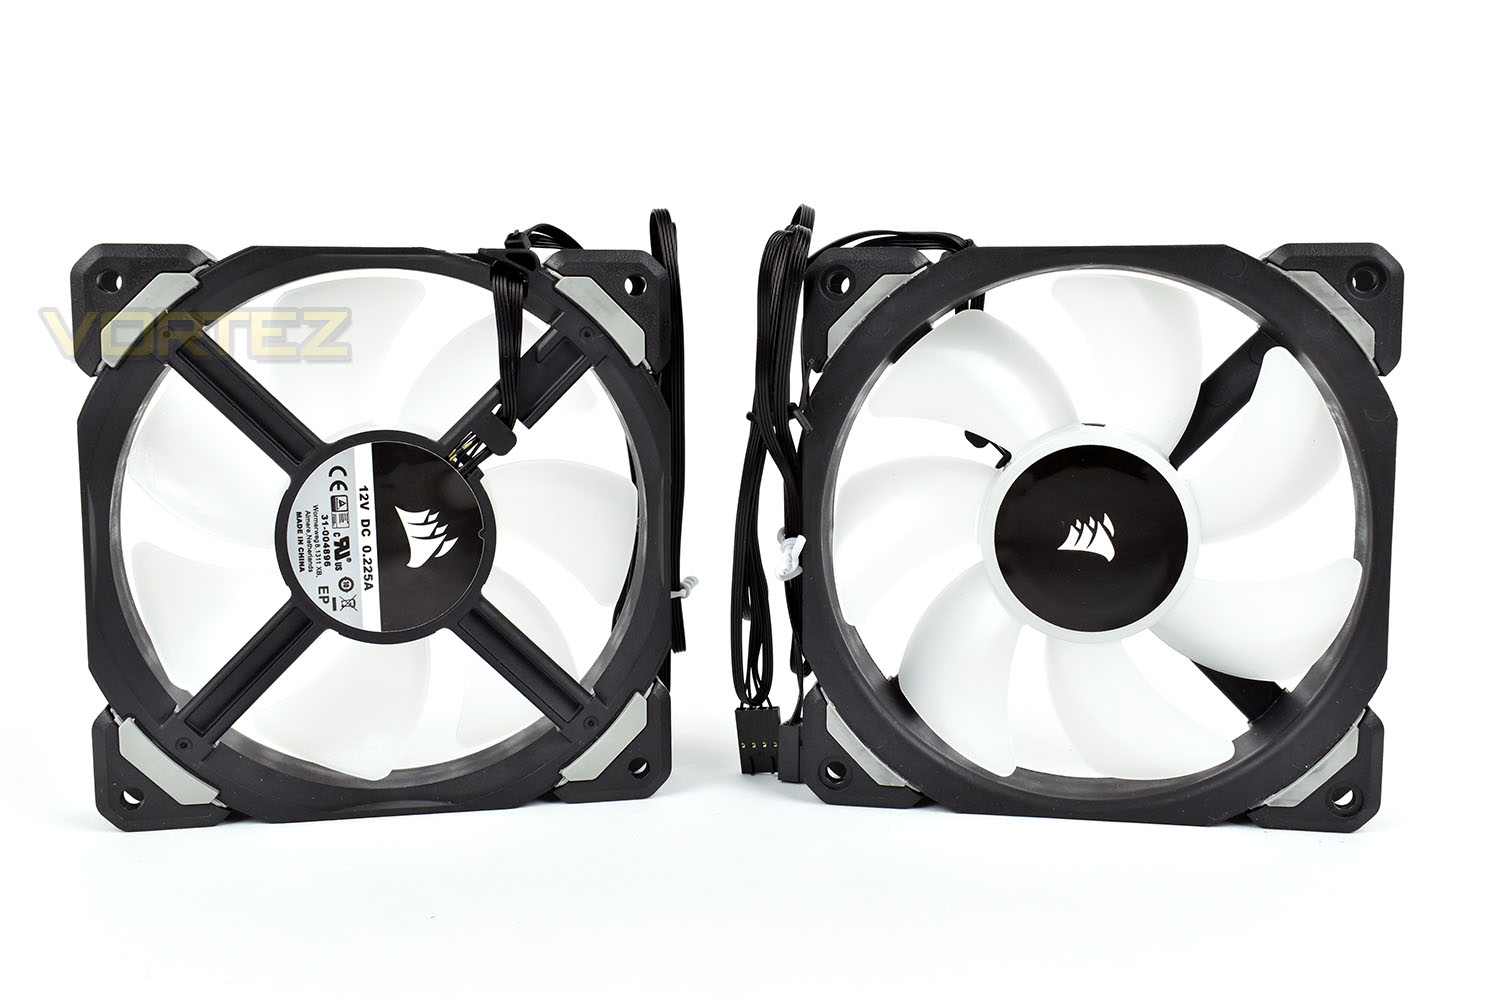
The fans installed onto the radiator look great, even without the lighting. Thanks to the rubber corners, the noise from the fans should be adequately isolated from the radiator, preventing resonance between the two.

RGB Lighting
Check out the video below for a brief overview of the RGB lighting included with the H100i Platinum RGB.Installation
With each CPU cooler that we test, a small pea-sized blob of Noctua NT-H1 thermal paste is applied to our CPU ahead of heatsink installation. We choose to use this high-quality paste in all of our CPU cooler reviews, essentially eliminating an unnecessary variable from the subsequent results and comparison graphs. We also installed the four standoff screws into the LGA2011 socket.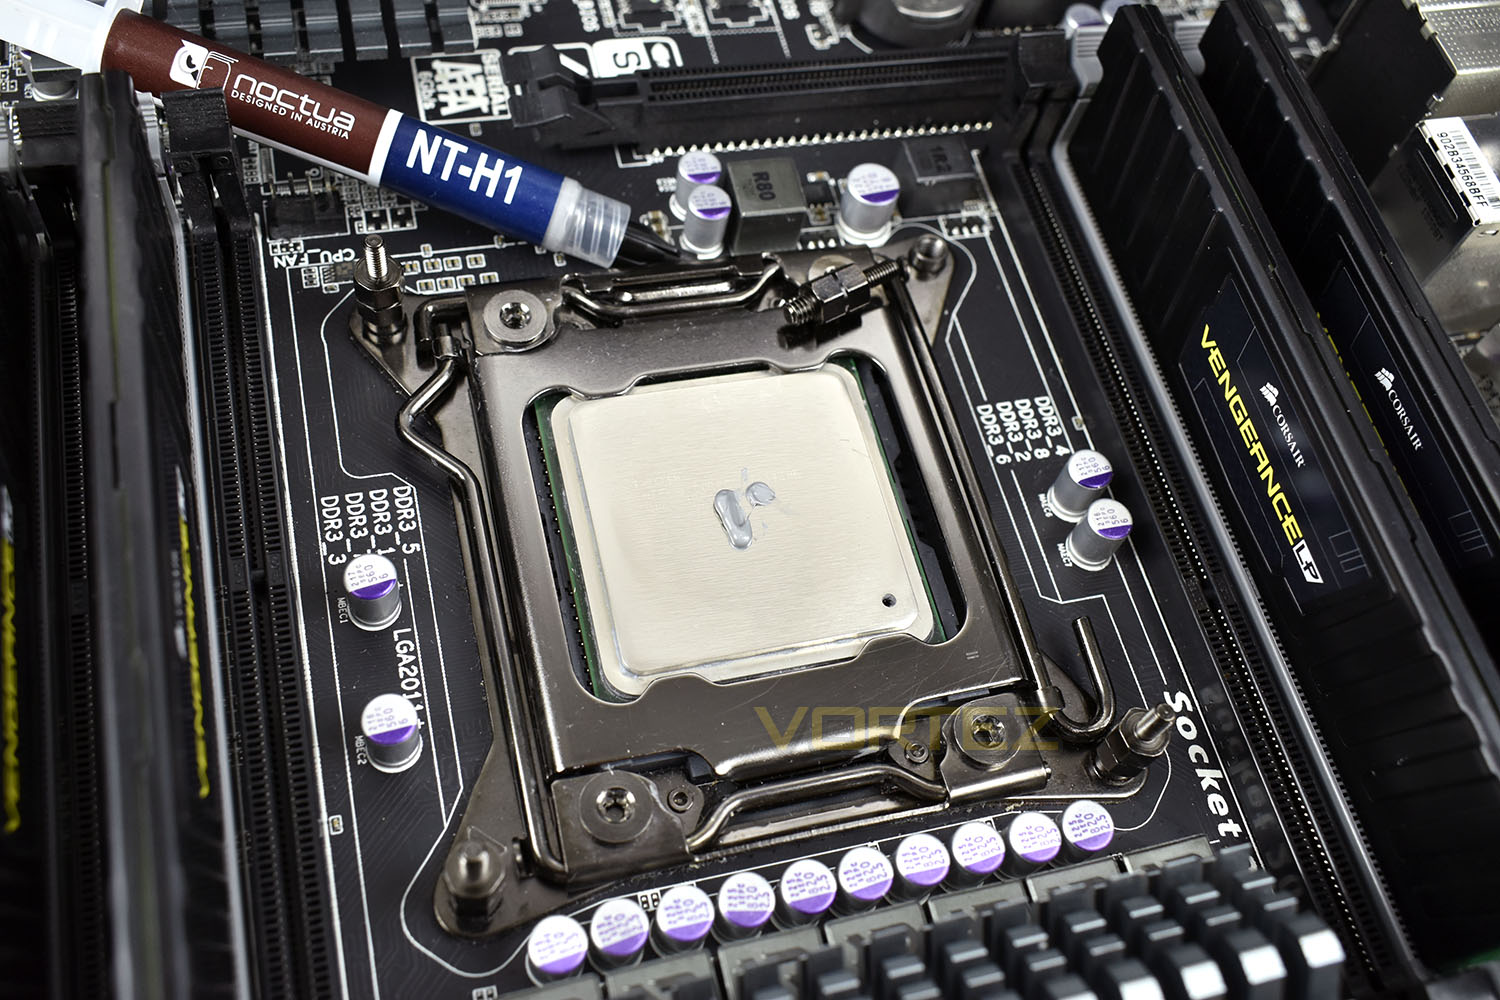
Going along with Corsair’s tool-less design, the four thumbscrews can be sufficiently tightened by hand, though if you’re a little finnicky, perhaps using a screwdriver to line up the crosses on top of each screw will be necessary.
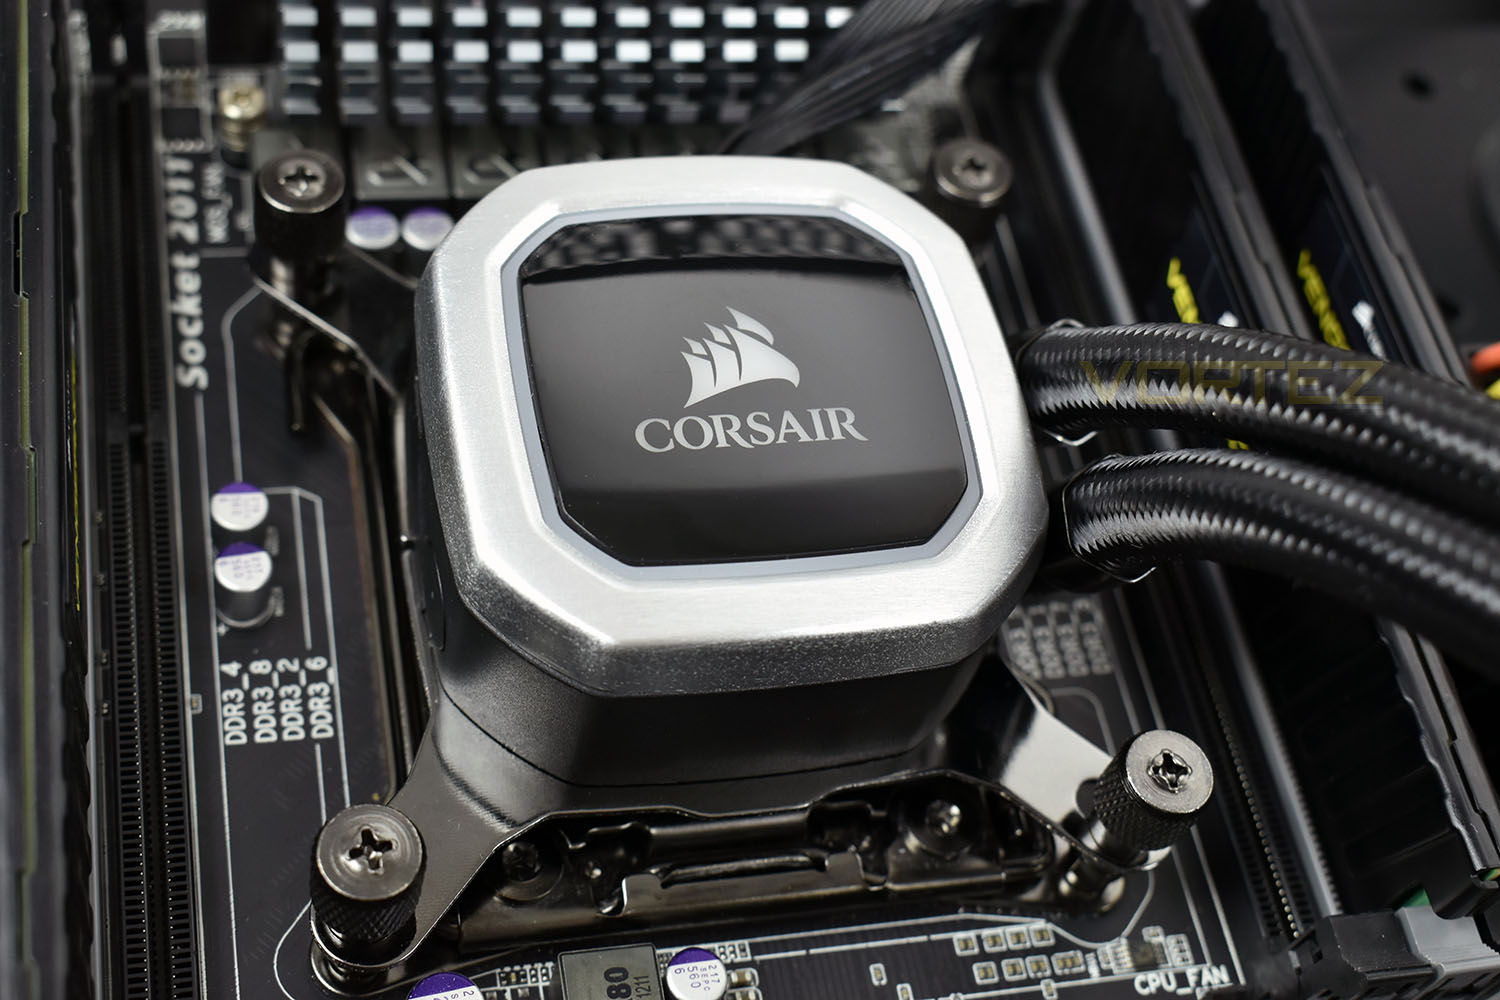
Installing the radiator is always a simple task, regardless of the brand, with 8 screws installed from above to hold it into place.
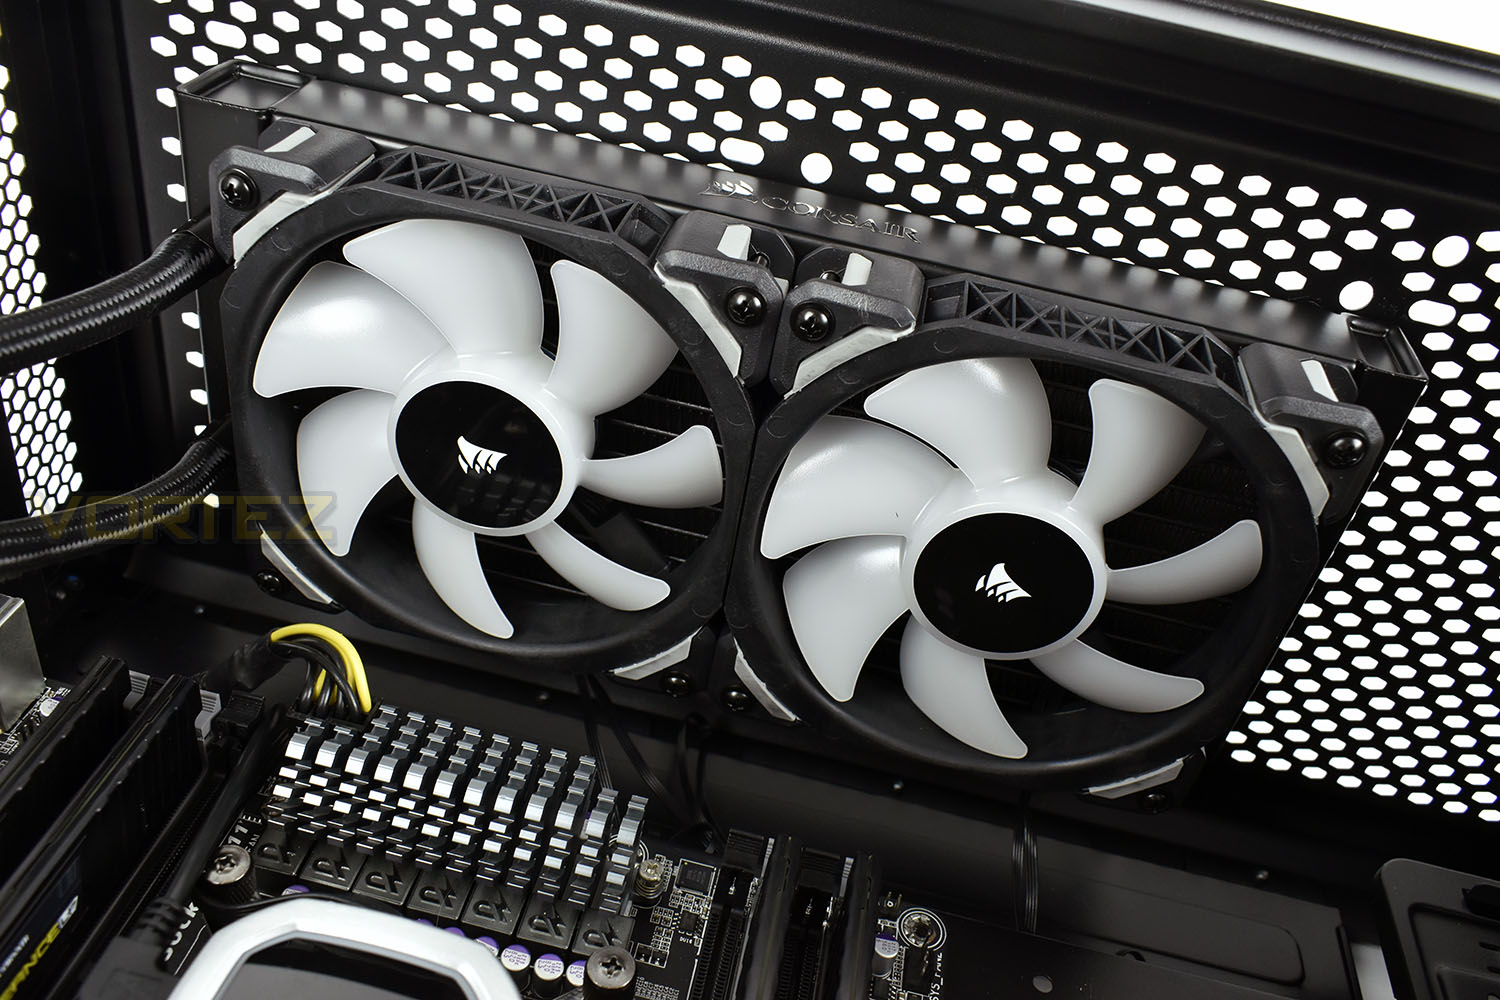
As we mentioned on the Closer Look page, the cables now protruding from the top of the pump should help with cable management, giving an overall tidier appearance. If Corsair can do something about the Micro USB next, that would be the cherry on the cake.
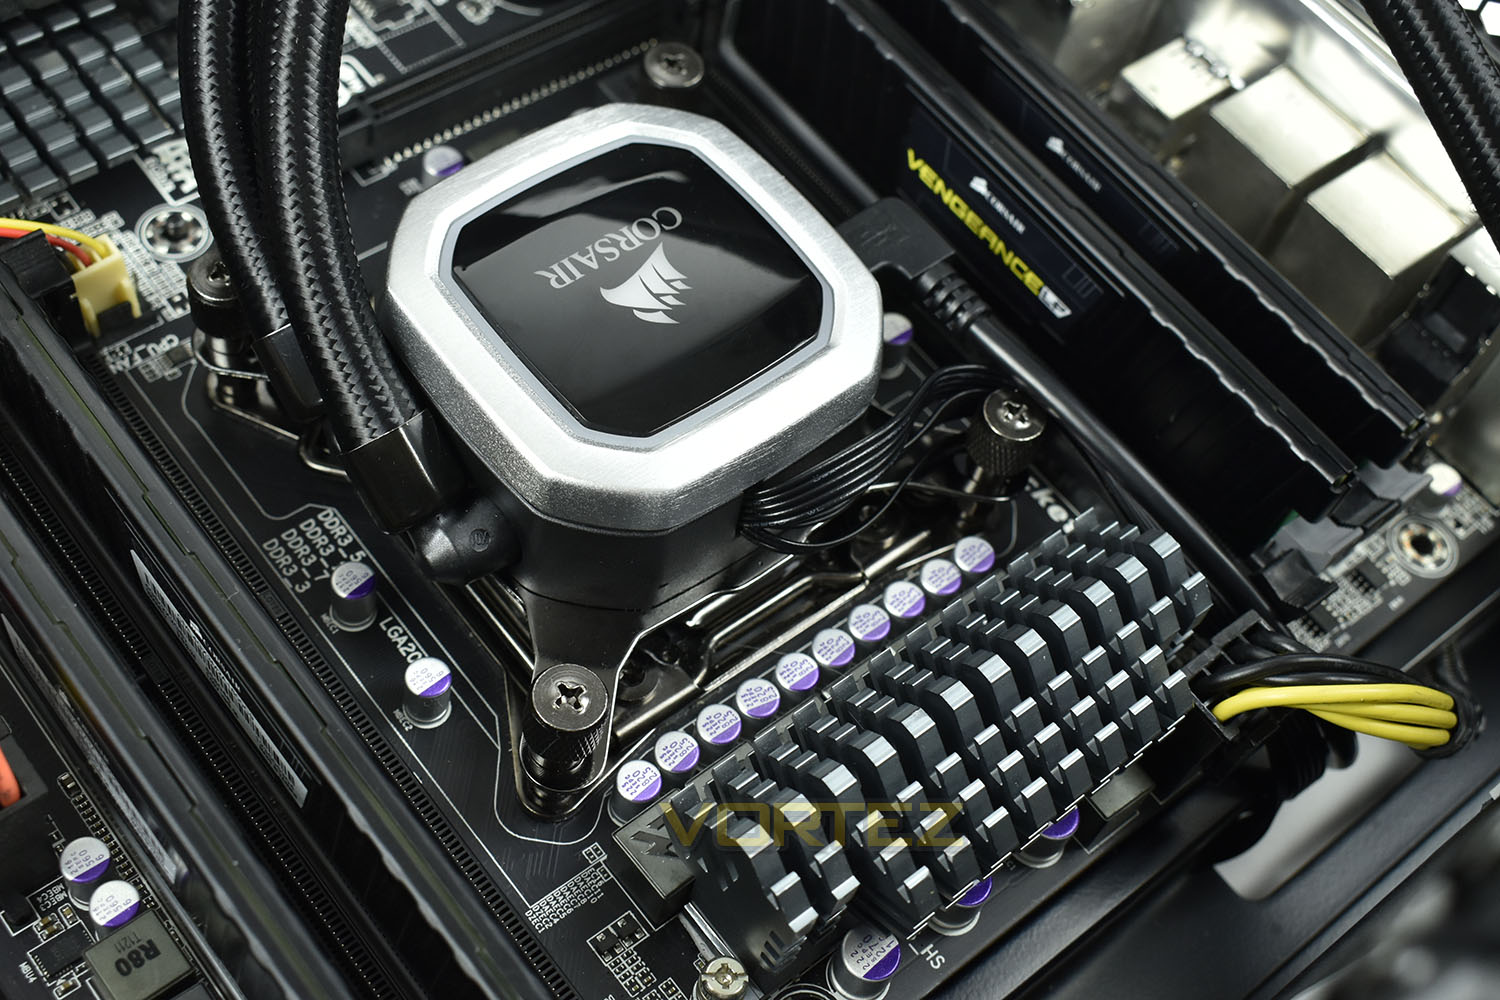
As per usual, we rate the Corsair installation experience amongst some of the best.
Test Setup & Methodology
We have recently made changes to our cooling department and the associated testing methodology, so please note that the number of results shown will increase over time as we add additional products. We hope that these results will appear clearer to the majority of our readership and look forward to building upon the baselines that we currently have.We perform two individual testing routines with each CPU cooler that we receive – temperatures and acoustics. The system used is as follows and all tests are performed at stock 3.8 GHz and overclocked 4.4 GHz frequencies.
Processor – Intel Core i7-3930K
Motherboard – Gigabyte X79-UP4
Memory – 8GB Corsair Vengeance LP 1600MHz CL9
Video Card – Sapphire Radeon HD 6850 1GB
Power Supply – NZXT Hale90 650W
Storage Drive – Kingston HyperX 240GB SATA III SSD
Case – Corsair Carbide 760T
Monitor ASUS ROG SWIFT PG278Q
Motherboard – Gigabyte X79-UP4
Memory – 8GB Corsair Vengeance LP 1600MHz CL9
Video Card – Sapphire Radeon HD 6850 1GB
Power Supply – NZXT Hale90 650W
Storage Drive – Kingston HyperX 240GB SATA III SSD
Case – Corsair Carbide 760T
Monitor ASUS ROG SWIFT PG278Q
To keep our tests consistent, we always review CPU coolers as they come out of the box – with their factory cooling fans, as the manufacturer intended and as the consumer expects. It should, however, be noted that we do not use supplied thermal paste but instead, Noctua NT-H1 paste to, again, ensure consistency. The paste is applied and the CPU allowed to run for a couple of hours, at idle, to give the thermal compound some time to “bed in.”
In the first test, we record idle and load temperatures as shown by the most current version of the Real Temp monitoring utility. The test system is booted to the Windows desktop and left to idle for 20 minutes to ensure temperatures have stabilised. The average core temperatures are then recorded over a 1 minute period and averaged across the six cores. We then perform a continuous 20 minute AIDA 64 stress test. The maximum absolute core temperatures are recorded immediately after the test has completed and averaged across the six cores. All results are displayed as delta temperatures – these are calculated by subtracting the ambient room temperature from the average core temperatures recorded. For temperature testing, the Corsair 760T chassis door is closed and has all three systems fans powered on to simulate real-world conditions.
Our second test follows a similar methodology to the first, with the key difference being that the Corsair 760T chassis door is now left open and all three systems fans are disabled. This allows for the CPU cooler fans acoustic profiles to be captured in isolation. From cold, the system is again booted to the Windows desktop and left to idle for 20 minutes to ensure temperatures have stabilised. The acoustic level is then recorded at a distance of 20cm from the CPU cooler and where the individual result is an average level over a 1 minute period. We then perform our continuous 20 minutes AIDA 64 stress test. Acoustic levels are again recorded at a distance of 20cm from the CPU cooler and where the individual result is an average level over a 1 minute period.
Benchmarks – Thermal Results
We have recently made changes to our cooling department and the associated testing methodology, so please note that the number of results shown below will increase over time as we add additional products. We hope that these results will appear clearer to the majority of our readership and look forward to building upon the baselines that you see below.We start off by letting the CPU cooler “bed in” for a couple of hours, to ensure the paste has time to move around and form an even layer, after which an idle result is taken.

Then we crank up the temperature using AIDA64’s Stability Test and take a measurement after 20 minutes.

Benchmarks – Acoustic Results
As mentioned on the previous page, we’ve made some recent changes to our cooling department and the testing methodology. Therefore our results graphs are starting from fresh – we’re working tirelessly to populate these graphs, but we hope you can appreciate that these results must be done fairly, and more importantly, correctly.Perhaps even more important than thermal performance is the acoustic qualities of a CPU cooler; it’s all well and good having a cool CPU, but if you can’t hear yourself think while it’s running, it’ll soon wear thin.
We test the Corsair H100i Platinum RGB using the balanced fan profile and extreme pump profile.
Firstly we allow the system to idle for around half an hour, giving it plenty of chance to equalise and the fans to find their optimal setting.

We then measure the fan noise at the end of our AIDA 64 Stability Test.

Conclusion
Starting off with the performance of the cooler, which is the most important aspect of any CPU heatsink regardless of how good it looks; the H100i Platinum RGB performs remarkably well, especially considering the modest 240mm radiator and the power hungry Intel Core i7 3930K that we use. When compared to the H100i Pro RGB, it blows it out of the water in acoustics while also reducing temperatures. These improvements can only be attributed to the improved radiator core and the improved pump, due to it using the exact same 120mm ML120 fans.RGB lighting is in a whole different ballpark. The 16 LEDs on the pump look gorgeous, with fast and fluid effects to boot. While the 4 LEDs in each of the ML 120 RGB fans were beautiful. If you’re looking to add some serious bling to your system, we can’t think of a better looking RGB all-in-one cooler.
The elephant in the room while reviewing this all-in-one loop was the sudden usurpation of the H100i Pro RGB that was only released in July. It seems unfair to surpass something both in performance and appearance only 4 months after the launch of its predecessor. To play devil’s advocate slightly, this short period between the two launches has come about because of an odd timescale to launch particular models, with the H150i and H115i Pro RGB both being launched in January of this year; perhaps if Corsair stuck to launching their top-tier coolers and the H100i later on, this wouldn’t be such an issue.
Finally, the price. Launching with an MSRP of £124.99 in the UK and $159.99 in the US. For a 240mm radiator all-in-one system, that’s certainly on the pricey side, but in today’s world where RGB lighting matters so much, perhaps you can justify that extra cost for the stunning lighting, however, at only £5 more than the H100i Pro RGB, the extra RGB lighting is worth every penny, though if your case has the extra space, we would recommend the H115i Platinum RGB instead, for the extra £15.
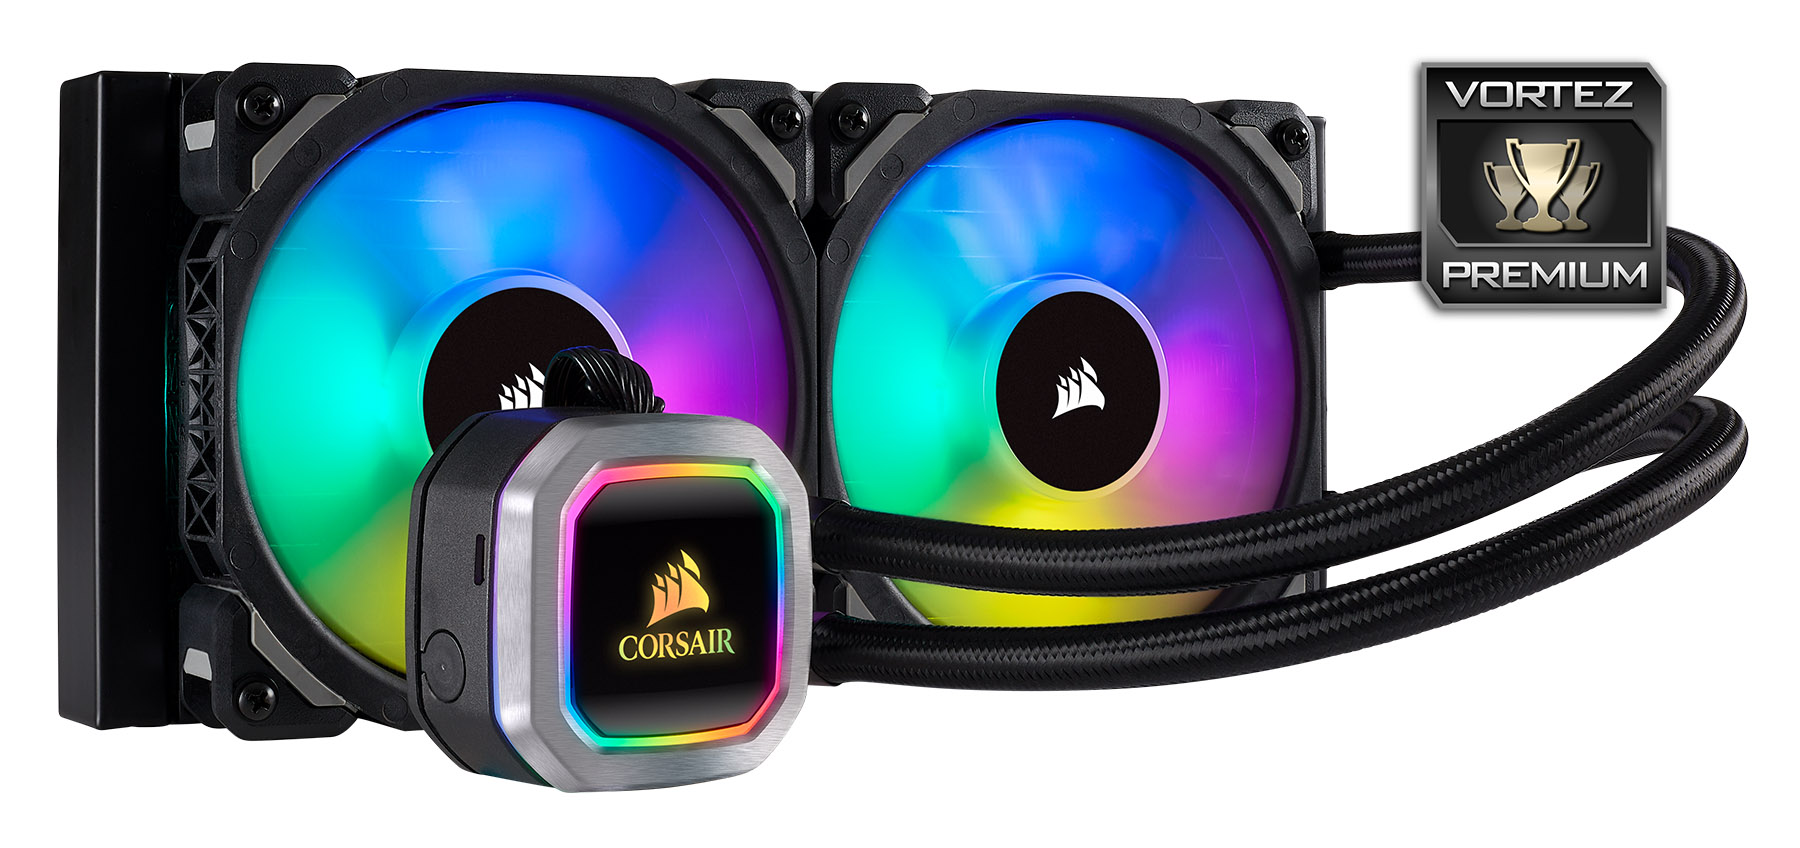
With performance to match the best while looking beautiful in the process, the Corsair H100i Platinum RGB is certainly a contender for any tempered-glass sided system.
Pros
+ The best RGB lighting implementation we’ve seen
+ Excellent performance
+ Easy and tool-free installation
+ Corsair’s iCUE software
+ ThreadRipper socket support.
Cons
– Pricey
– Released far too close to the previous generation
+ The best RGB lighting implementation we’ve seen
+ Excellent performance
+ Easy and tool-free installation
+ Corsair’s iCUE software
+ ThreadRipper socket support.
Cons
– Pricey
– Released far too close to the previous generation
Click here for an explanation of our awards at Vortez.net.
Stay connected with the Vortez Social Media pages: