Thermaltake released a new case under the Armor series recently. We take a look at the A60 Mid Tower Case.
Product on Review: Thermaltake Armor A60Manufacturer and Sponsor: Thermaltake
RRP: £75

With us today we have the Amor A60 which first appeared with its older brother the A90 back in March at CeBIT 2010. The focus with the A60 is to appeal to those seeking a mid-tower case with plenty of cooling potential, innovative features and stylish looks.

Thermaltakes Take:
The Armor A60 is the world’s first SideClick EasySwap design for 3.5″ HDD, and build-in latest USB 3.0 SuperSpeed connector. With a lot geometrical pattern scalene triangle elements in chassis appearance and design, make the Armor A60 just like an impregnable Armory. Top and front blue LED-fan enhancing combat ambience, Armor A60 delivers the superior airflow which the heat energy of system will be effectively taken away.
Features
• The world’s first SideClick EasySwap design for 3.5” HDD
• Built-in latest USB 3.0 SuperSpeed connector
• Supports up to 7 fans for optimized air flow
• Convenient drive installation with 90° rotated cage
• Top and front blue LED-fan for the ultimate combat ambience
Specifications
Case Type Middle Tower
Dimension H x W x D 480.0 x 210.0 x 500.0 mm (18.9 x 8.3 x 19.7 inch)
Side Panel Transparent Window
Color Exterior & Interior: Black
Material SECC
Drive Bays – Accessible : 5.25” x 3, 3.5” x 1
– Hidden : SideClick EasySwap 3.5” x 1, 3.5’’ & 2.5” x 5
Expansion Slots 7
Motherboards Micro ATX , Standard ATX
I/O Ports USB3.0 x 1, USB2.0 x 1, eSATA connector x 1,
MIC & Speaker (support AC’97 & HD Audio)
PSU Standard ATX PS2 (optional)
Net Weight 7.1 kg / 15.7 lb
Exterior
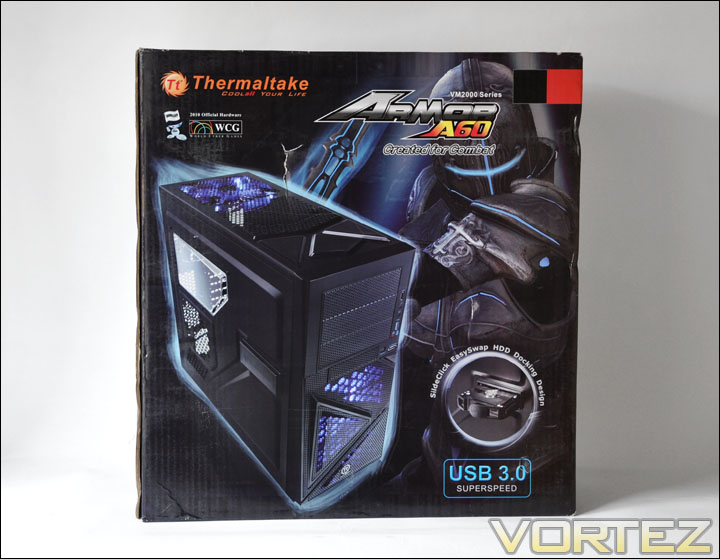
The Armor A60 comes in a large box styled with a futuristic solider in the background – Thermaltake are highlighting the fact the A60 follows an Armor plated design. There is emphasis on the front about the USB3 which is an increasing trend with newly manufactured cases nowadays. To the rear of the box there are further features and specifications. Inside, there is the standard clear plastic sheet wrap and polystyrene packaging to keep things suitably protected in transit.
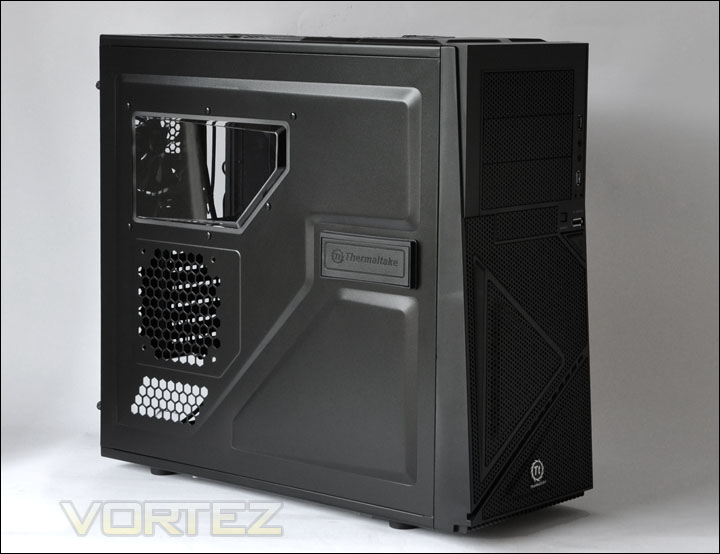
With the A60 now out of the box, its style is distinct. The Armor clad detailing reflects the whole theme. Whether this style will sit well with enthusiasts and gamers is uncertain. I don’t dislike the styling of the A60 but at the same time, I don’t feel its breathtaking by any means. The prominent side features a multi-faceted door panel. There is a small Perspex window and a mesh pane for the installation of a 120mm fan. To the right of these features is the “SideClick EasySwap” port for hot-swapping 3.5″ HDD’s. We will take a look at this closer a little later.
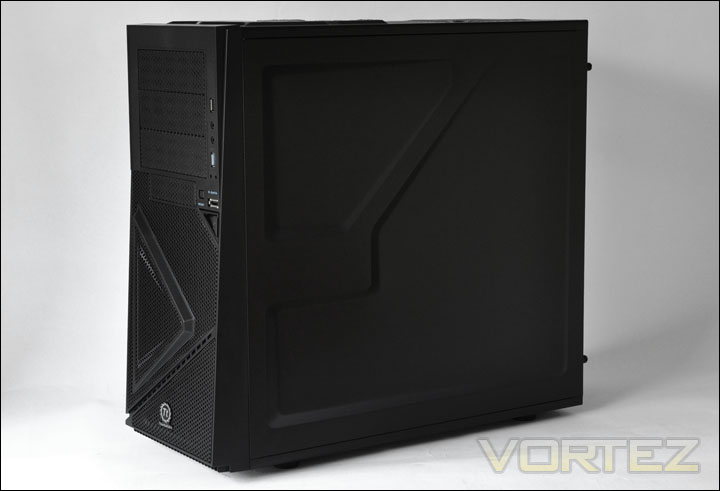
The other side is fairly plain – besides some aesthetically cut lines.
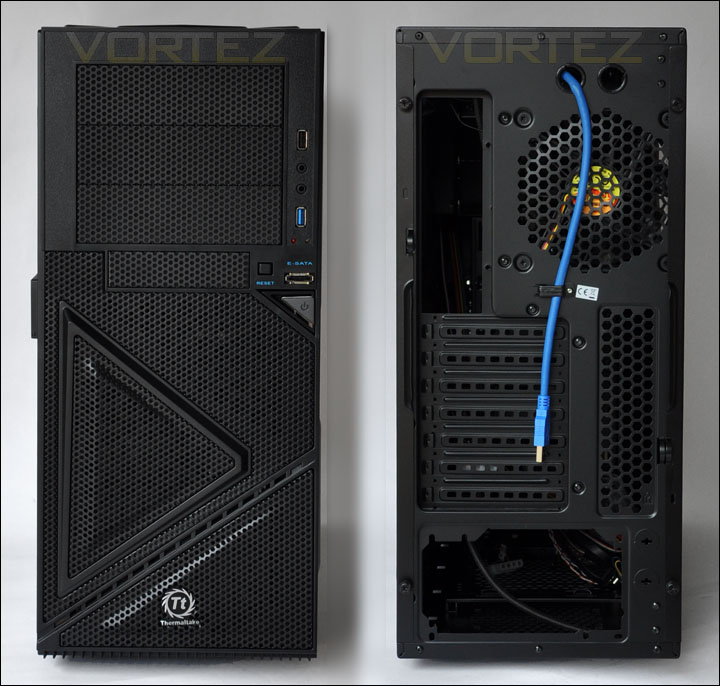
Moving to the front of the A60 there is a Thermaltake plaque and some funky shapes cut-out on the mesh panelling. Up the top we have just three 5.25″ drive bays and to the right an array of front panel controls that we will take a closer look at further down the page. Behind this front bezel there is a sheet of mesh that can be removed and cleaned. The front simply clips off with relative ease.
To the rear of the A60 there are two circular cut-outs at the very top for routing cabling through, out of one of the holes you will have instantly noticed the blue USB3 cable strapped to the back of the case via a bracket. Moving further down, there is the exit mesh for the 120mm rear exhaust fan and then below this the expansion slots which are well crafted, they do not require screws to be secured into place. Some mesh ventilation can be seen to the side of this expansion area and at the very bottom an opening for mounting a power supply unit.
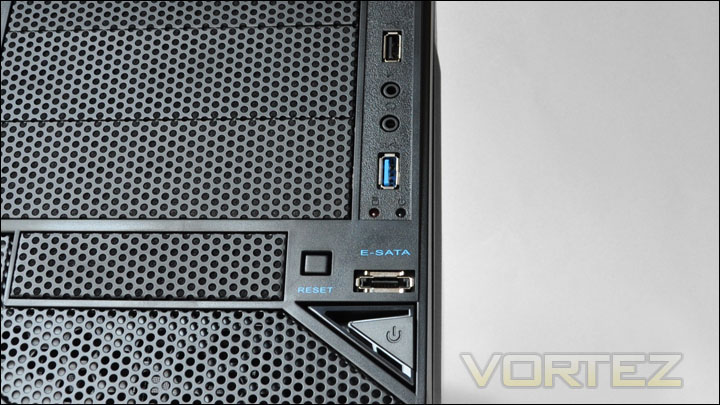
The front panel as I have said has a selection of interesting controls. At the very top a USB2 port, followed by a microphone socket, headphone socket, USB3, power/hdd activity lights, a reset button, eSATA and a power button. Quite a lot of functionality there for the front panel. Nice to see the addition of USB3.
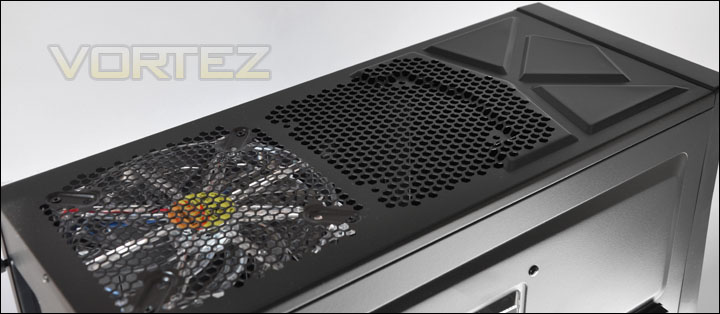
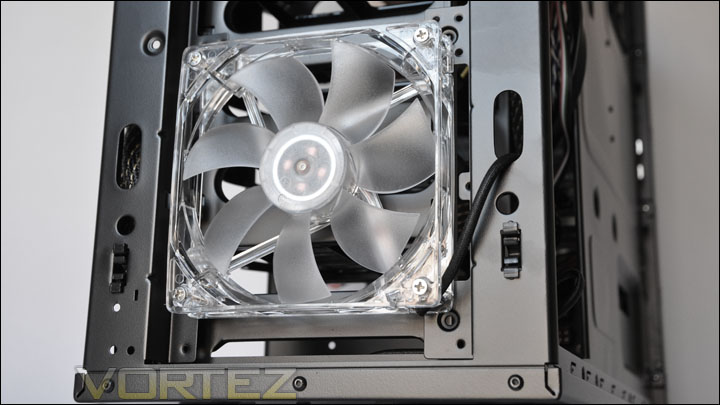
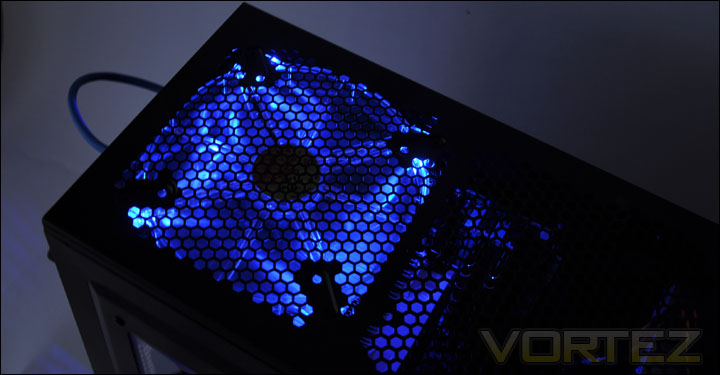
At the top of the A60 there is an opening for two case fans. Included is a 200mm fan already towards the rear, and then a space for a 120mm fan to be installed.
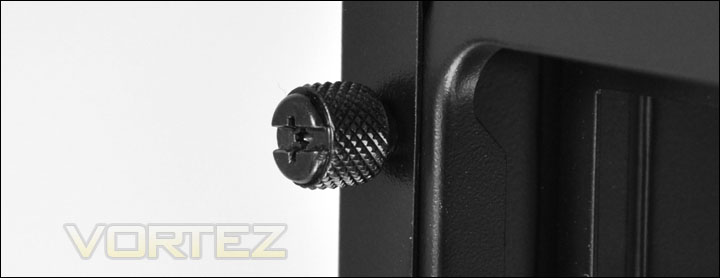
Each of the door panels is secured in place using a thumbscrew. Gone are the days of getting your screwdriver out to remove the door panels.
Interior
Removing the prominent side panel, we can get our first look at the inside of the A60. It looks fairly spacious and right from the start you will notice tool-less functionality for fixing HDD and optical drive. The motherboard screw mounts are raised and there is a cut-out for the CPU cooler backplate. It does look smaller than other cases I’ve dealt with recently but we will find out later how this fares.
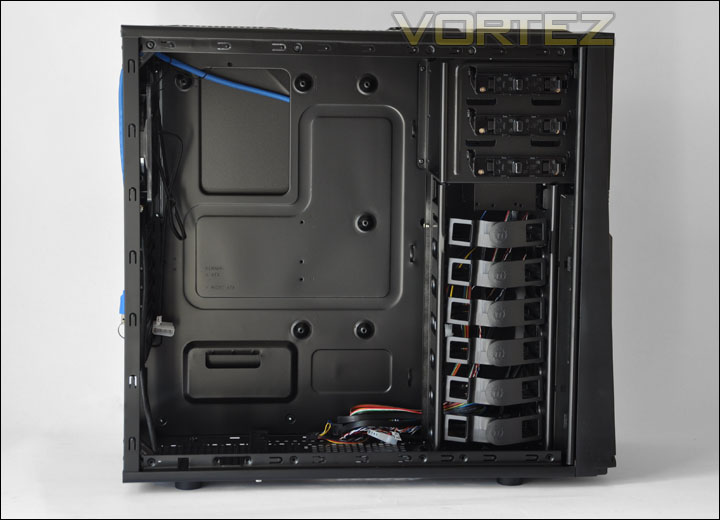
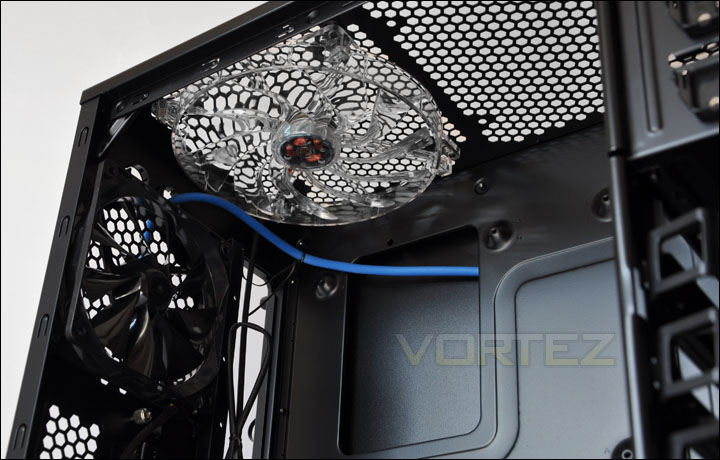
To the rear of the A60 there is a 120mm rear exhaust fan and at the top a 200mm LED fan that is again exhaust. Good to see that the fans are concealed behind braiding to keep things tidy. Next to the 200mm top fan there is space for installing a 120mm fan, or optionally you can swap the 200mm fan out and have two 120mm fans. So there is plenty of chance to customise the cooling configuration with the A60.
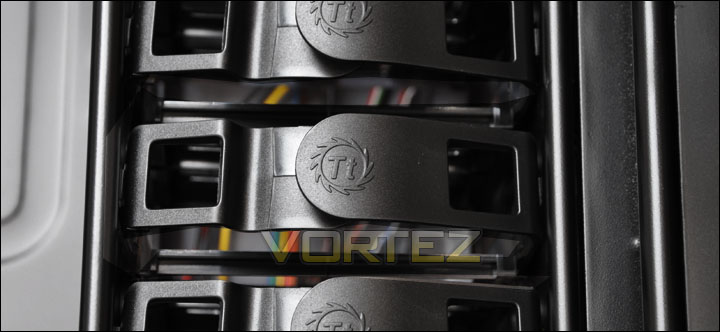
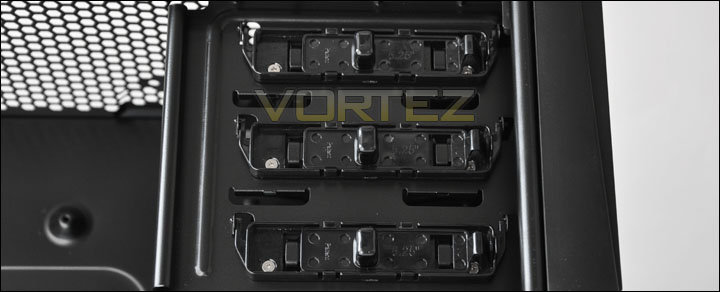
The fixing of 3.5″ drives and 5.25″ optical drives can be done using the tool-less mechanisms within the A60. The HDD method is actually very easy, you just remove the tray fit the drive and slide it back into place. The optical drive fixing is also straightforward, just slide the mechanism to open whilst lifting up and slide the drive in and lock. The optical mechanism holds the drive in remarkably well, in fact this is one of the best I’ve seen for holding the drive still.
Removing the front bezel is very easy, it just takes a light pull and the entire front panel comes away. To add in optical drives you will need to remove this cover, but removing reveals the 120mm LED intake fan – once again this braided to improve the tidiness of the internals.
Installation
Installing hardware inside the A60 is fairly easy, apart from the PSU installation.
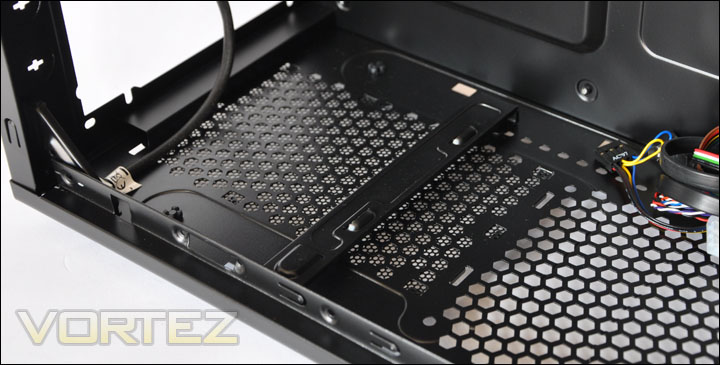
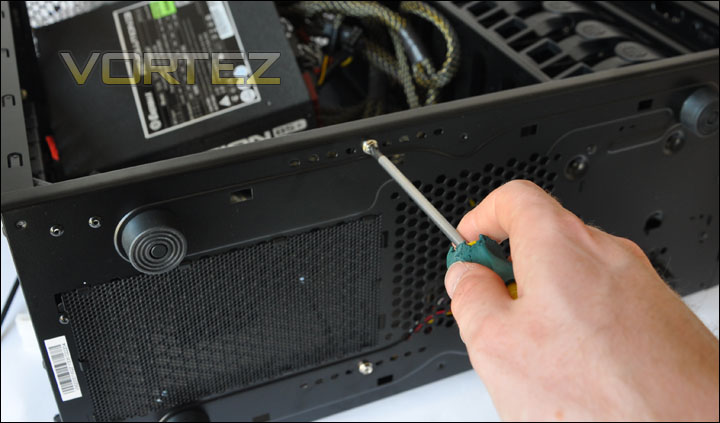
At the bottom of the case is the area for mounting the PSU. There is a removable filter here which is easy to remove and clean. Thermaltake have put a bracket at the bottom of the A60 in order to prop the PSU up when its inside. Without this bracket the PSU would drop at the back because it has to sit on the ledge which you can see where the cable is. There is no anti-vibration rubber, so its metal on metal unfortunately. Quite surprisingly in other reviews on the web, no-one has picked up on this. Designating where the bracket should be placed is a tricky job because PSU’s aren’t all the same size. It took me a while to finally get the bracket in the correct alignment for my PSU because there are ridges on the bracket too – so if its too far forward the PSU will sit up at the back and will not fit within the ledge. Why this hasn’t been made simple I do not know, it seems a lot of trouble just to get a PSU inside.
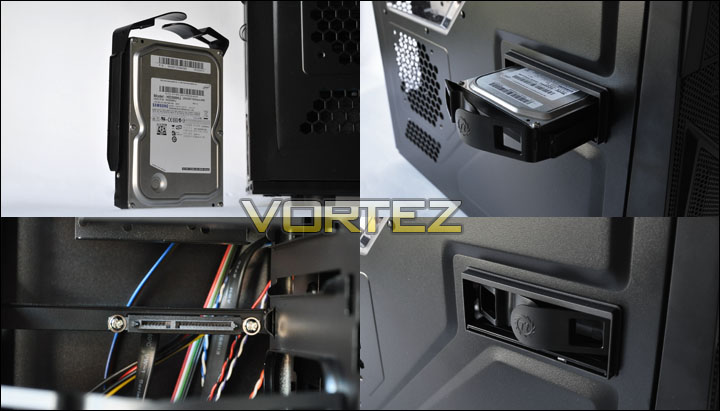
I wanted to illustrate the SlideClick Easy Swap functionality so below is the process in which you can install a HDD to take advanatage of this feature. It’s very easy to do, just remove the associated HDD cage that is aligned to the port, install the drive into the cage and slot the drive in until you feel resistance. For the drive to work, the ports that you see in the bottom left image have to be connected to the PSU (power) and motherboard (SATA). This is a nice feature, its a shame there isn’t a similar option available for 2.5″ SSDs.
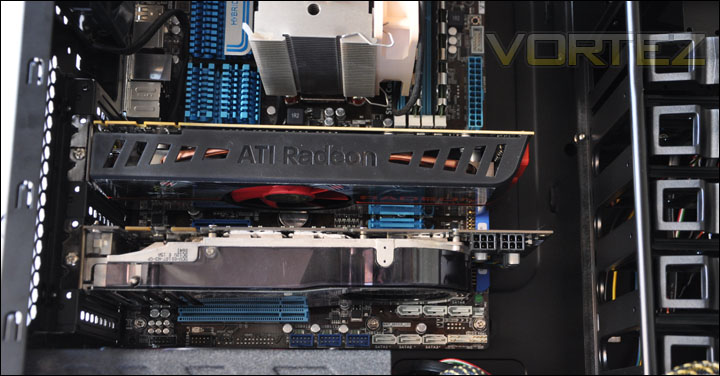
It’s pleasing to know that the A60 will host multiple graphics card configurations. There is also plenty of clearance due to the HDD rack facing the side panels.
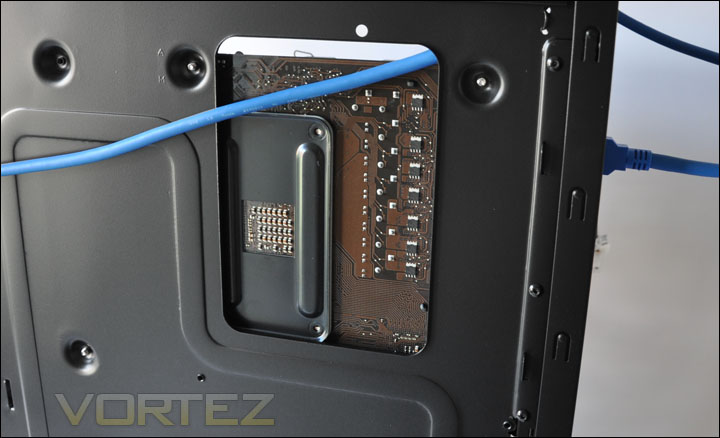
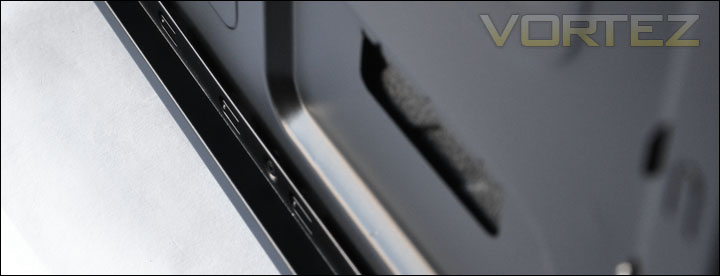
The motherboard cut-out on the back of the tray is a disappointing as its quite narrow. For the 1366 board I used the backplate was almost completely concealed behind the tray. This isn’t the only negative complaint on this side, the distance between the motherboard tray and the side panel is ridiculously tight and so managing cables on this side is almost impossible. See the images for the gap.
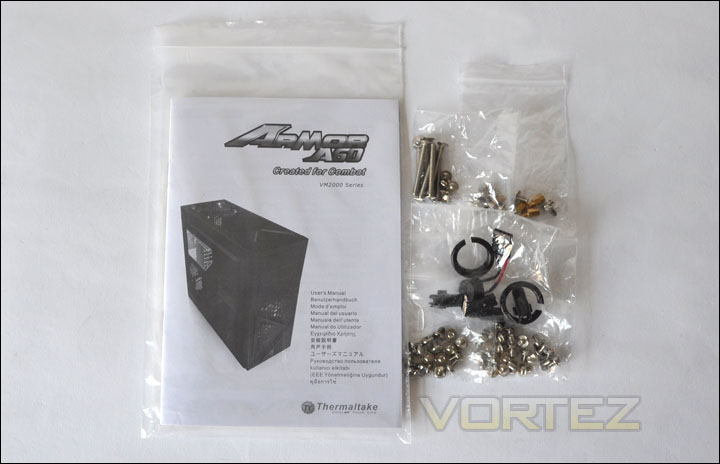
With regards to the accessories included you get an instructions manual and screws for various devices, there are no cable management extras.
Powered Up
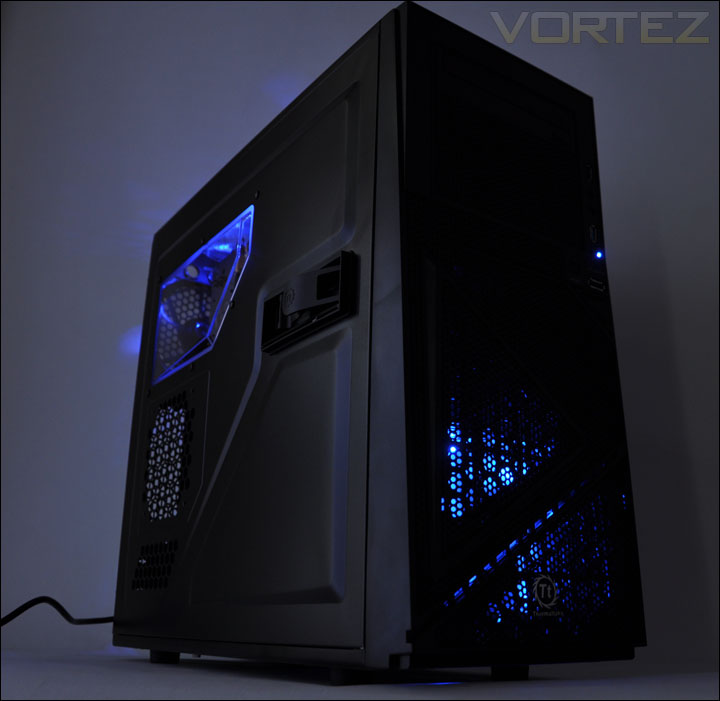
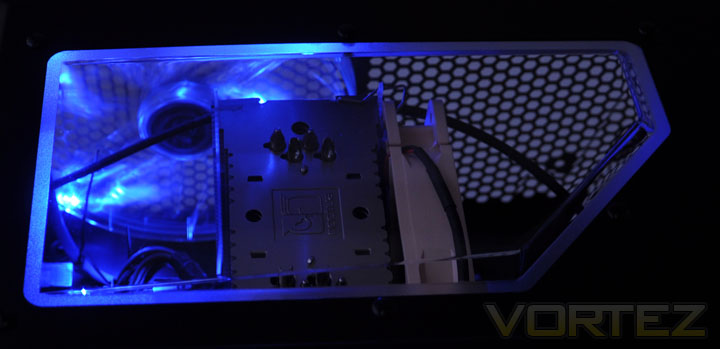
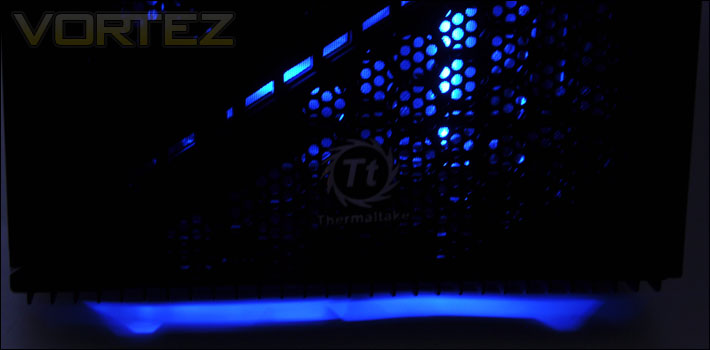
Below are the photos of the A60 powered up, it looks very atmospheric, blue LED lights at the front and the top set the case off brilliantly.
Performance
The A60 has some large fans pre-installed, these fans should provide some good cooling potential. In order to find out the cooling statistics the system is monitored at idle temperatures from a cold boot after some 20 minutes have surpassed. The system is then fully loaded and temperatures are monitored during 30 minutes of the test running.
System Components
CPU AMD Phenom II X6 1055T 2.8GHz
Motherboard ASUS M4A89TD PRO (890FX)
Graphics MSI 8800GTX 798MB
Memory Mushkin EM3-10666 DDR3
HDD Samsung Spinpoint 500GB SATA-II
PSU Enermax Revolution85+
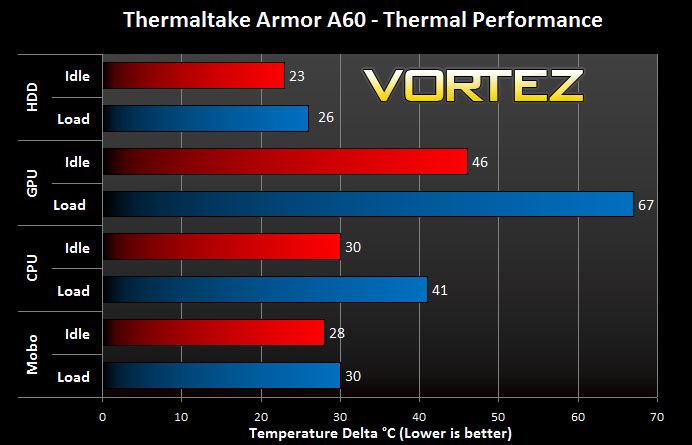
Here there is very similar performance to that of the newly reviewed Cooler Master HAF 912 Plus. They have similar fan placement configurations. So, good performance from the cooling aspect that the A60 provides. There is also the option of adding in another fan at the top and above the VGA region so plenty more options should you desire.
Conclusion
This summer we have seen a real surge in new cases, Thermaltake have been amongst the brands to bring to us the Armor series. The smallest of the Armor variety is the A60. Some may like its looks, some may hate it. Personally I’m right down the middle.
The A60 has some excellent features such as the inventive SideClick Easy Swap function – hot swap your 3.5″ in and out of the case quickly and easily. Tool-less ingenuity is prevalent throughout with the optical drives also being easy to take in and out. Not only are there physically great functionality but there is also USB3 support with the A60. Something we like to see on new cases.
Where the A60 falls down is the unnecessary messing about with the PSU bracket to get the unit inside the case. With new builds you want to get things in easily, not have the hassle of aligning a bracket in a specific spot in order to get the PSU to sit correctly. Not only this, there are no rubber insulating materials around this area so when you come to slot the PSU in – its metal-on-metal. Expect scratching.
The Armor A60 is a good case but it is let down by a few things – there is no SSD support, the backplate cut-out is quite tight and there is limited areas for arranging cables. It doesn’t fail as an enclosure, it just falls short on a few minor things.
Pros
+ Great use of colour
+ Lots of tool-less functionality
+ Impressive cooling – will take up to 7 fans
+ Ready for water-cooling
Cons
– PSU installation fiddly
– Lack of rubber for anti-vibration
– Lack of SSD support
– Backplate cut-out limiting
– No space for cable management behind tray
+ Great use of colour
+ Lots of tool-less functionality
+ Impressive cooling – will take up to 7 fans
+ Ready for water-cooling
Cons
– PSU installation fiddly
– Lack of rubber for anti-vibration
– Lack of SSD support
– Backplate cut-out limiting
– No space for cable management behind tray
We would like to thank Thermaltake for providing the Armor A60. Discuss this review on our forums