Antec aren’t quite a household name in the watercooling scene, or at least not yet. Better known for their cases and power supplies, how does the Mercury 240 RGB stack up in our tests?

Product on Review: Antec Mercury 240 RGB
Manufacturer: Antec
Street Price: GBP £79.99
Antec have been at the forefront of the computer chassis, power supply and cooling product markets since 1986, releasing many iconic cases in that time. Its been a few years since we last looked at anything from Antec, with the most recent being the very odd KUHLER H2O 1250 with the twin water pumps mounted on the radiator. Today we look at the Mercury 240 RGB, a much more regular layout all-in-one watercooling system.
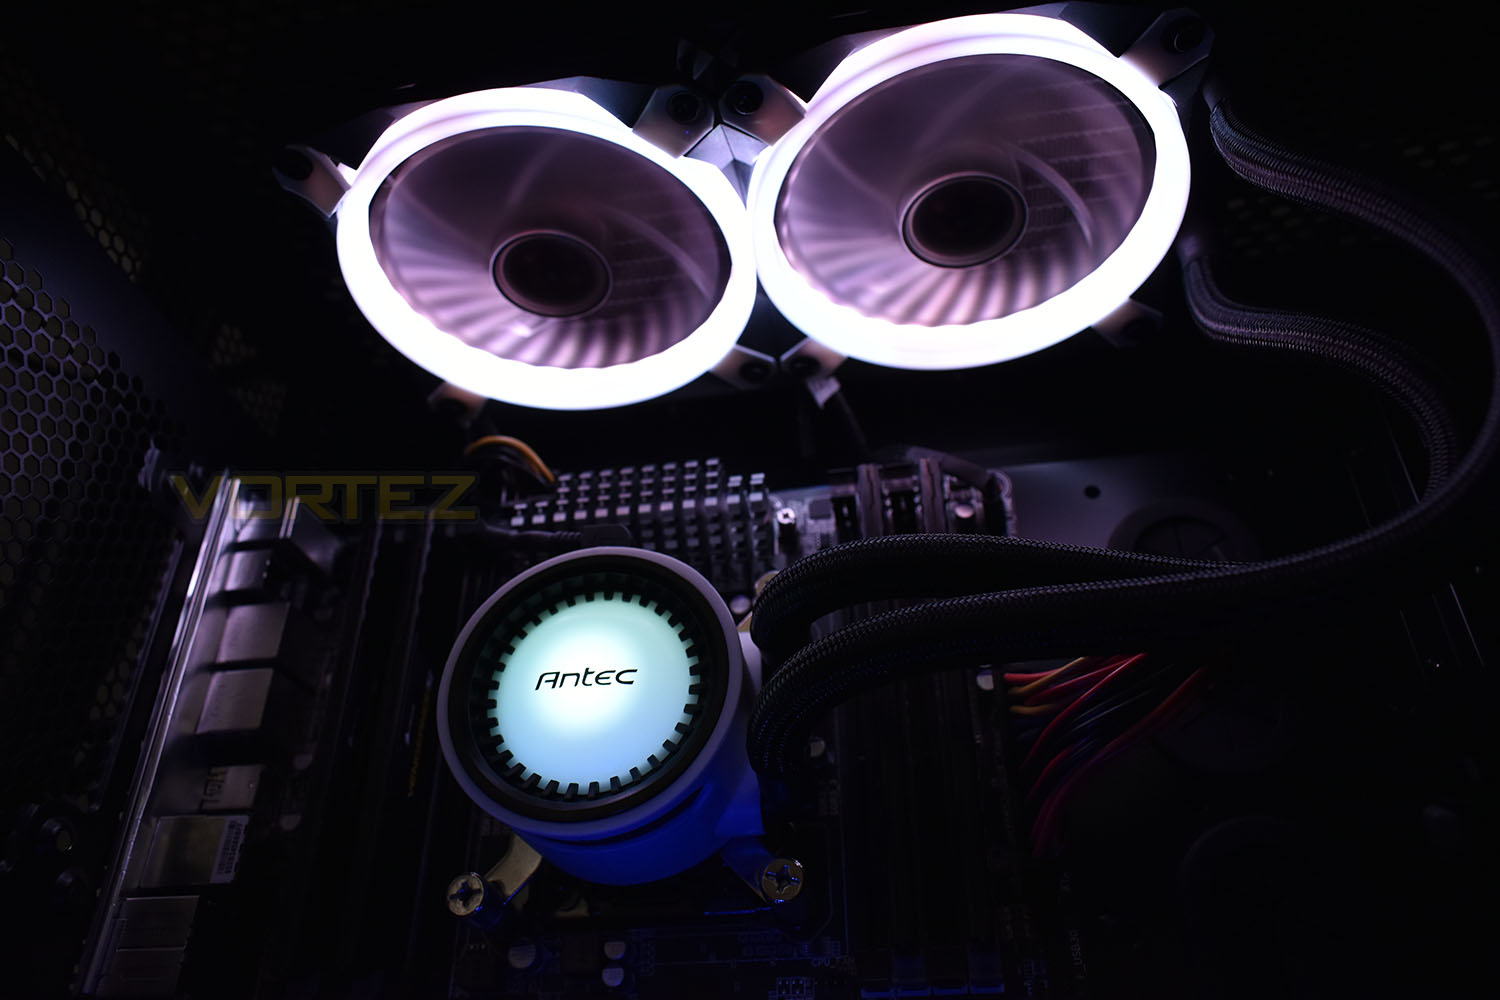
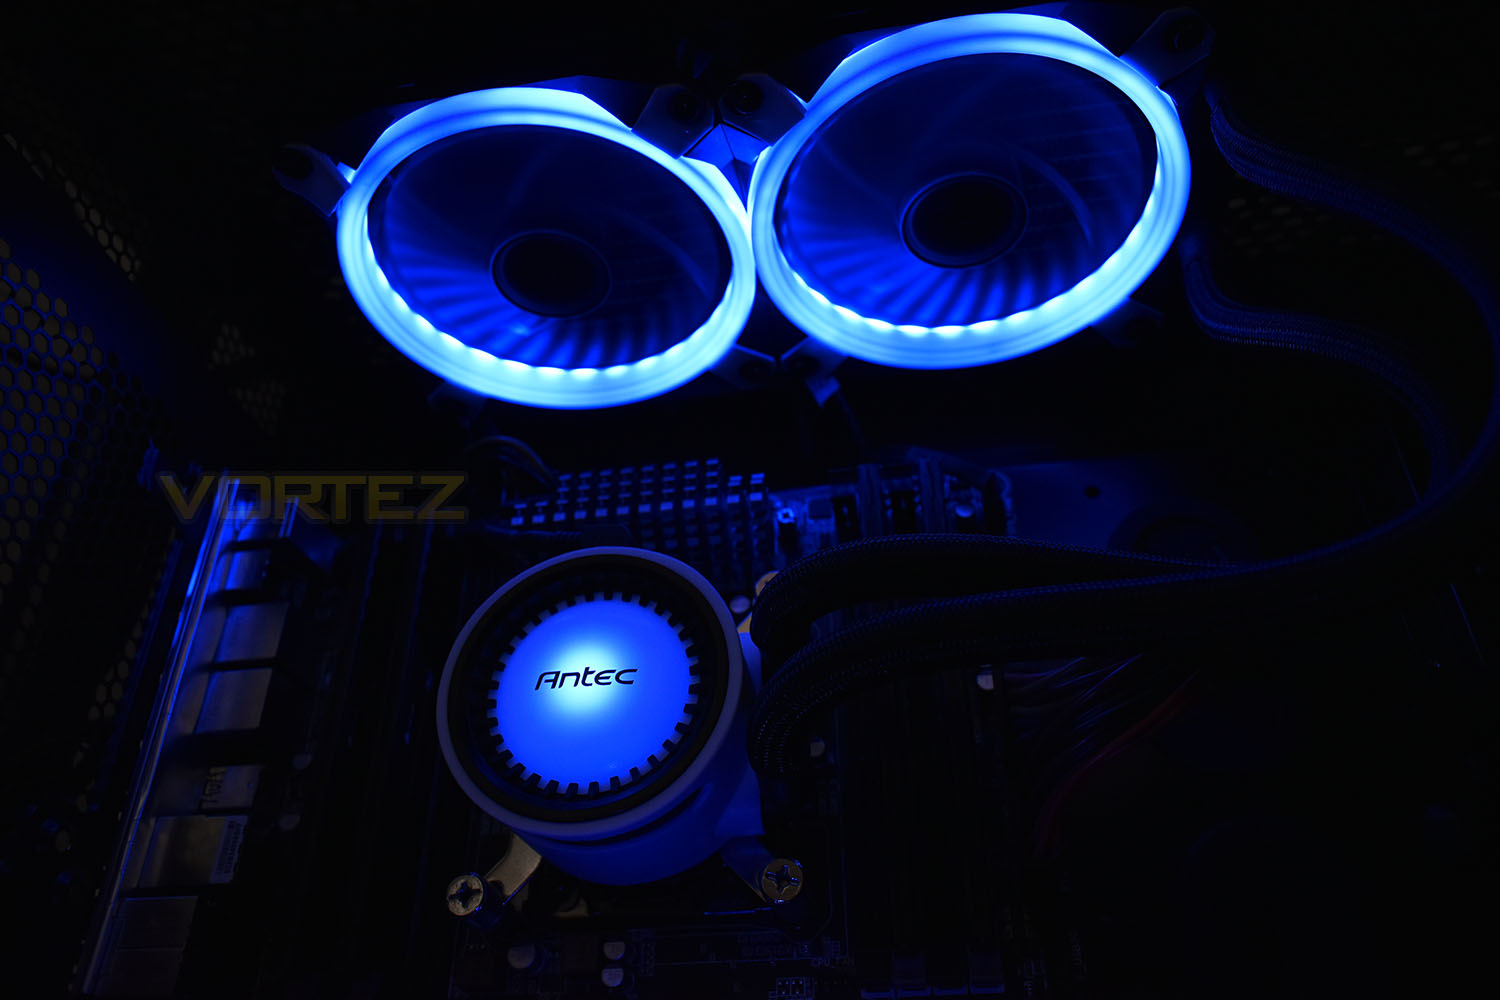
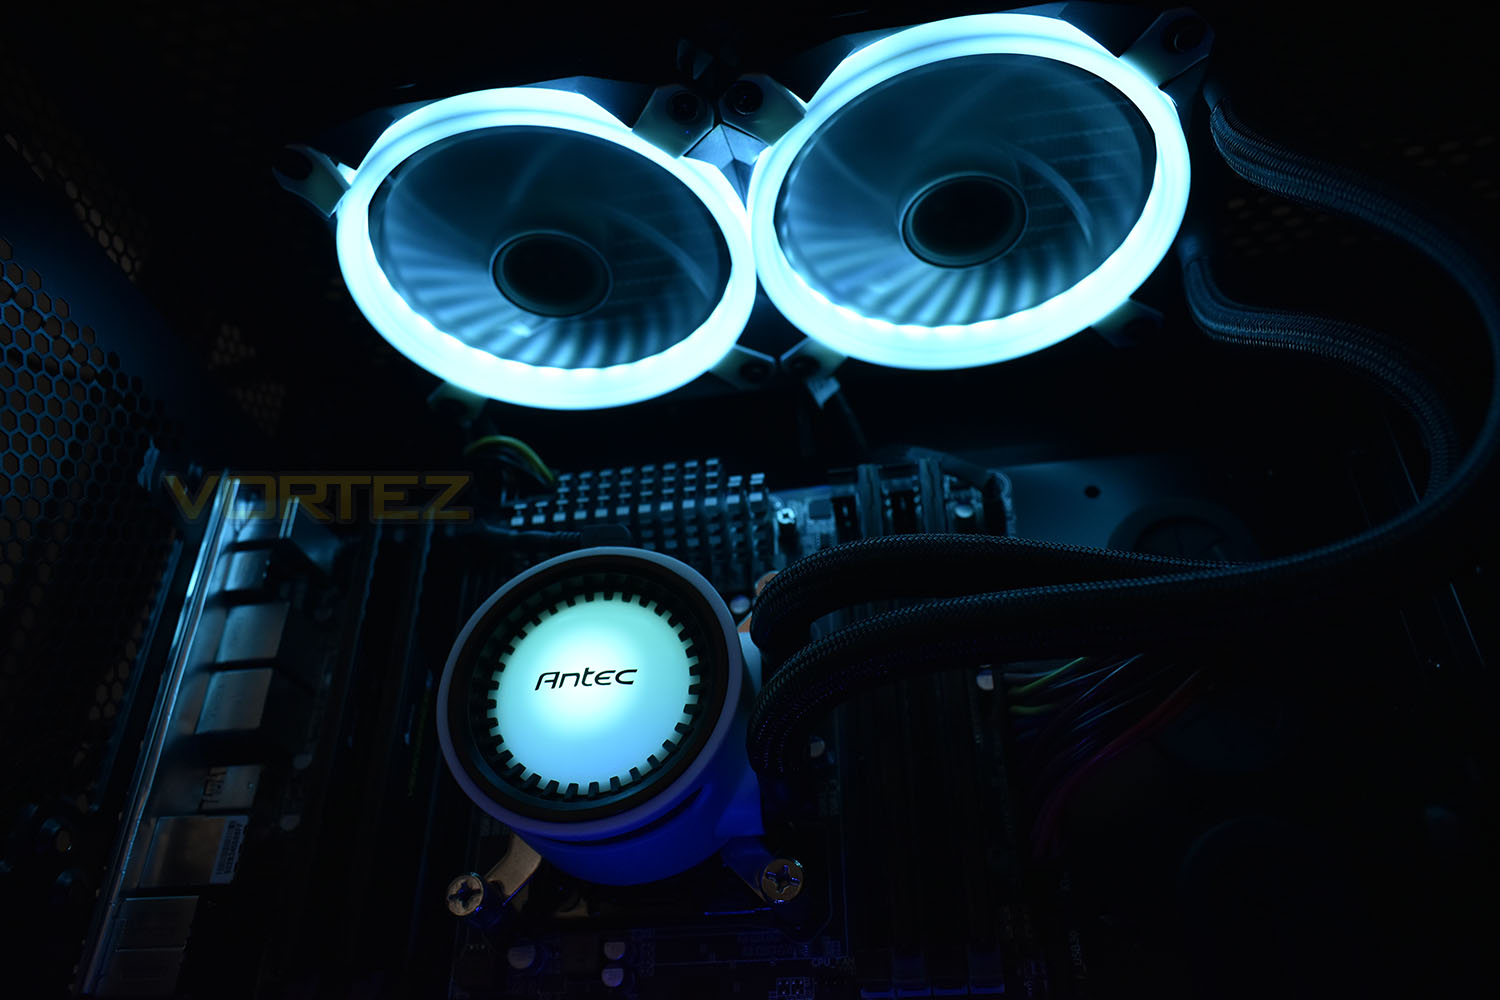
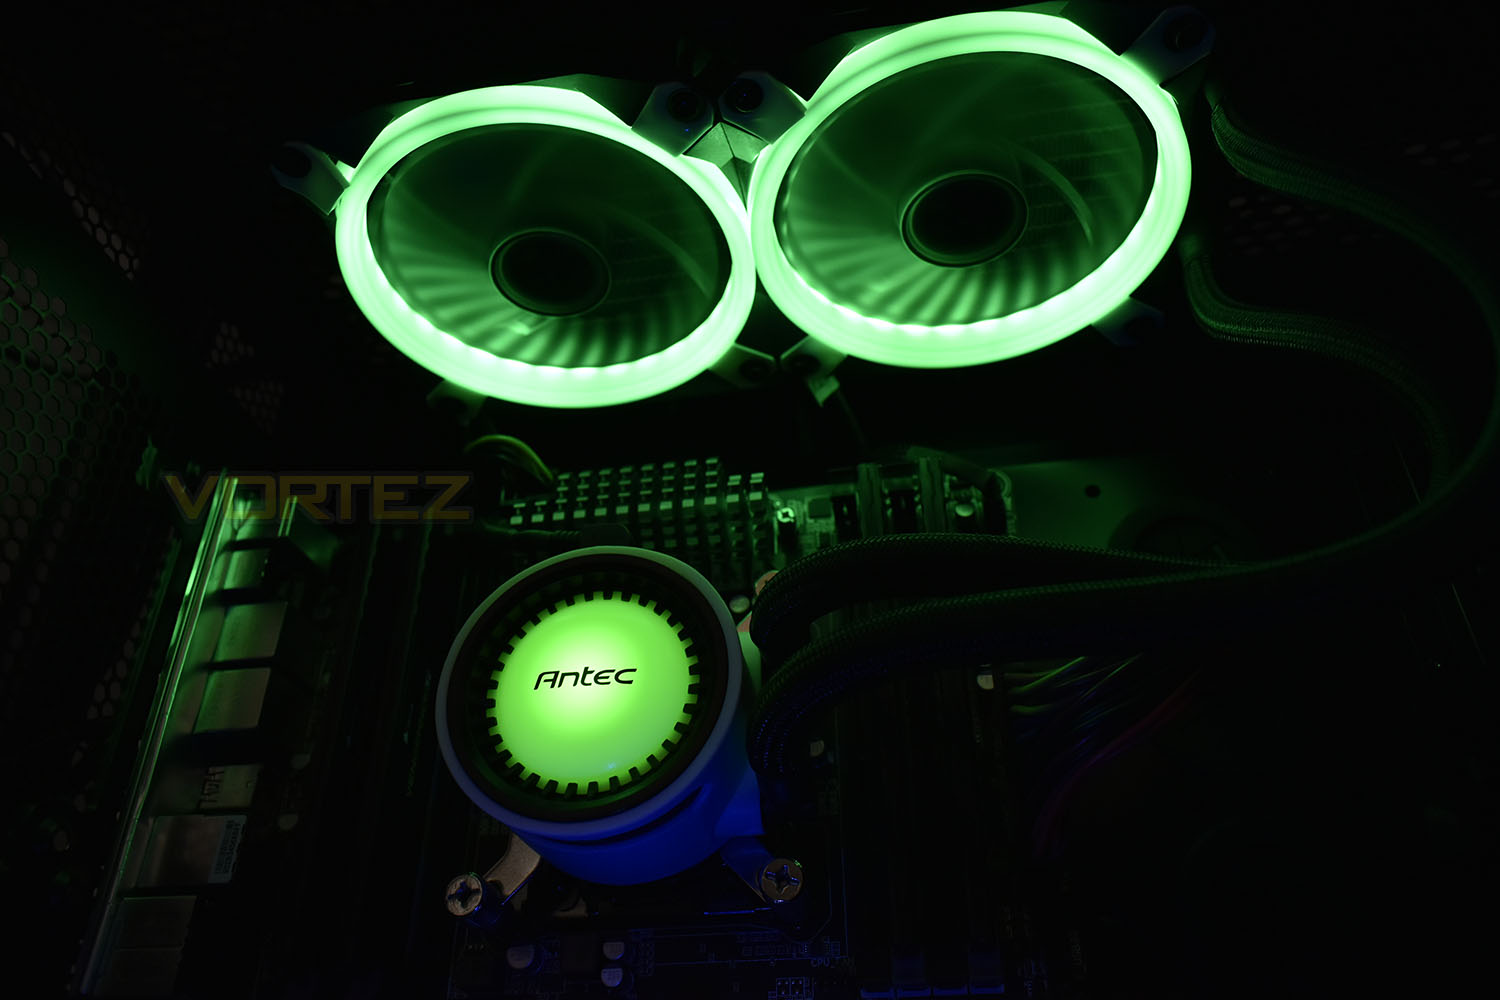
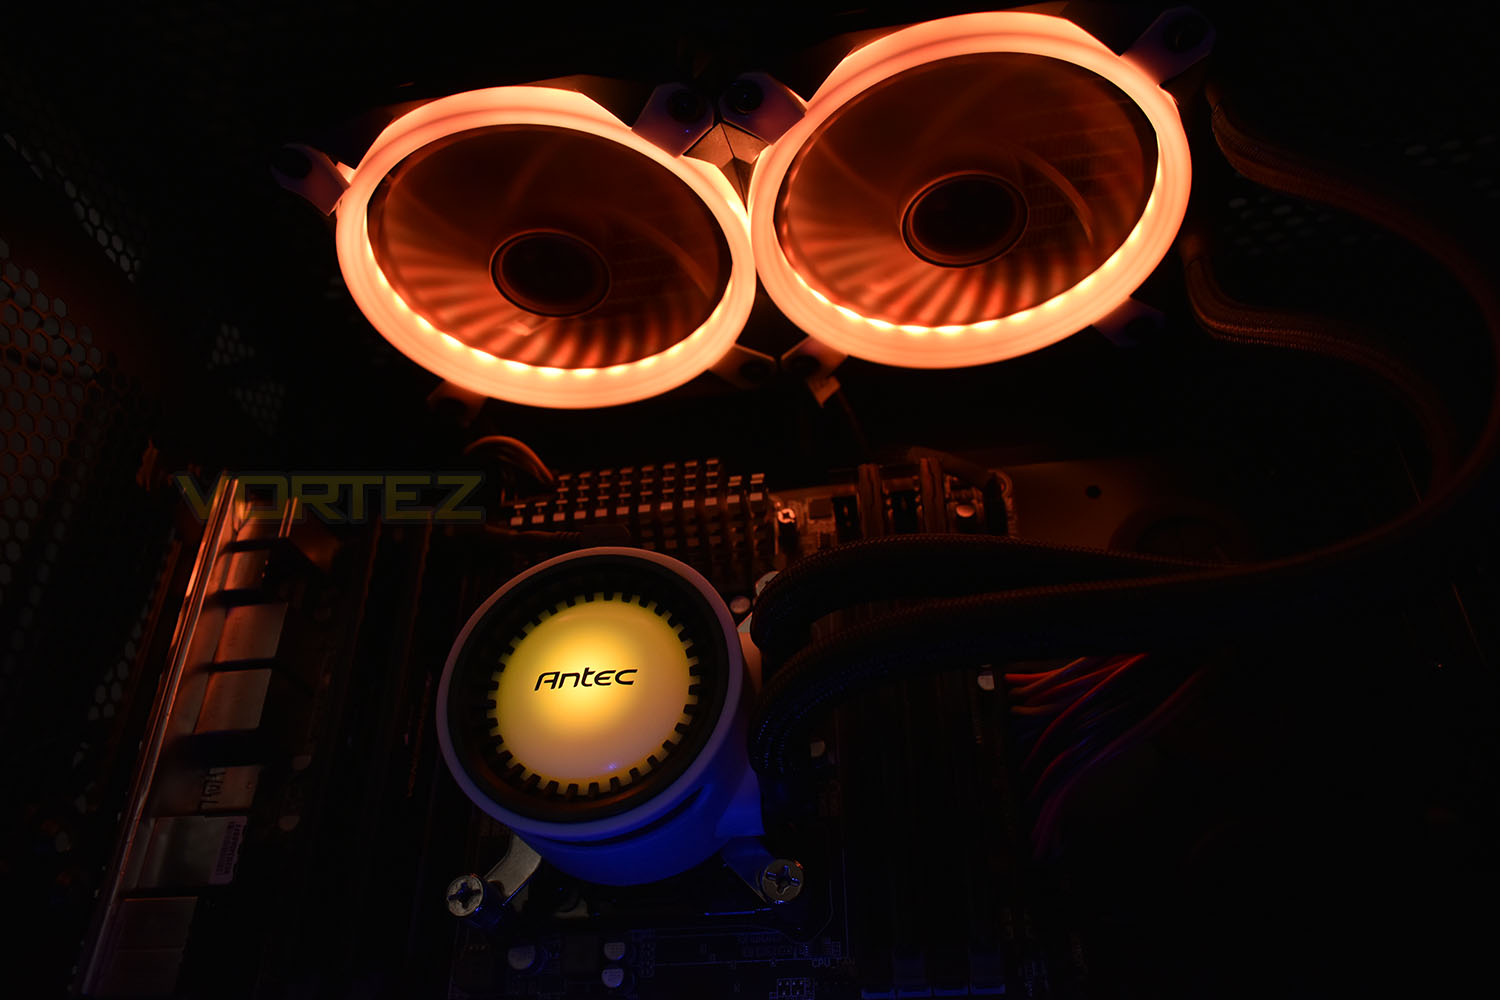
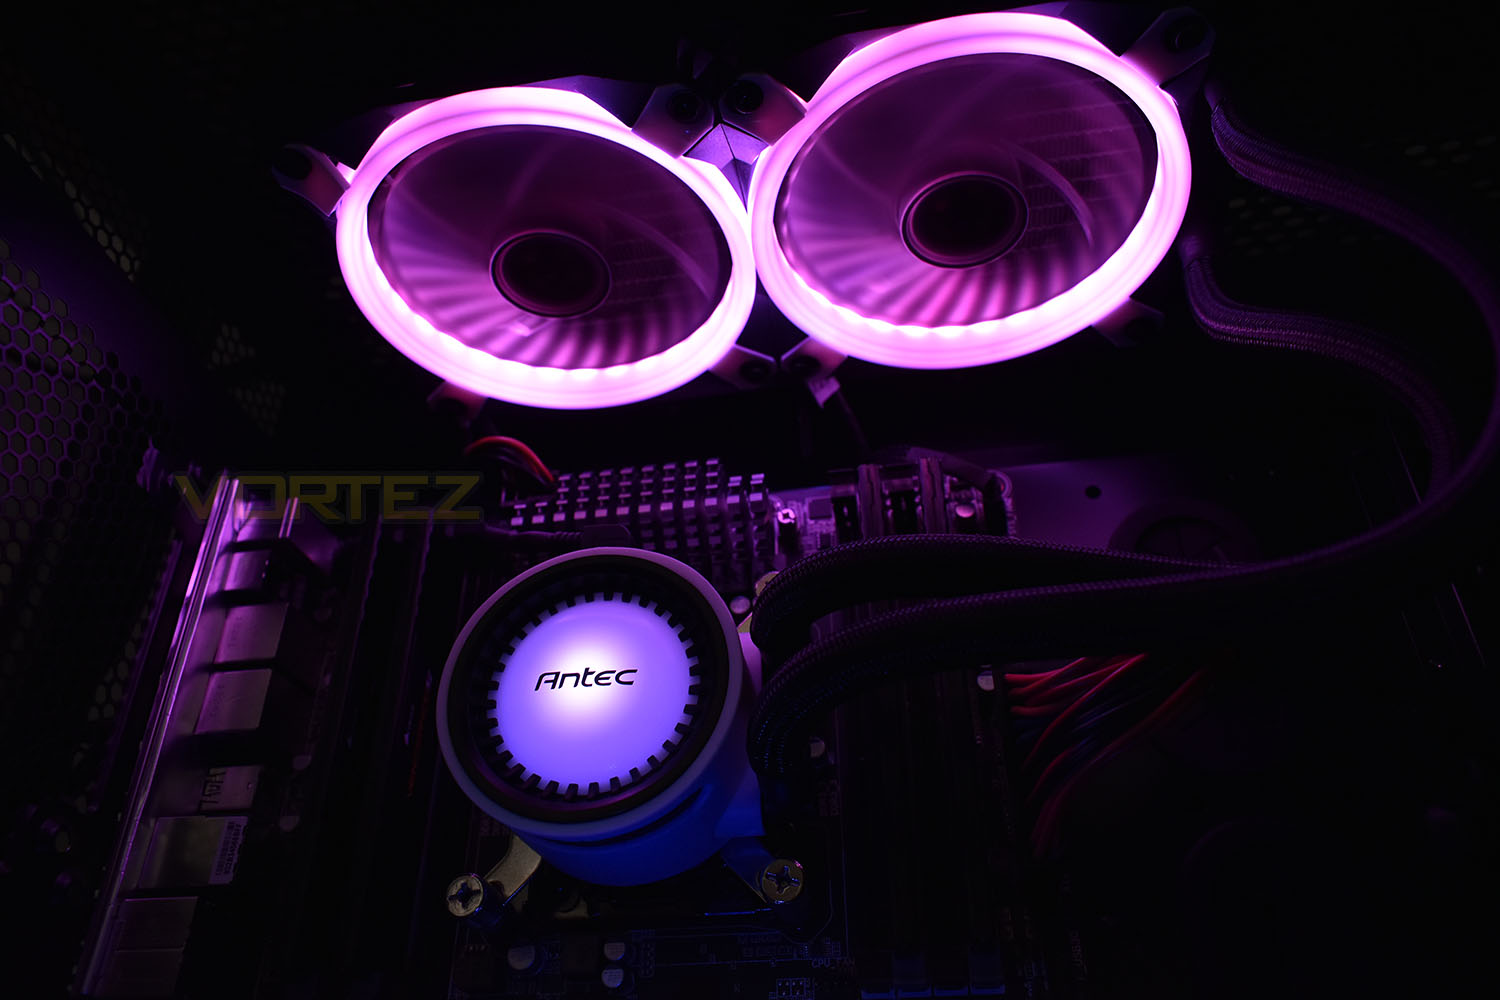
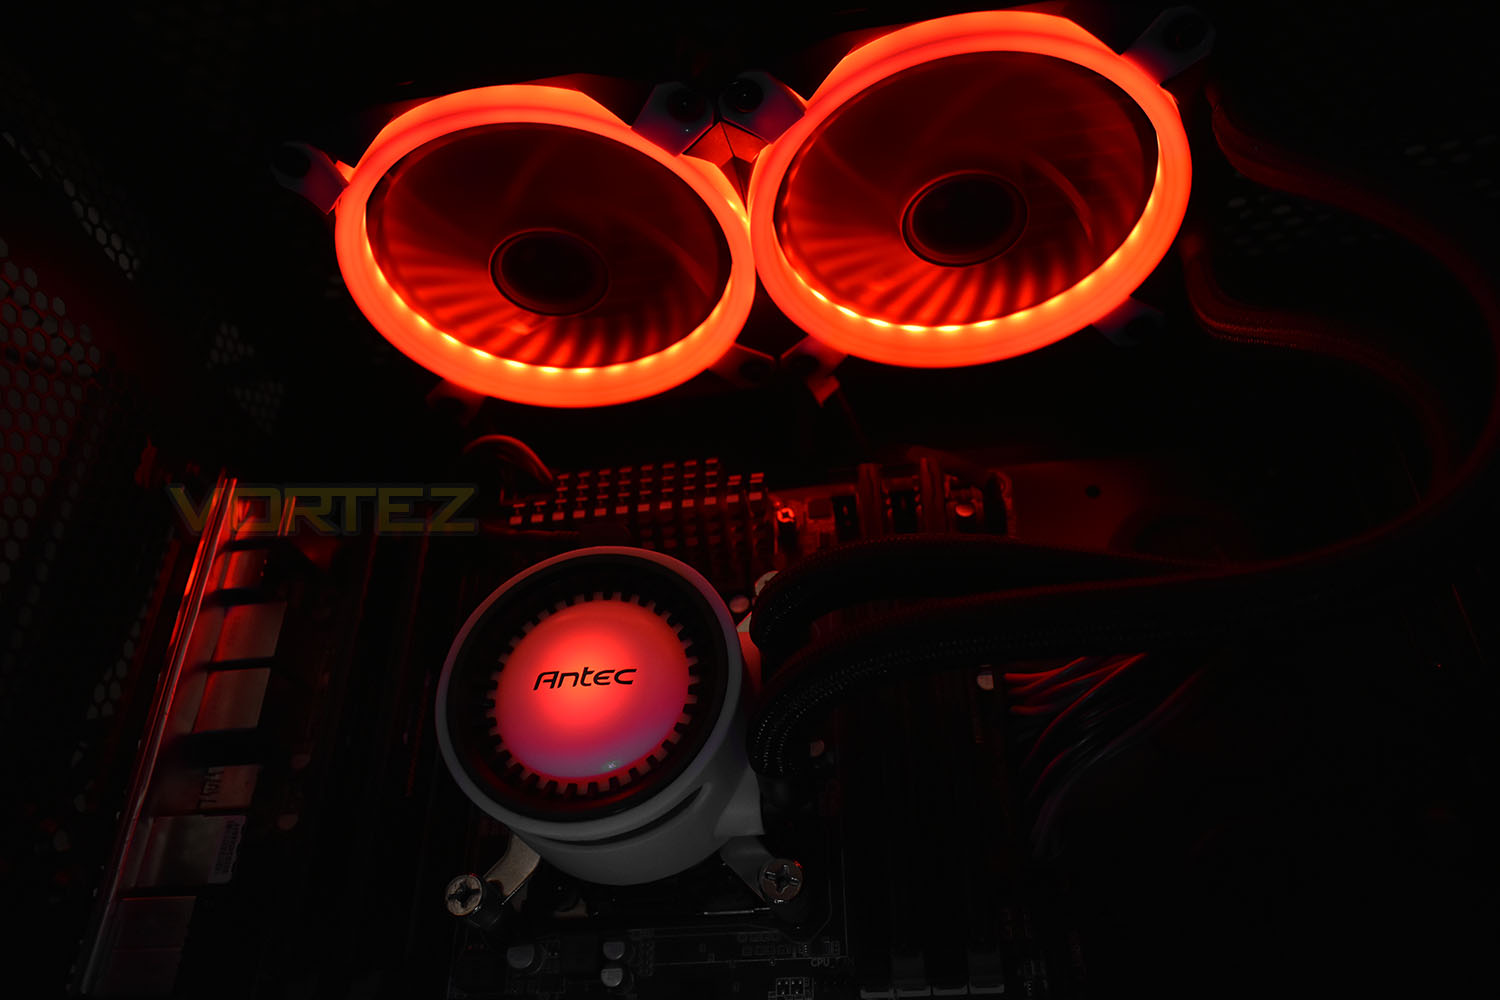
You may have seen the previous Antec Mercury 240 with its blue, green or red lighting; this time around we get a full compliment of colours, 256 to be exact, which illuminate the pump and both 120mm fans. The RGB can be controlled manually using an in-line remote or via the motherboard header to sync up multiple products within your case.
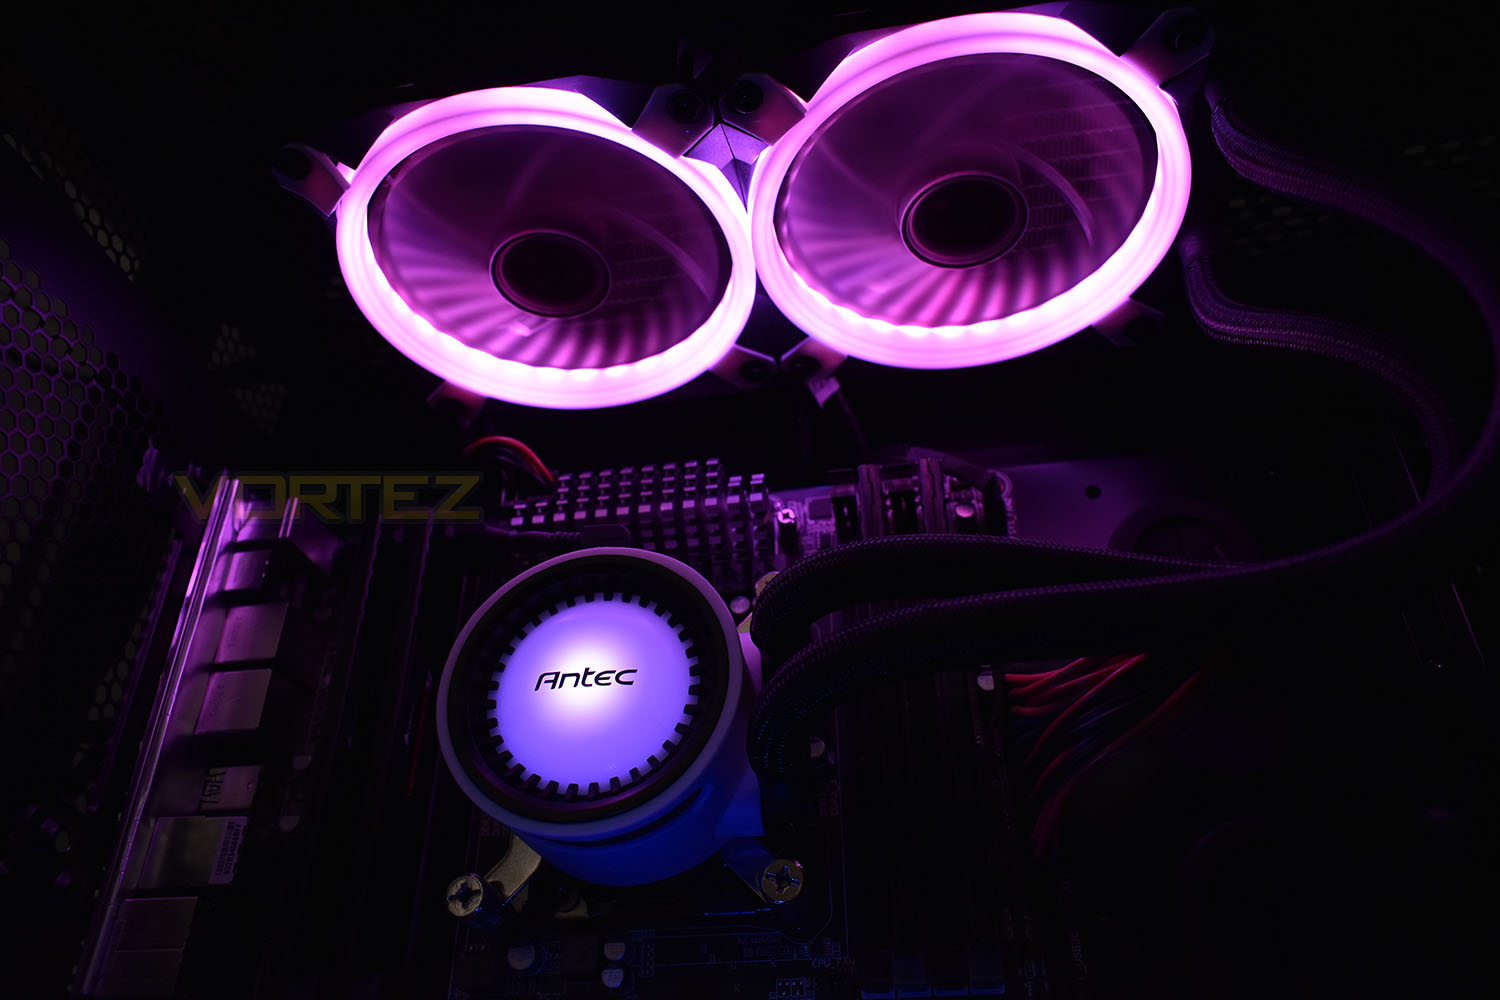
Helping to keep the all-in-one cooler quiet, Antec have utilised features such as graphite bearings within the water pump, which is capable of up to 3.5 Litres per minute of flow, and ultra-quiet PWM fans. Socket compatibility is also sorted, with all of Intel and AMDs mainstream supported, though you’ll have to contact your retailer for TR4 support.
The Mercury RGB is also available in 120mm and 360mm variants, allowing more or less cooling potential depending on your chassis size or requirements. We’re testing the 240mm middle-of-the-road option today.
Antec on the Mercury 240 RGB:
High performance pump with an ultra-quiet closed impeller design and three-phase motor enable the maximum amount of water circulation, keeping your system running cool and quiet.
Technical Specifications
Packaging & Bundle
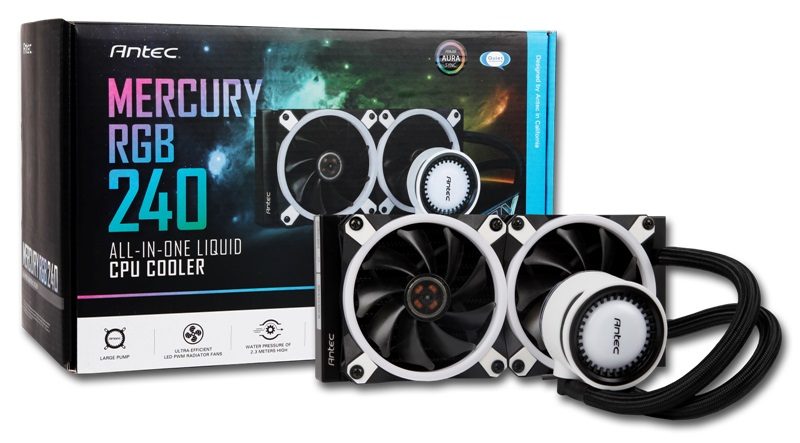
The Antec packaging is rather attractive with the faded pink to green colour scheme. We get some basic information on the front and a large image of the watercooling loop.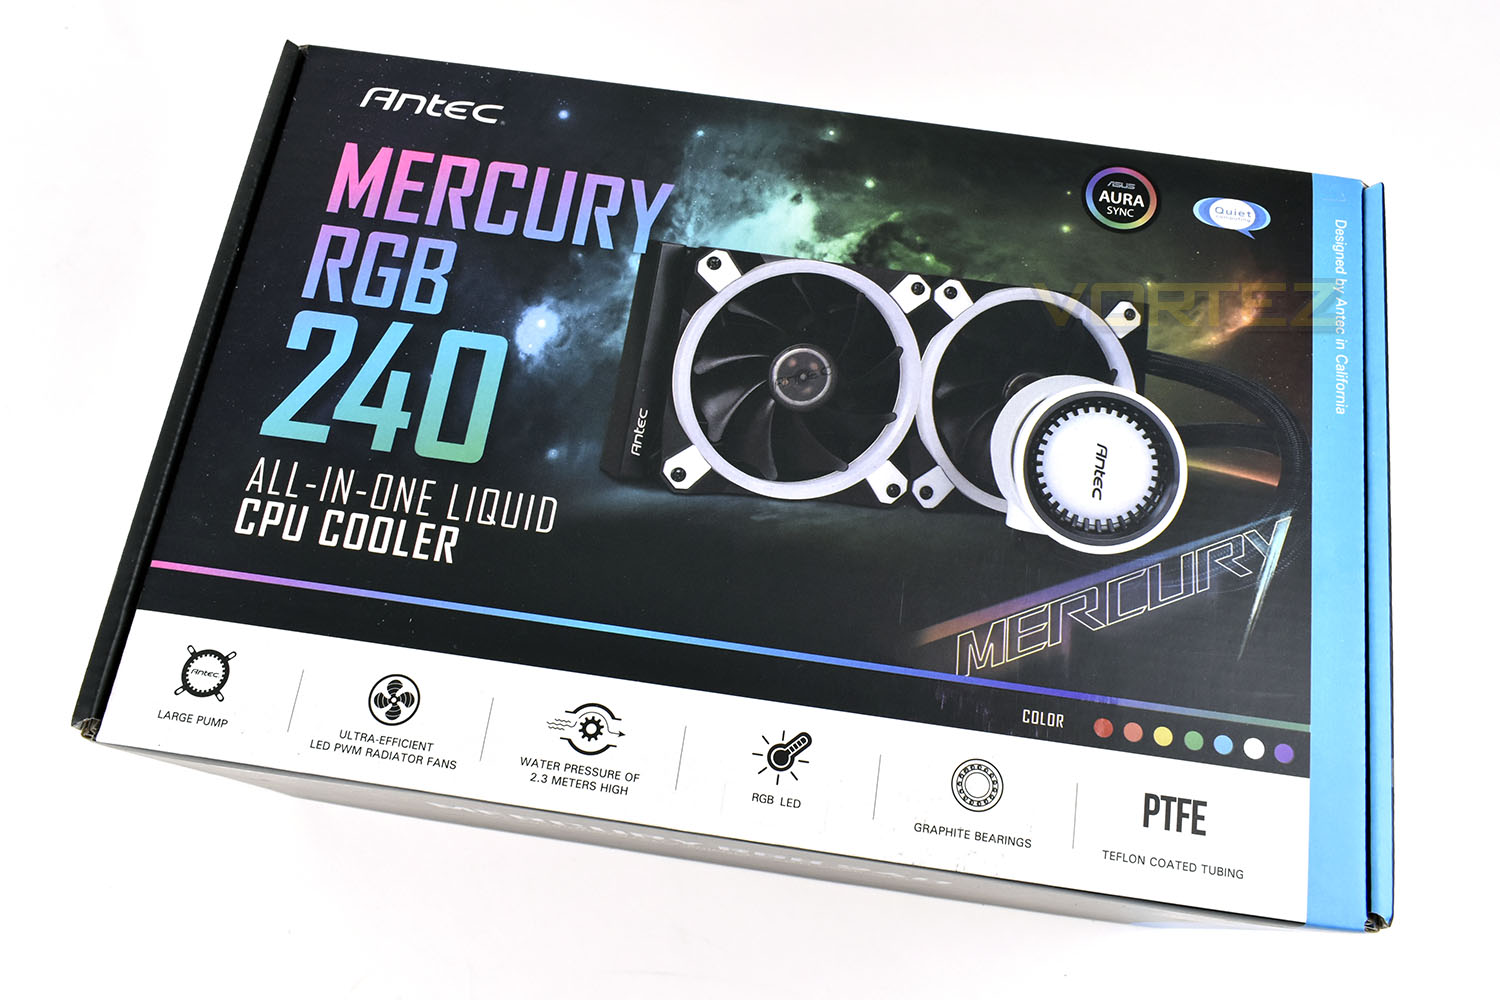
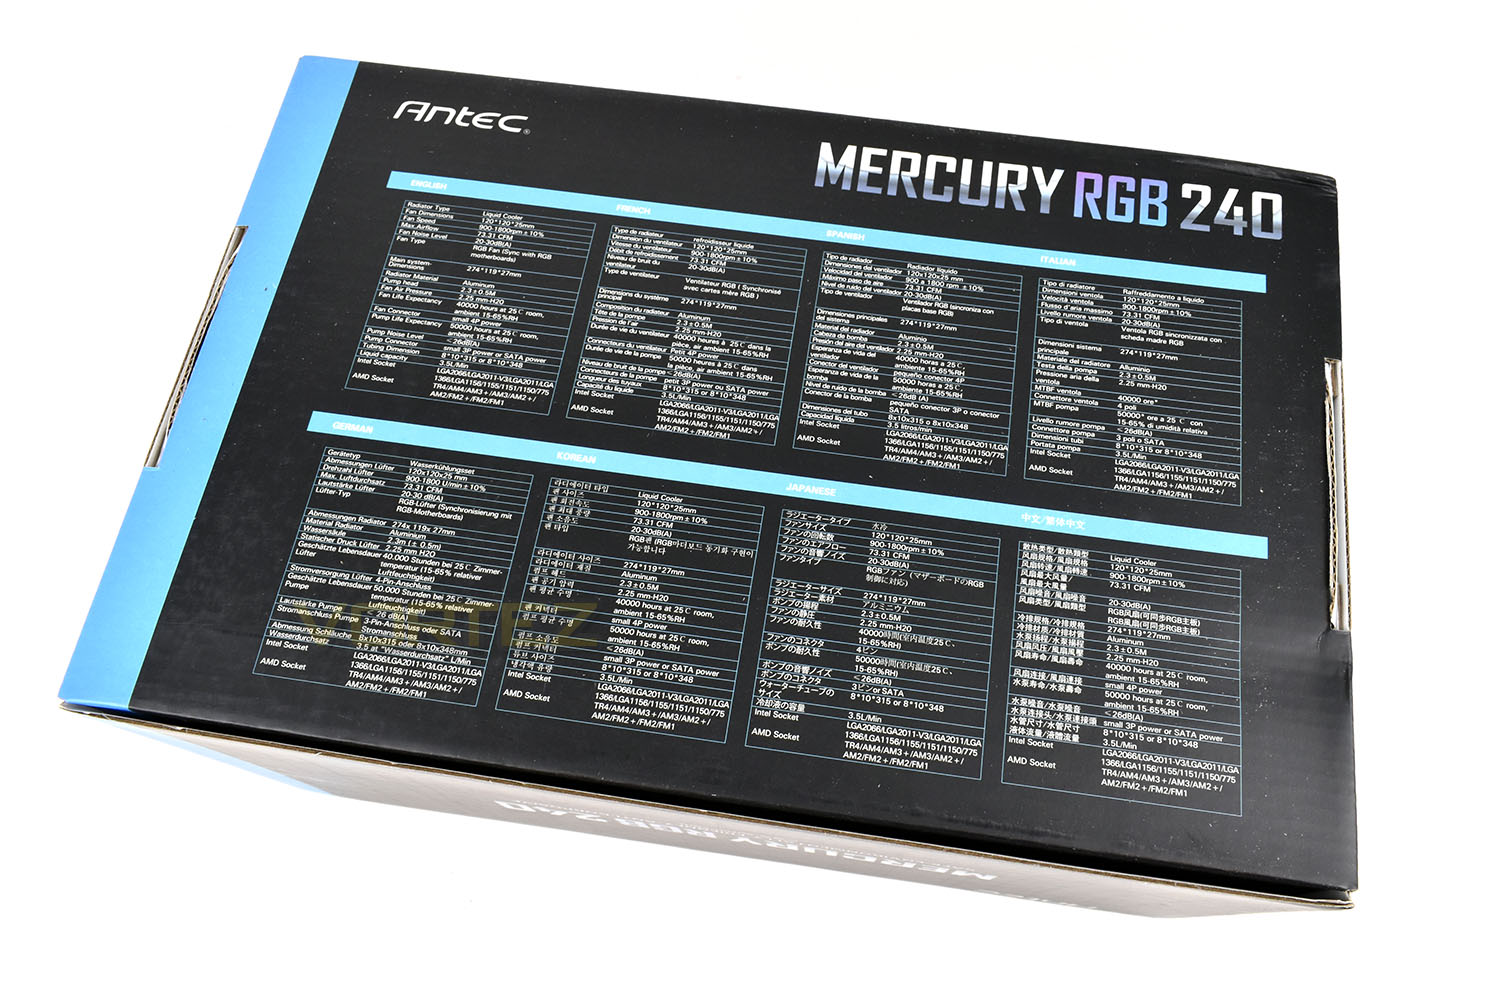
Because of Antec’s use of their packaging throughout multiple regions, the rear gives very little information; we’d like to see them use one of the sides or edges to show exact dimensions, at the very least but no such luck, unfortunately.
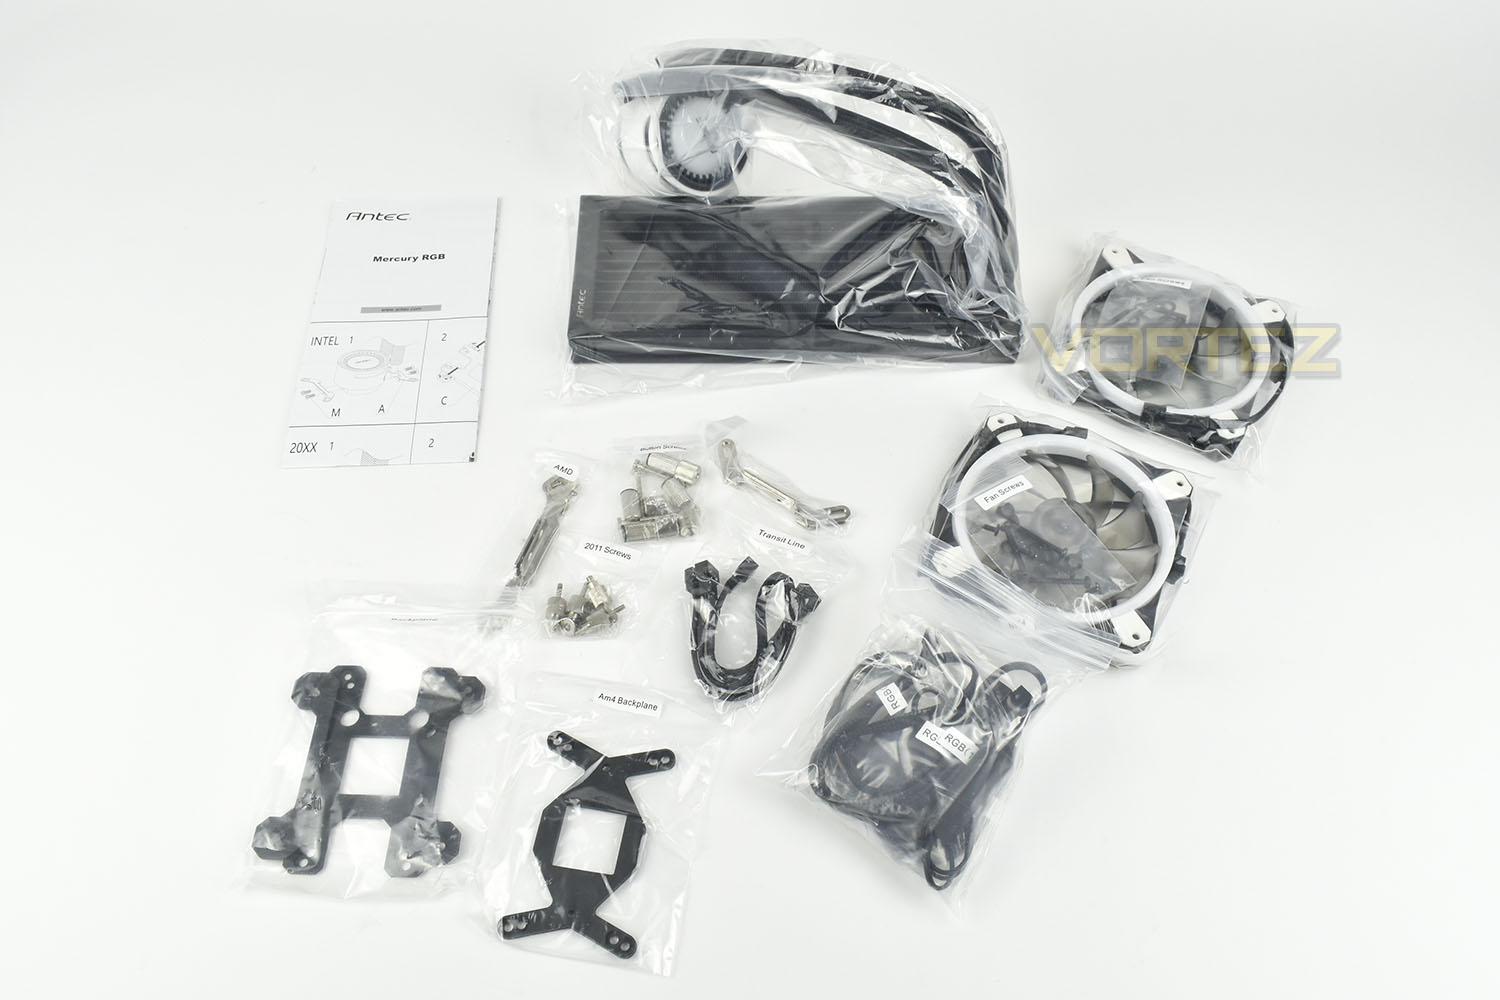
Aside from the loop itself, you’re provided with a pair of 120mm Antec RGB PWM fans, mounting kits for both Intel and AMD sockets (TR4 is available on request) and a large, fold-out installation manual.
Our only concern here is the massive overuse of plastic bags – in today’s world, we’d like to see more companies taking an environmental approach to their packaging.
Closer Look
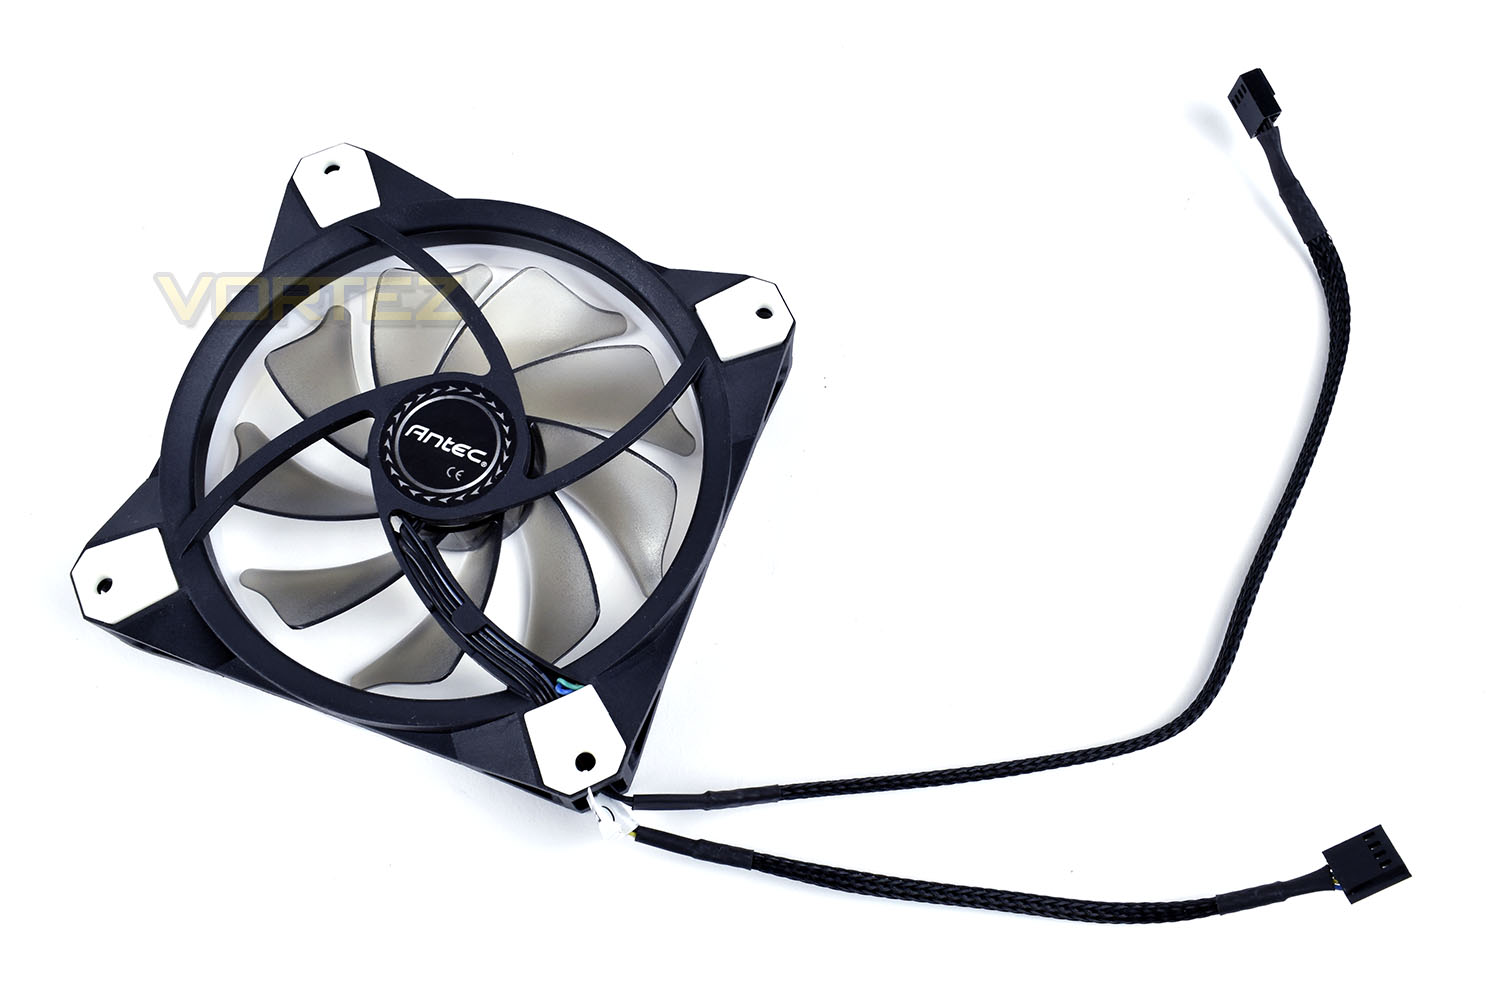
The pair of 120mm fans feature translucent fins and frame, helping to diffuse the RGB lighting around the entire fan. Each corner is fitted with a small rubber mount, reducing noise by limiting the transmission of vibrations from the fan to the radiator.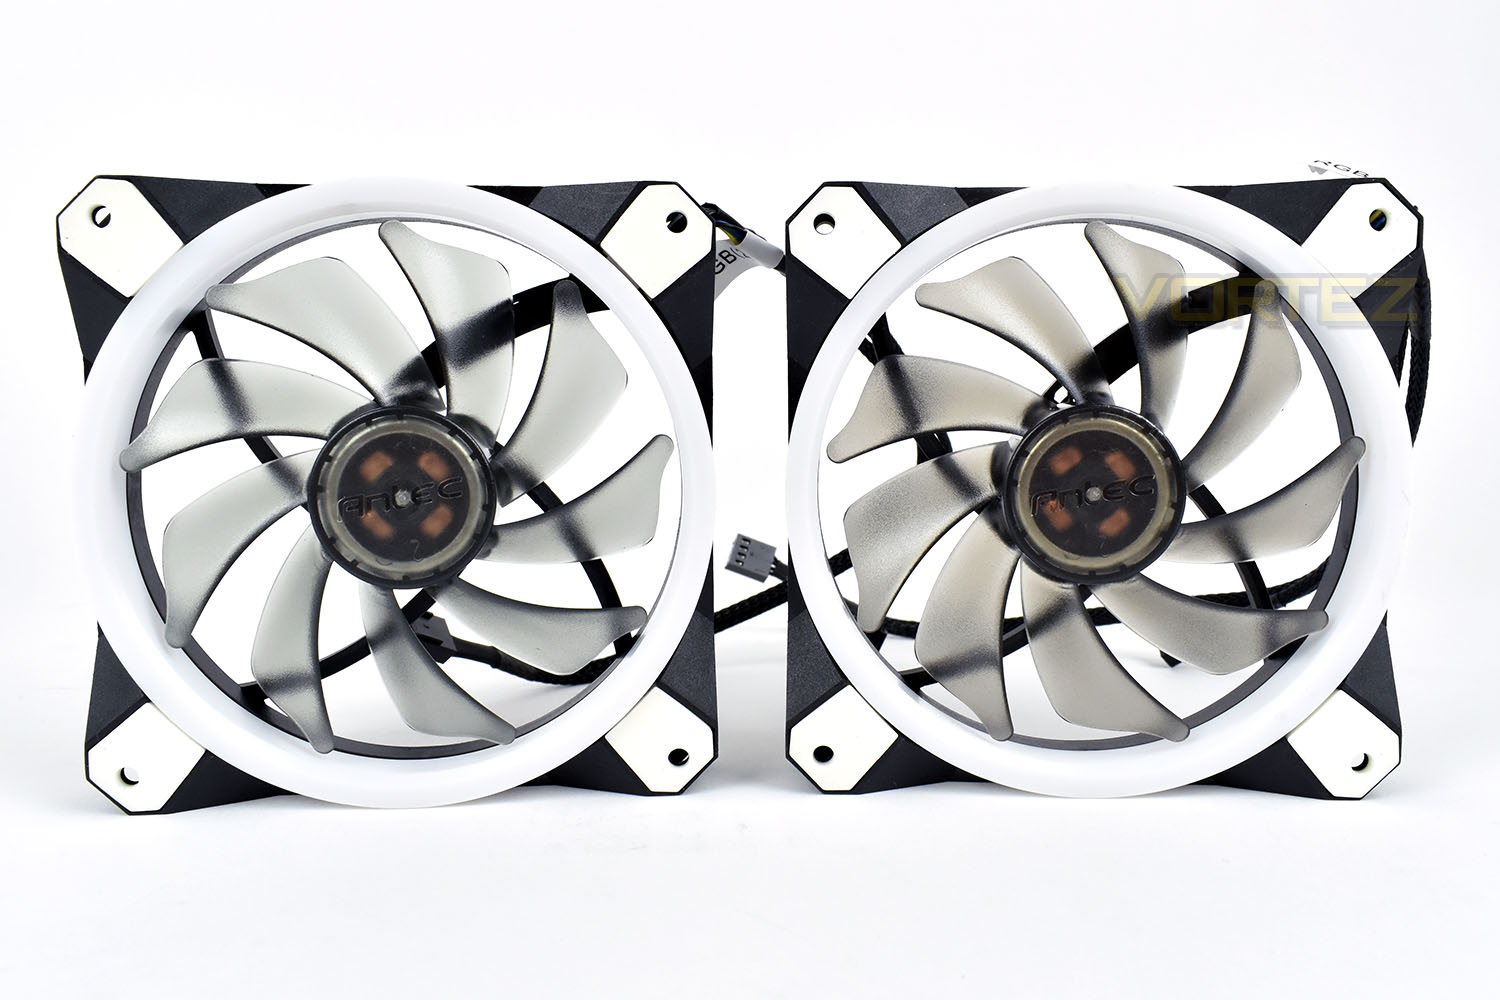
The fans feature a 4-pin PWM connection to give you full control over the fan speed, as well as accurate speed monitoring. The shorter cable is also a 4-pin cable but is responsible for RGB lighting. The header on each cable is exactly the same, inviting confusion to occur.
The 240mm radiator is pretty typical, measuring 275mm x 120mm x 27mm. Antec have used thicker Teflon-coated tubing to give the loop an estimated lifespan of 15 years through evaporation resistant materials.
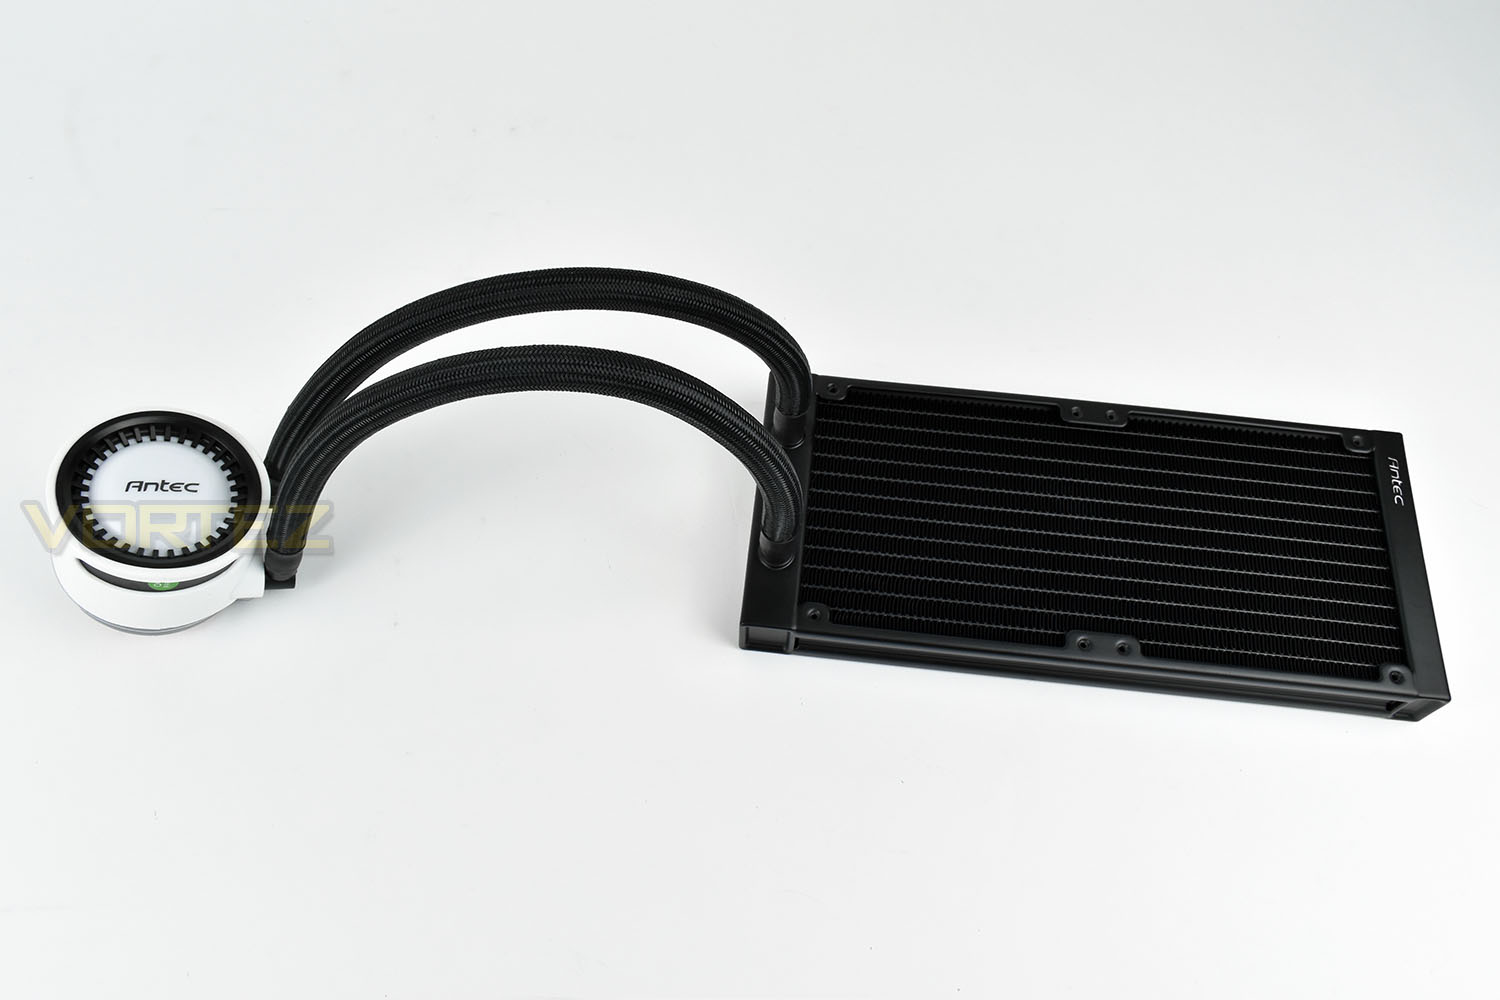
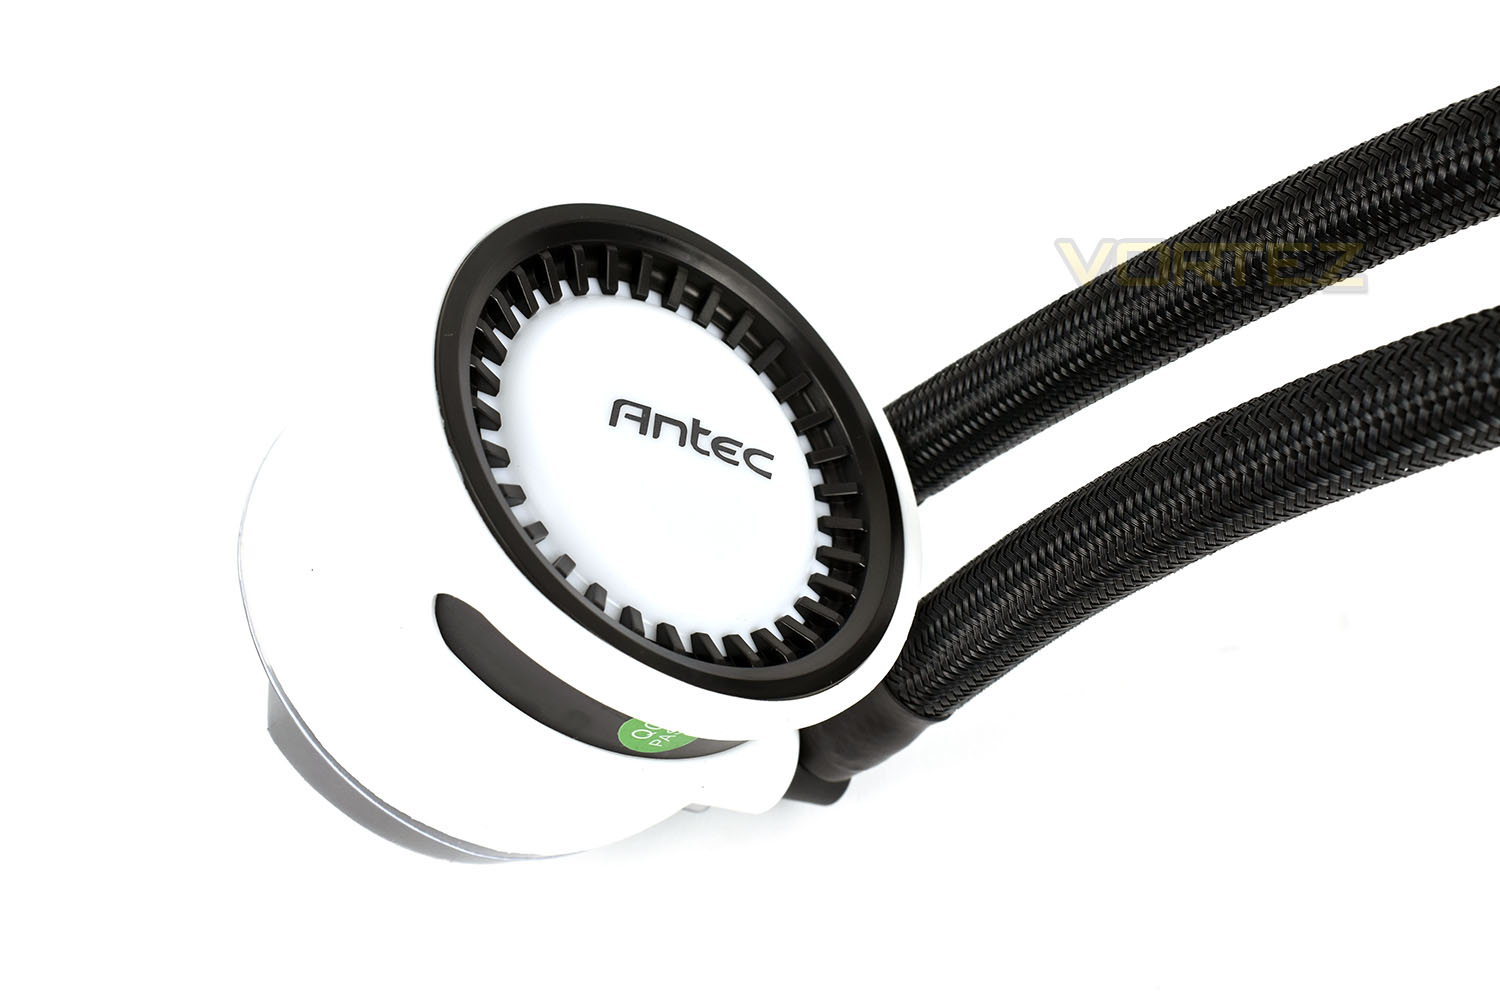
Around the top of the pump, which is constructed from a thick, translucent plastic, resembles one of those old-style wall socket timers, used for turning lamps on when on holiday (our more mature audience will know what we’re talking about). The white outer is made from a thick rubbed and isn’t fixed in place.
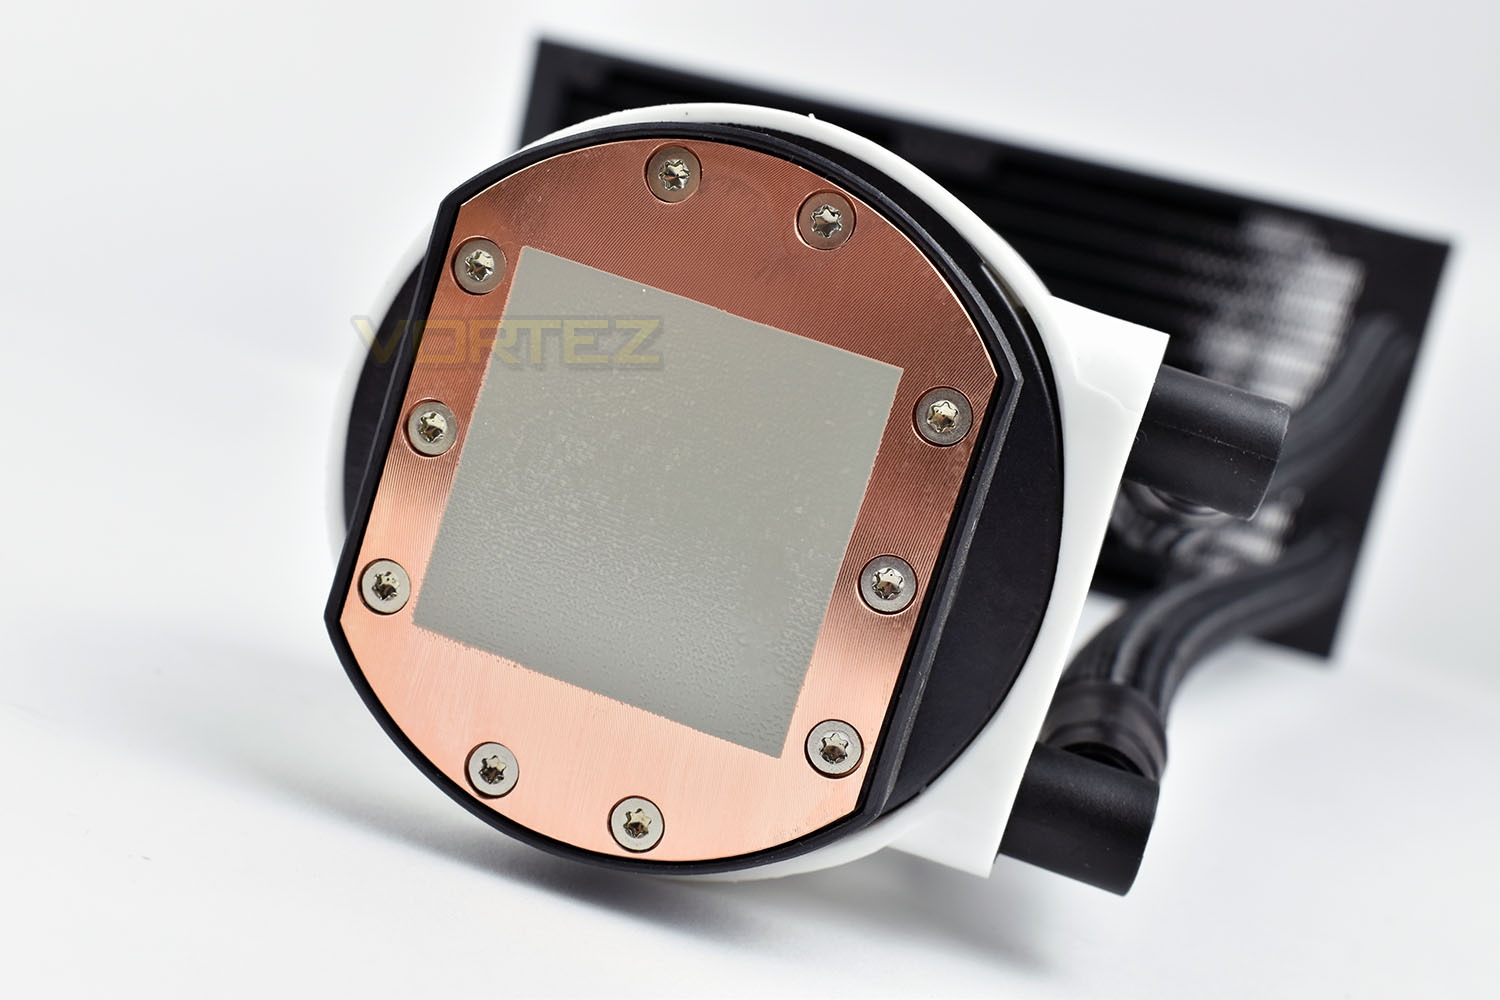
On the base, Antec have pre-applied their thermal paste in a perfect square. These are only good for a single use, but it’s nice that it’s included.
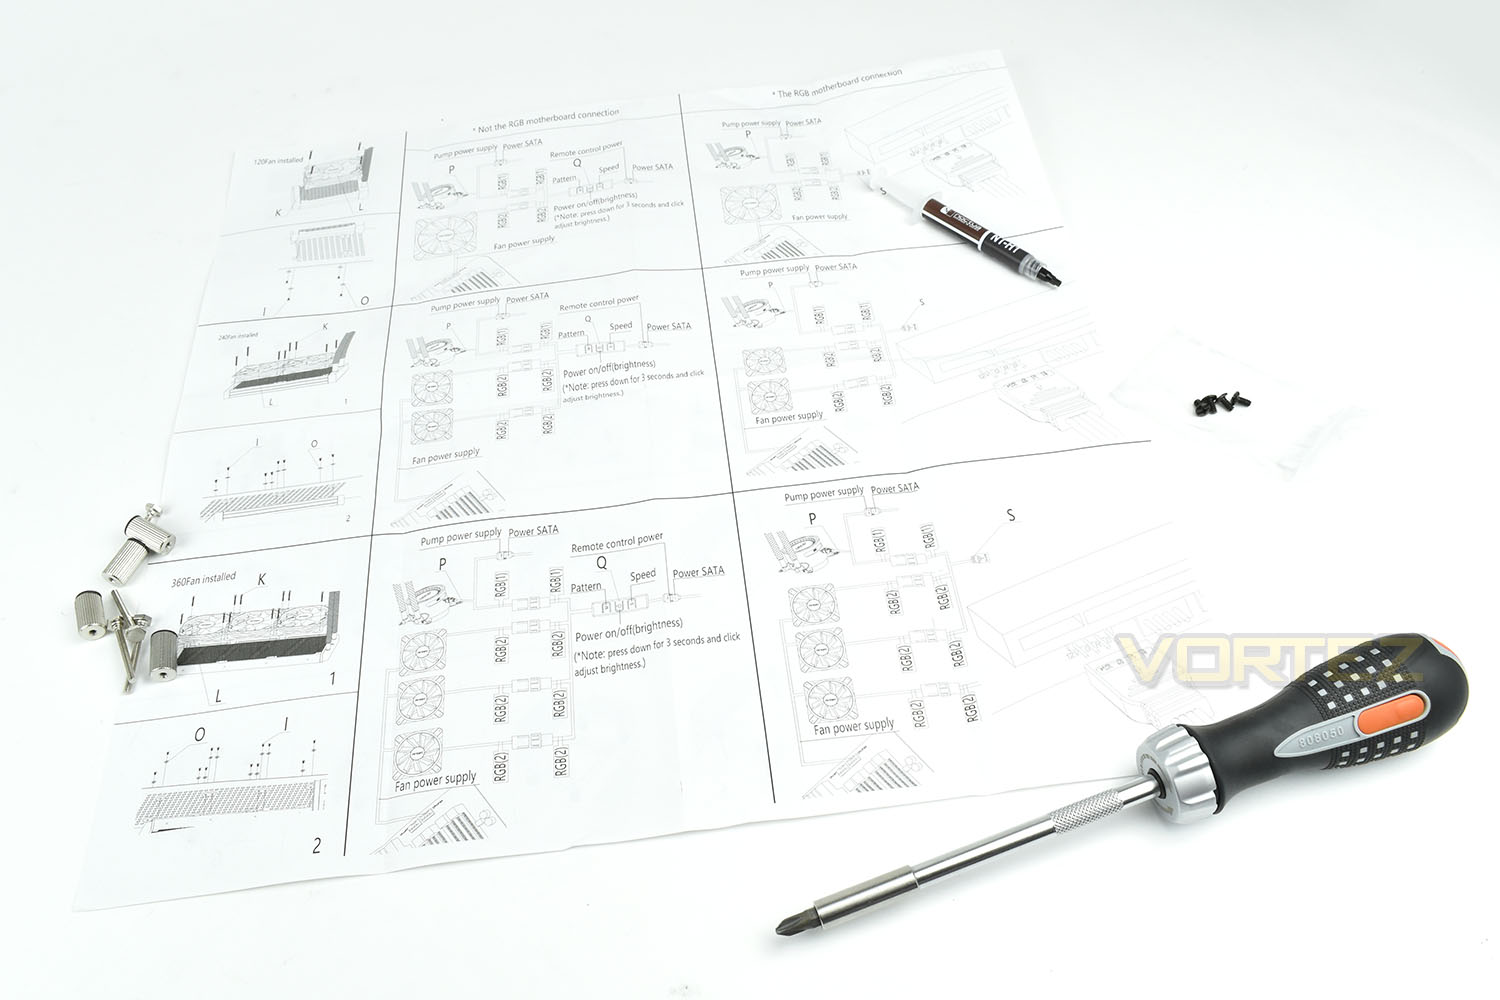
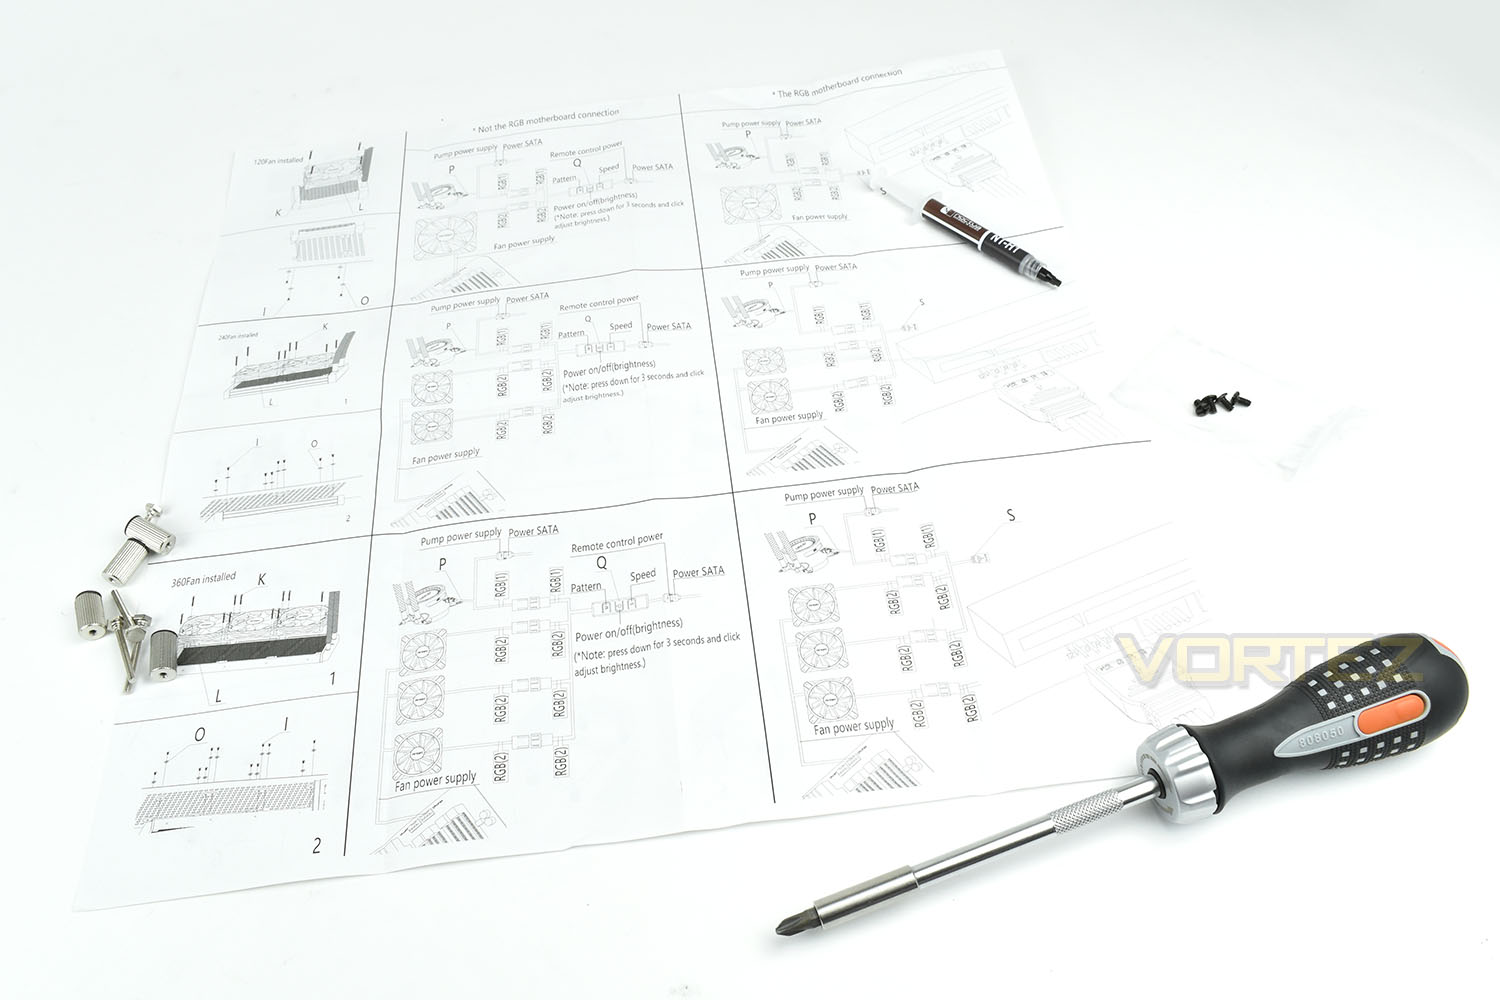
The large fold out installation document gives a clear look at how to install the pump and radiator, but when it comes to the wiring diagram, it seems Antec have employed a rather complex method of doing so. We’ve installed quite a few 240mm RGB all-in-one watercooling solutions and never seen anything like this.
Installation
First things first, we need to attach the 120mm fans to the radiator – doing so once in the case isn’t usually possible. Three of the four screws go in without a hitch and the solid corners of each fan ensure that the fans can be clamped into place properly; though when it comes to the fourth screw we ran into a small problem. Antec have fed the cabling for the fan and the RGB lighting out of the same aperture that is used for the screws, which causes a bit of a space issue. It’s possible to move the cables out of the way, but it does crush the cables between the screw and the plastic frame of the fan. It’s the small things like this that need to be considered when building something like a fan.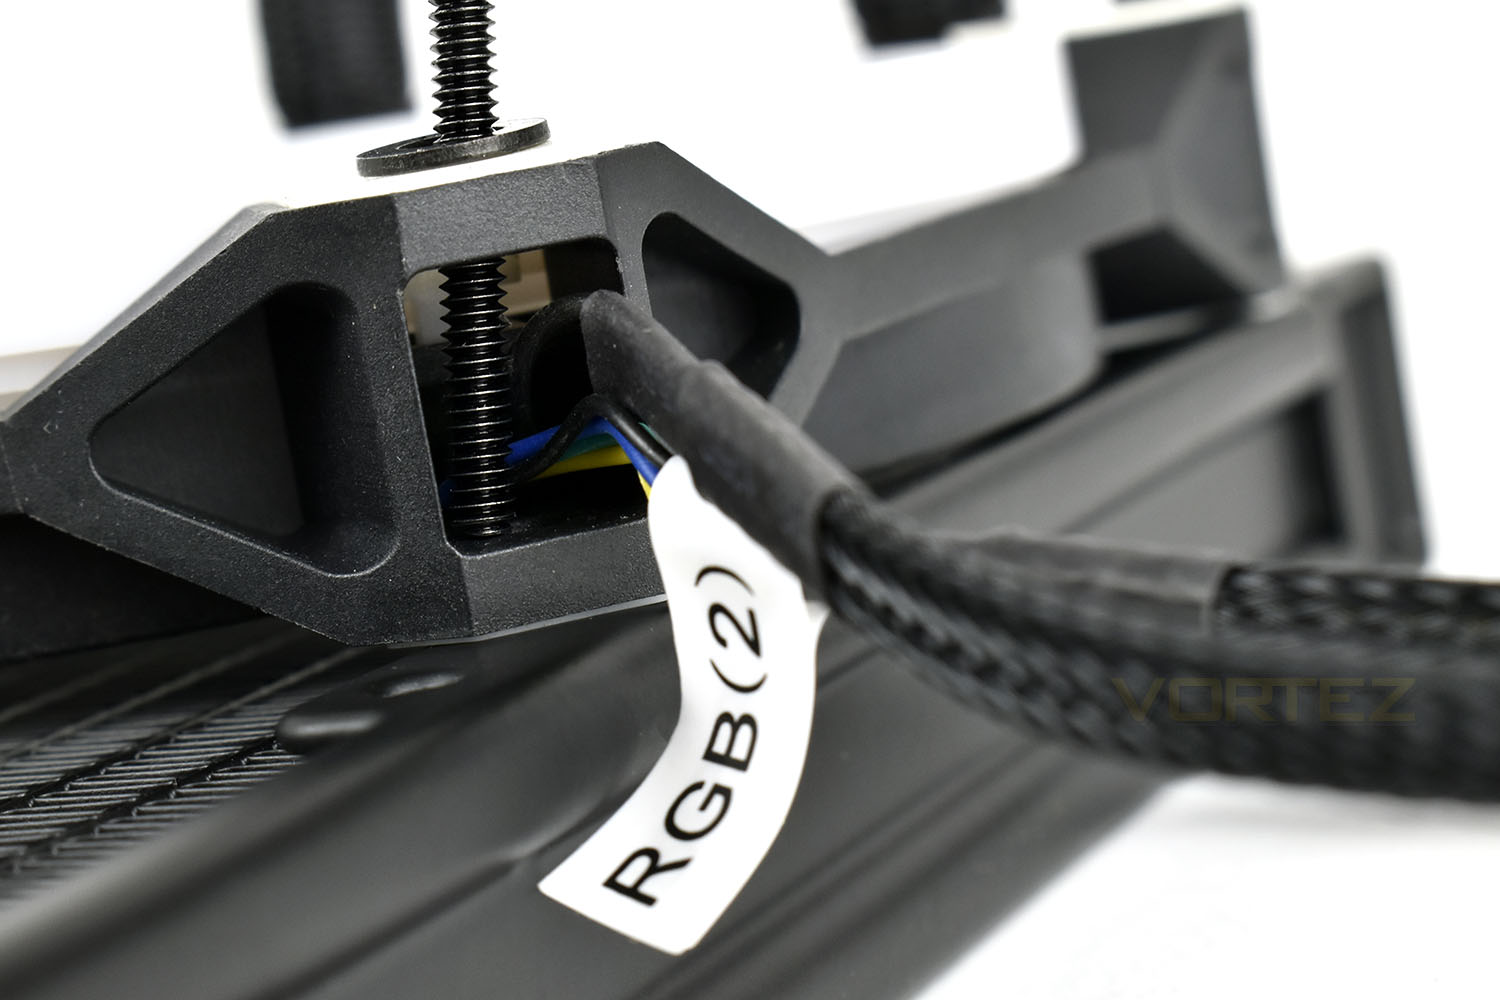
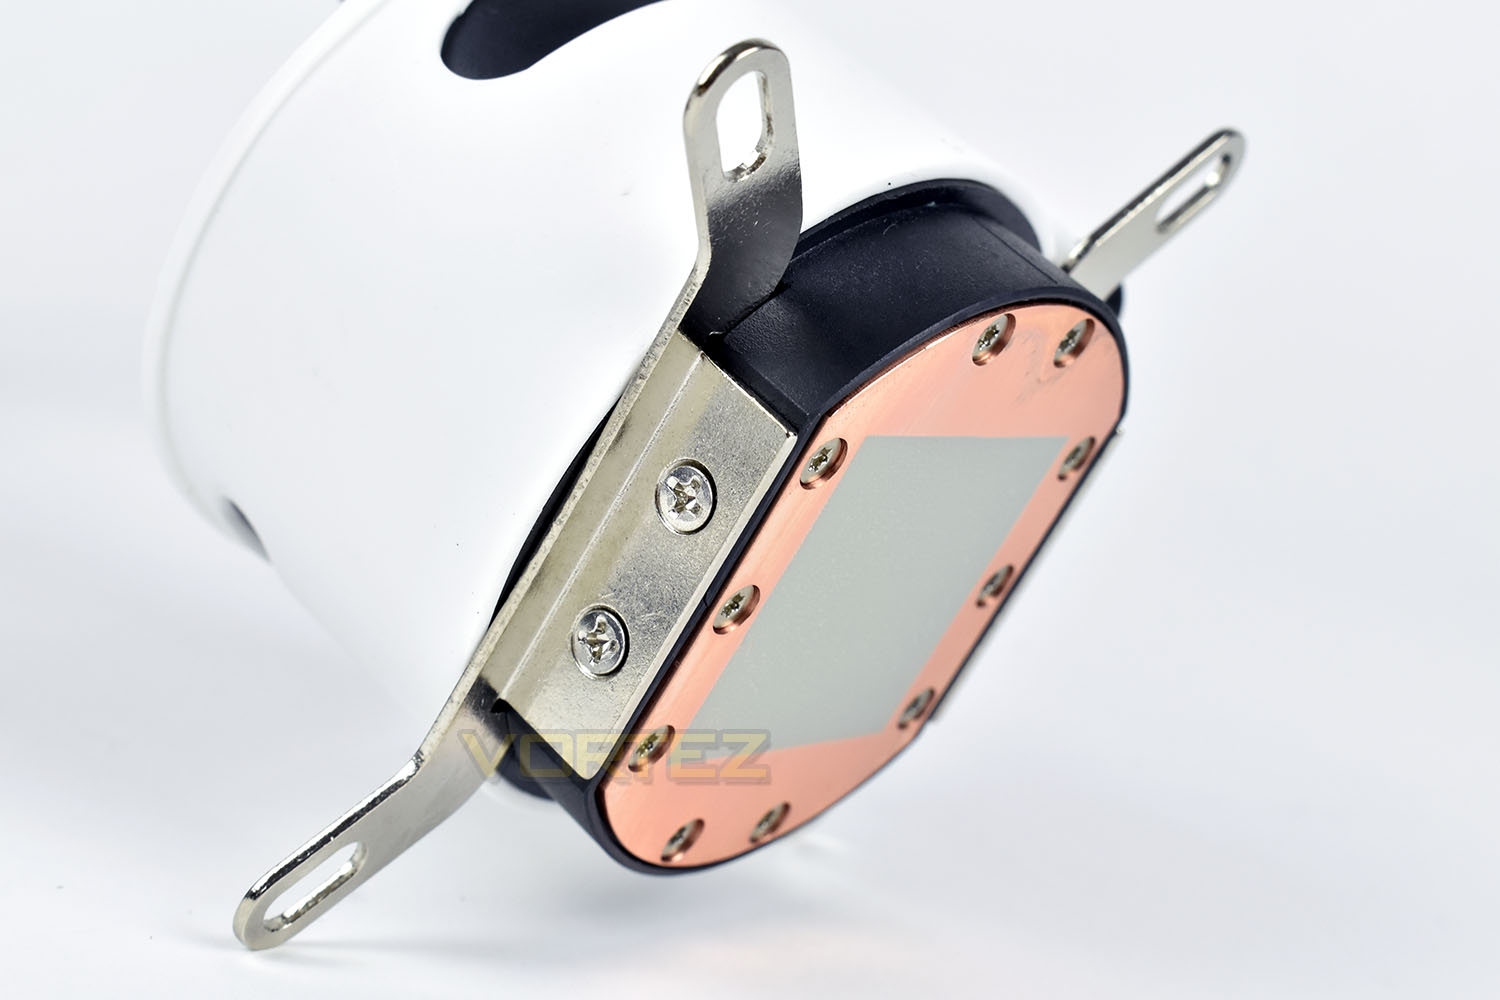
Before we begin the installation into the case, we must first fix the associated bracket to the pump; there’s only two to choose from, with the AMD or Intel brackets fitting all of their socket types.
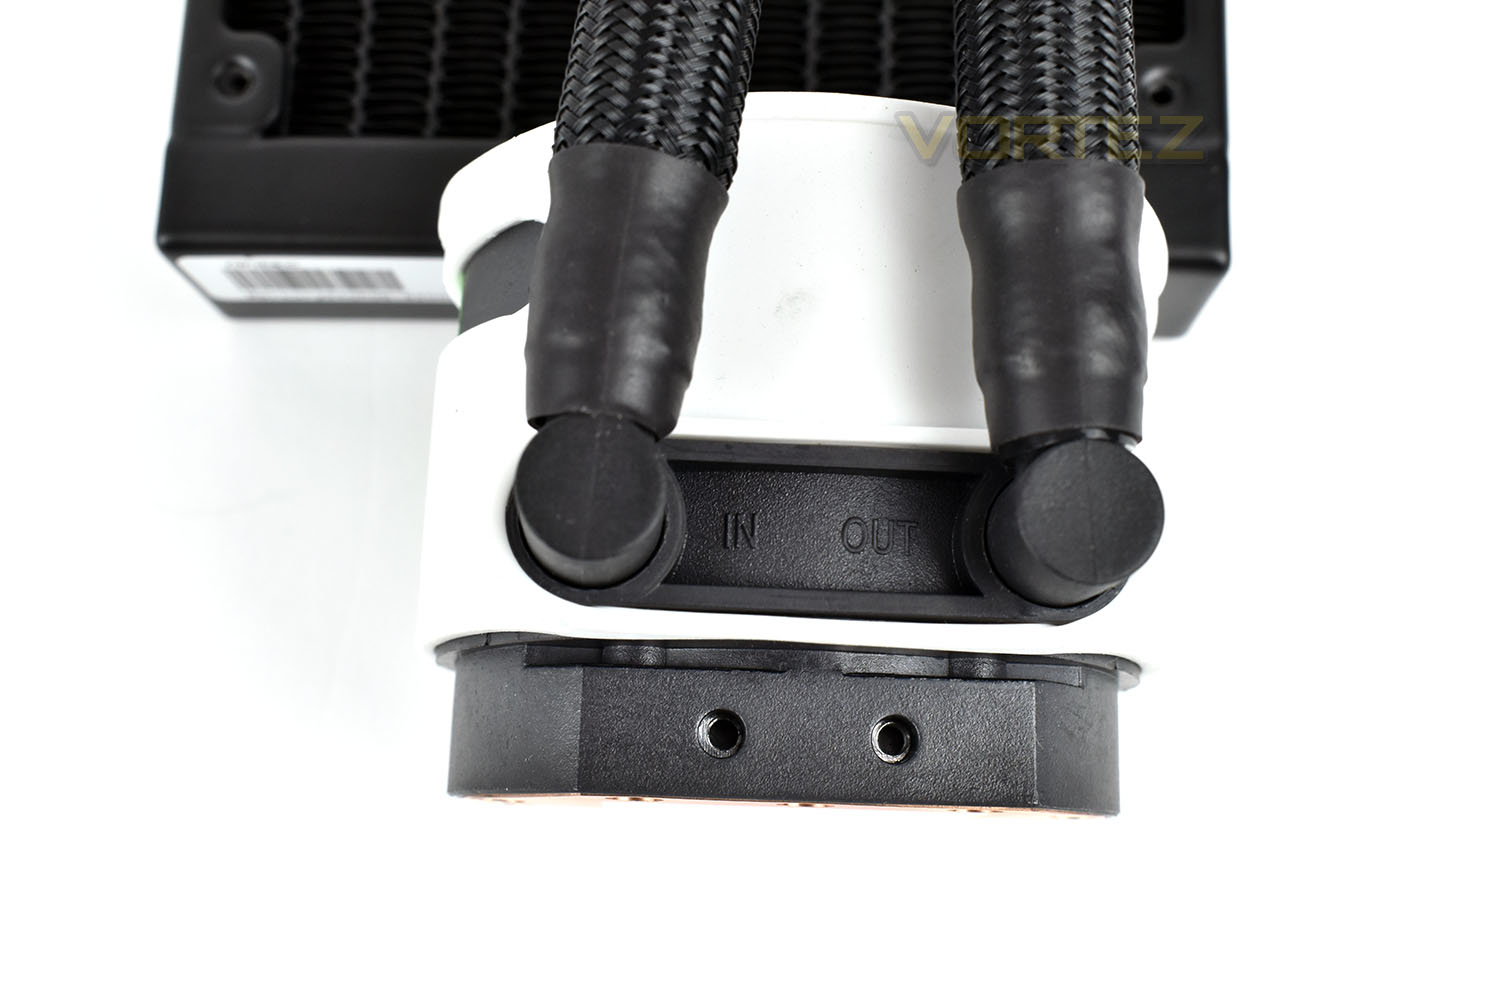
To fit them, you use two tapered-head screws and affix the brackets to either side of the pump. This is where we encountered our first issue. In the process of tightening the brackets to ensure they didn’t move around, therefore not creating good contact with the IHS on the CPU, we cracked the plastic on both sides. We didn’t over tighten the screws and were as gentle as we could be. This doesn’t seem to have effected the internal structure and is still strong enough, but if you happened to need to change the bracket a few times during the lifespan of the cooler, it may introduce issues.
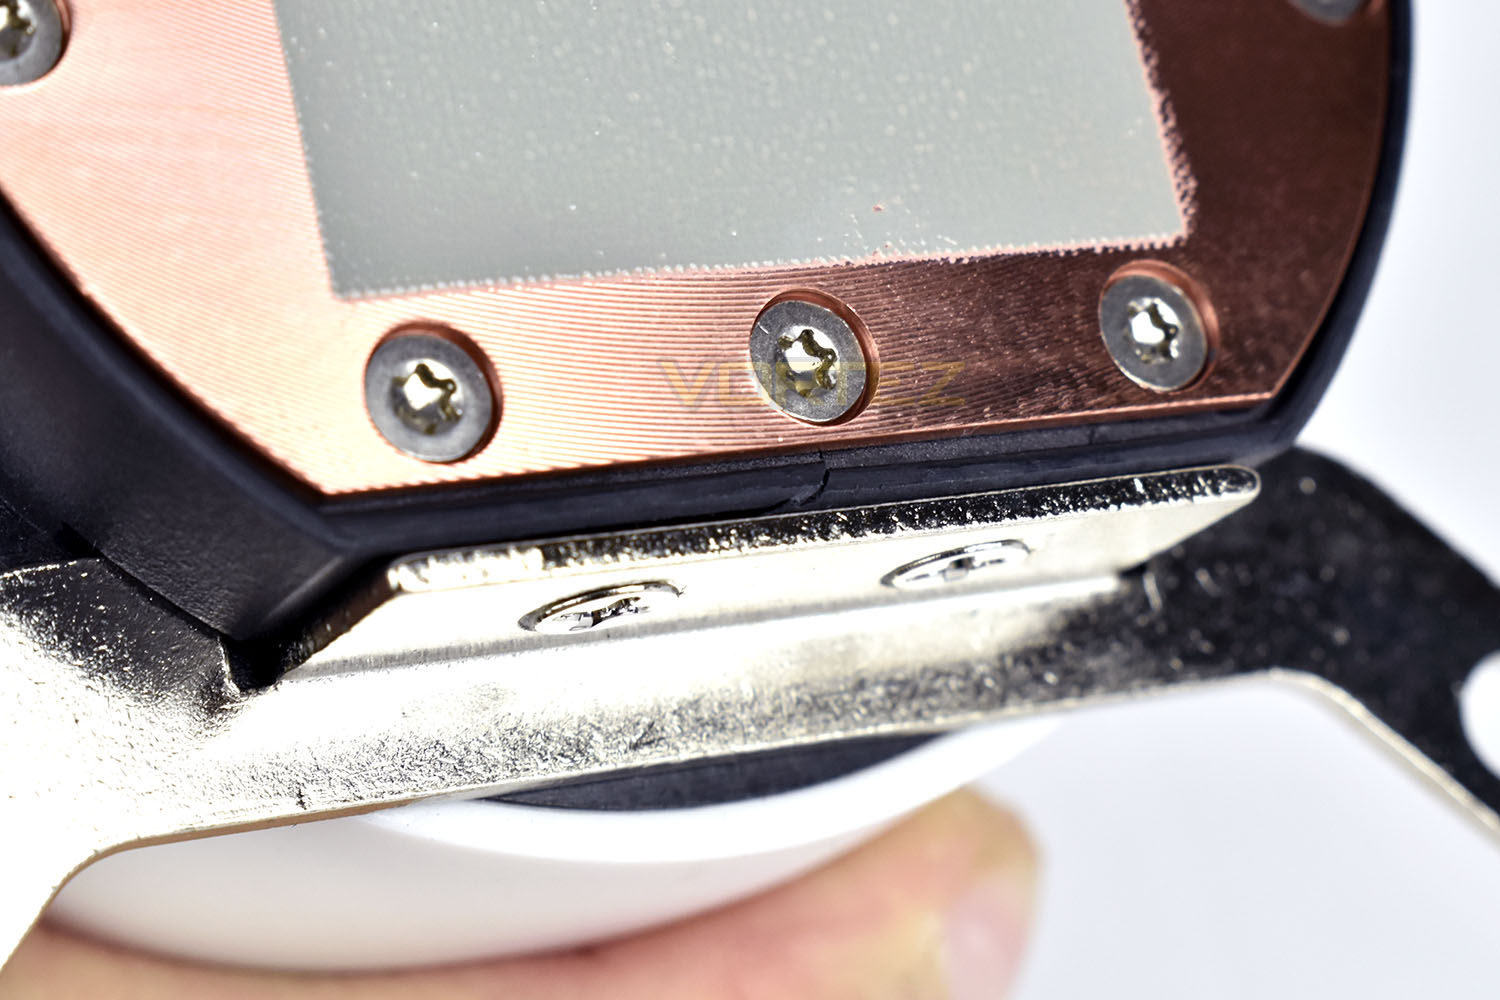
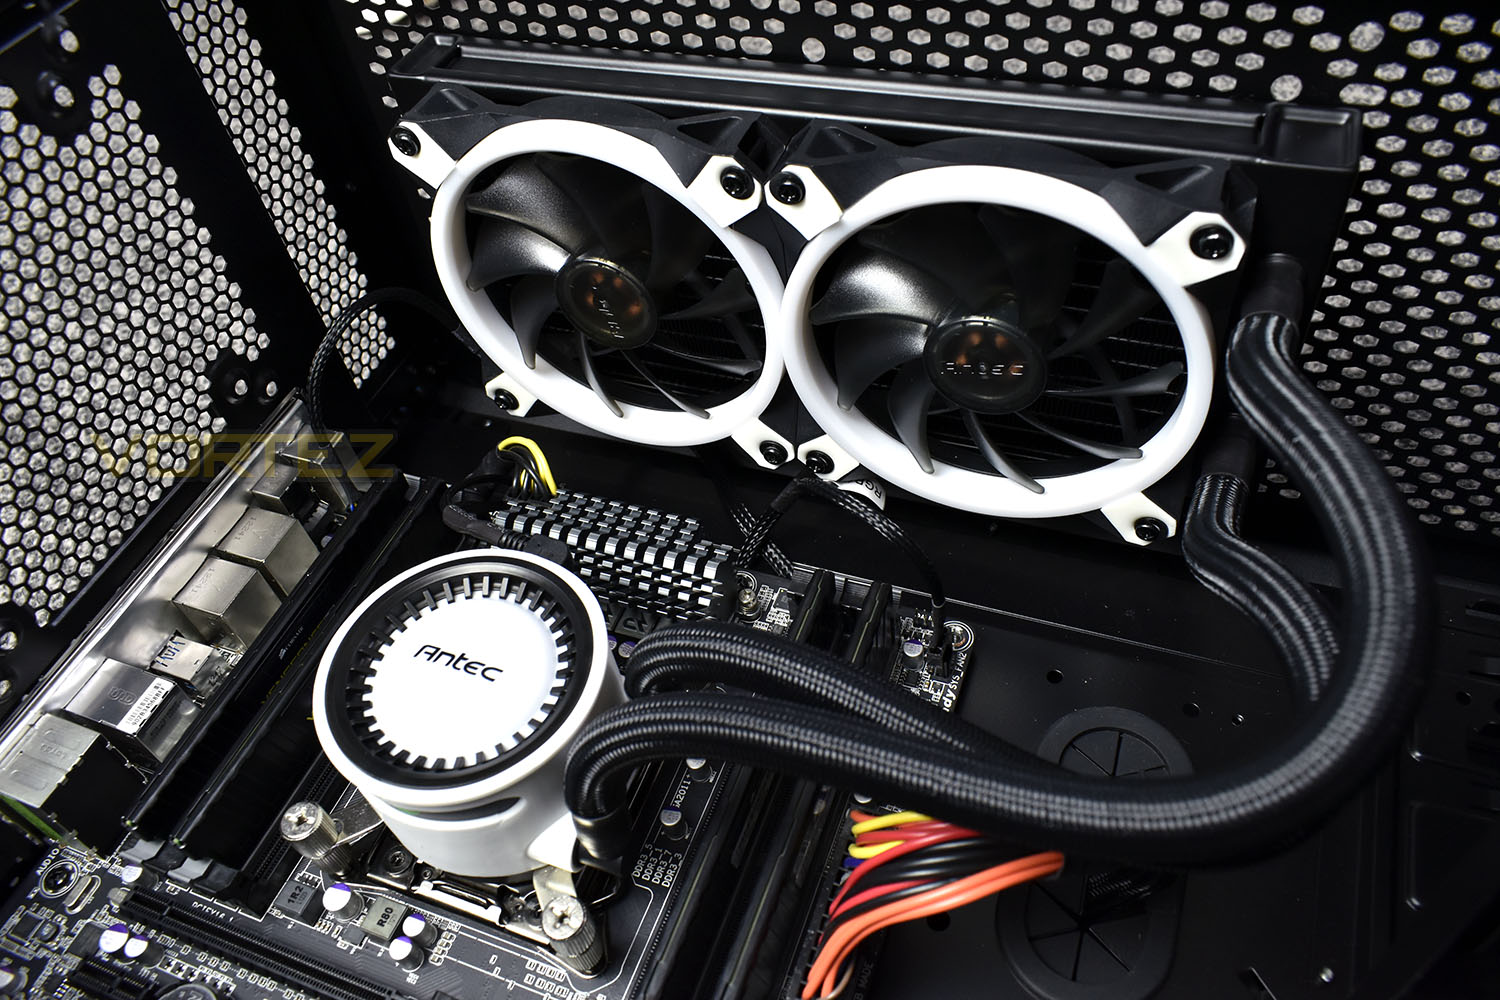
The finished article.
To install the pump and heatsink, we first have to attach the four standoffs to our Intel 2011 socket in each corner. There’s then a washer that’s to be set in place.
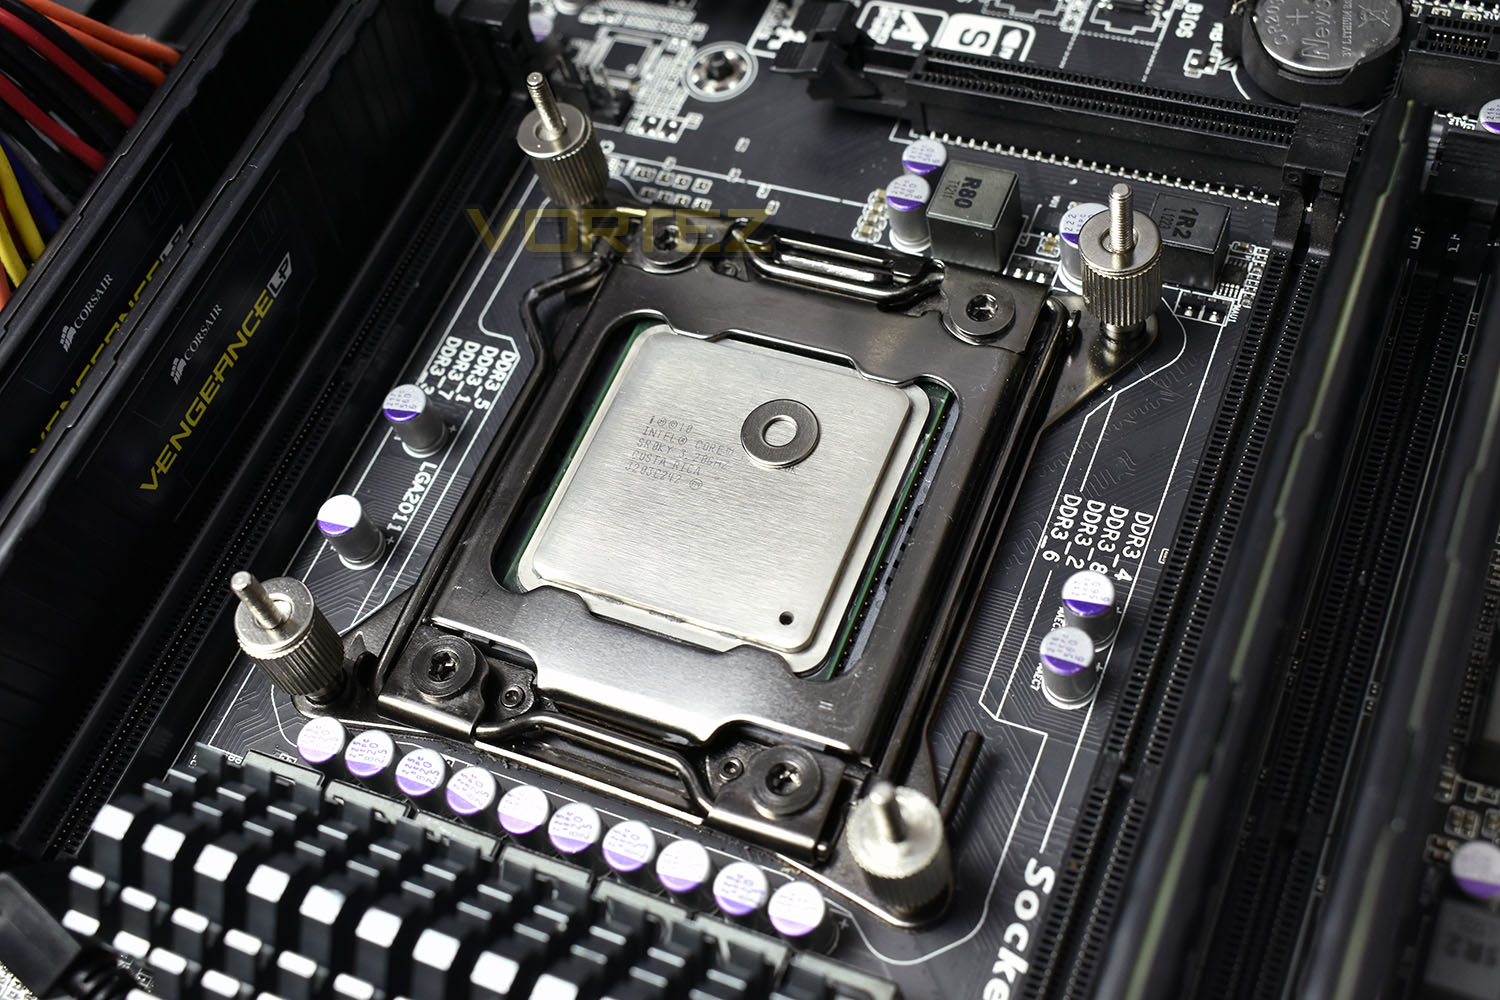
Because the pre-applied thermal paste on most heatsinks that we test is a single-use affair, we remove the paste and use a Noctua NT-H1 thermal paste; this provides a better overall test due to the repeatability of the procedure.
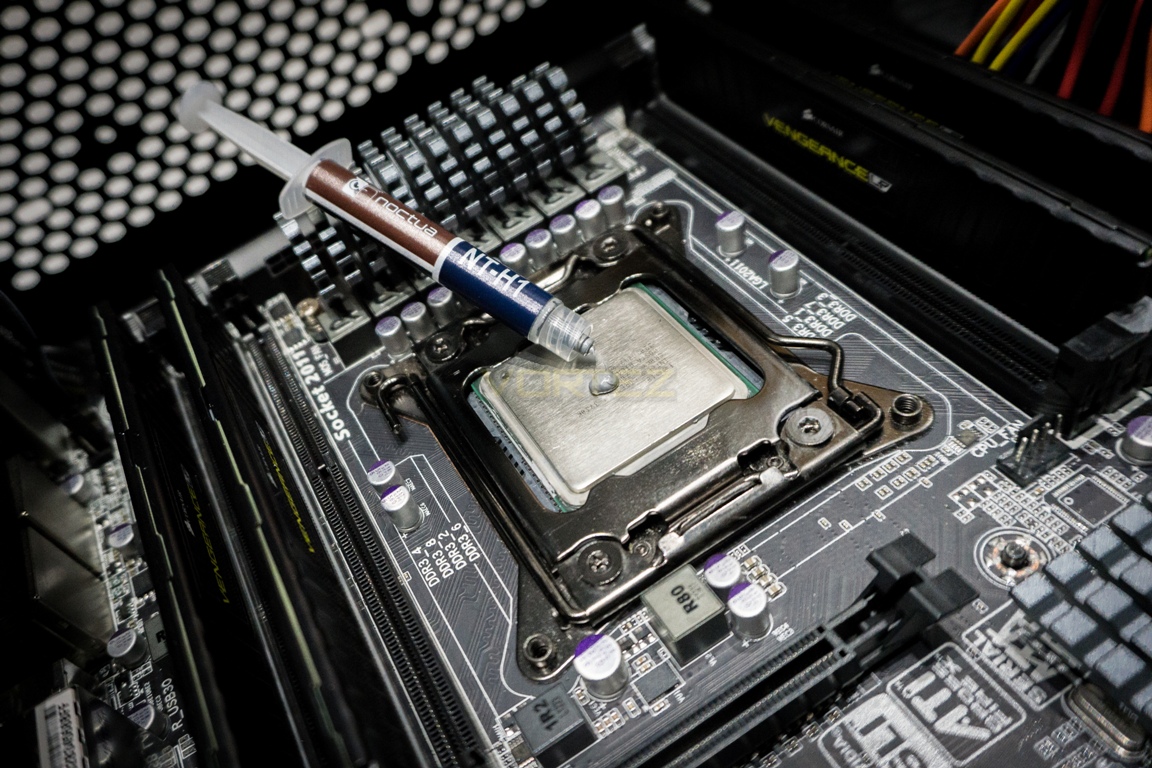
When installing the pump into place, we found the thumb screws were difficult to “nip up” using a screwdriver due to the shallow recess on top of each screw. Our Phillips and Pozidriv sets both failed to fit properly, as well as trying a typical flat head screwdriver. This may be done by design in an attempt to limit the torque that can be applied, however.
Another problem we found was the washers provided aren’t of the correct internal diameter to be used for their intended purpose. The whole point of a washer is to enable the clamping force of the screw or bolt to be spread out over a larger area, reducing the chance of any problems, however, with the provided washers, the internal diameter, or hole in the middle, is too large to sufficiently distribute the force from the provided screws. We had to position the washers very carefully for them to be clamped properly.
The final issue that we ran into, and there’s been plenty of them, considering the simplicity of such a product, was the totally over the top set up of wires. Because our test motherboard wasn’t designed with RGB-everything in mind, there’s unfortunately no RGB headers, therefore we need to use the in-line RGB remote. Because of this, we’re required to use two SATA connectors: one for the pump, one for the RGB lighting. The sheer volume of wiring that we had to organise behind the motherboard was, well, beyond a joke. We believe this is due to Antec retrofitting the RGB lighting to the Mercury 240 RGB, of course, doing it this way does help to keep costs down, but having two SATA connectors, which are often difficult to find a home for, could be a tricky exercise when attempting to ensure your build looks as clean as possible.
Overall, the installation process was a pain, though it does only need to be done once. Hopefully.
RGB Lighting
Test Setup & Methodology
We have recently made changes to our cooling department and the associated testing methodology, so please note that the number of results shown will increase over time as we add additional products. We hope that these results will appear clearer to the majority of our readership and look forward to building upon the baselines that we currently have.We perform two individual testing routines with each CPU cooler that we receive – temperatures and acoustics. The system used is as follows and all tests are performed at stock 3.8 GHz and overclocked 4.4 GHz frequencies.
Processor – Intel Core i7-3930K
Motherboard – Gigabyte X79-UP4
Memory – 8GB Corsair Vengeance LP 1600MHz CL9
Video Card – Sapphire Radeon HD 6850 1GB
Power Supply – NZXT Hale90 650W
Storage Drive – Kingston HyperX 240GB SATA III SSD
Case – Corsair Carbide 760T
Monitor ASUS ROG SWIFT PG278Q
Motherboard – Gigabyte X79-UP4
Memory – 8GB Corsair Vengeance LP 1600MHz CL9
Video Card – Sapphire Radeon HD 6850 1GB
Power Supply – NZXT Hale90 650W
Storage Drive – Kingston HyperX 240GB SATA III SSD
Case – Corsair Carbide 760T
Monitor ASUS ROG SWIFT PG278Q
To keep our tests consistent, we always review CPU coolers as they come out of the box – with their factory cooling fans, as the manufacturer intended and as the consumer expects. It should, however, be noted that we do not use supplied thermal paste but instead, Noctua NT-H1 paste to, again, ensure consistency. The paste is applied and the CPU allowed to run for a couple of hours, at idle, to give the thermal compound some time to “bed in.”
In the first test, we record idle and load temperatures as shown by the most current version of the Real Temp monitoring utility. The test system is booted to the Windows desktop and left to idle for 20 minutes to ensure temperatures have stabilised. The average core temperatures are then recorded over a 1 minute period and averaged across the six cores. We then perform a continuous 20 minute AIDA 64 stress test. The maximum absolute core temperatures are recorded immediately after the test has completed and averaged across the six cores. All results are displayed as delta temperatures – these are calculated by subtracting the ambient room temperature from the average core temperatures recorded. For temperature testing, the Corsair 760T chassis door is closed and has all three systems fans powered on to simulate real-world conditions.
Our second test follows a similar methodology to the first, with the key difference being that the Corsair 760T chassis door is now left open and all three systems fans are disabled. This allows for the CPU cooler fans acoustic profiles to be captured in isolation. From cold, the system is again booted to the Windows desktop and left to idle for 20 minutes to ensure temperatures have stabilised. The acoustic level is then recorded at a distance of 20cm from the CPU cooler and where the individual result is an average level over a 1 minute period. We then perform our continuous 20 minutes AIDA 64 stress test. Acoustic levels are again recorded at a distance of 20cm from the CPU cooler and where the individual result is an average level over a 1 minute period.
Benchmarks – Thermal Results
We have recently made changes to our cooling department and the associated testing methodology, so please note that the number of results shown below will increase over time as we add additional products. We hope that these results will appear clearer to the majority of our readership and look forward to building upon the baselines that you see below.We start off by letting the CPU cooler “bed in” for a couple of hours, to ensure the paste has time to move around and form an even layer, after which an idle result is taken.
The idle temperatures we around where we expected, with audible levels to match.
Without the overclock, the Antec cooler does a remarkable job, only sitting 36.8°C above the ambient – considering the power hungry nature of the 3930K, with a TDP of 135W, this is an impressive budget option, costing less than £80.
Even with the CPU pushed up to 4.4GHz across all 6 cores, we still only see the CPU hitting 65°C (44.9°C above the ambient of ~20.5°C), this is well within safe boundaries.
Benchmarks – Acoustic Results
We have recently made changes to our cooling department and the associated testing methodology, so please note that the number of results shown below will increase over time as we add additional products. We hope that these results will appear clearer to the majority of our readership and look forward to building upon the baselines that you see below.Using a Noctua NA-FC1 fan control unit, all fans were set to 1,000 RPM which is generally considered a good balance between air flow and perceived acoustic quality. Whilst some fans may run at slower speeds, this is considered to be our baseline reading. Please also note that in the case of certain models, the NF-A20 for example, their maximum speed is actually beneath this threshold meaning their results will appear only in the subsequent ‘Maximum RPM’ test results. The distance tested at is 20cm from the fan, in a room with an ambient noise level of 25dB, and where the individual acoustic results are an average level over the set testing period.
Despite the fans spinning considerably faster than the surrounding results, noise was never presented as a problem. We also feel that the rubber suit that the pump is wearing can be attributed to the quiet characteristics of the pump, it was much less audible than others, though we have no method of knowing the pump’s RPM.
At load, we see audibles approaching the higher end of the scale, though with a reasonably good chassis with some noise suppression, this shouldn’t present too much of an issue. There’s also plenty of room within the thermals to adjust fan speeds, allowing a warmer yet quieter system.
Conclusion
As we mentioned in our introduction, Antec aren’t particularly well known for their CPU coolers, so some leeway can be allowed for that, while they try to nudge their way into this incredibly competitive marketplace. Having said that, some leeway doesn’t go far enough to give this cooler a pass.Firstly, the installation; it almost felt as though Antec have never installed this cooler themselves. The provided washers are incorrectly sized, the thumb screws with cross-head are almost exclusively thumb screws, the plastic cracked on both sides when ensuring the bracket was tight, there was far too many cables to make routing simple and the choice to use the same 4-pin header for the fan motor and RGB connections is beyond stupid. Once it’s installed, it’s done, so there’s that going for it, but we see no reason why several of these aspects can’t be fixed or have been overlooked in the first place.
The RGB lighting isn’t good, frankly. The fans give off a decent glow, but are limited to only 256 colours instead of the typical 16,700,000 that we’re used to with RGB. The pump, which you’d expect to have quite an RGB presence, is illuminated by a single, puny RGB LED that’s barely bright enough to light up the Antec logo, never mind the entire lid.
Performance is a large redeeming factor of the Mercury 240 RGB – we saw some decent figures both in acoustics and thermals. The rubber jacket around the pump certainly helps to damp any high-pitched whine from the pump while the 120mm fans push a reasonable amount of air and remain reasonably quiet doing so.
The price is all that remains, and at £79 in the UK, it’s just about priced well enough that we can overlook the awkward installation and poor RGB lighting for the sheer performance of the device. If you want a cheap AIO, this will perform well.
Terrible RGB lighting and strange design choices regarding the installation procedure detract from the appeal, but the performance is up there with coolers costing £20-£30 more.
Pros
+ Good performance
+ Reasonably quiet
+ Price
Cons
– Awful installation procedure
– Massively underwhelming RGB lighting
– No mixed colour RGB mode, single colours only
– Same header for RGB and fan connections
– Incorrect washers supplied
– Difficult to install fans due to cable placement
– Pump cracked on both sides to install bracket
+ Good performance
+ Reasonably quiet
+ Price
Cons
– Awful installation procedure
– Massively underwhelming RGB lighting
– No mixed colour RGB mode, single colours only
– Same header for RGB and fan connections
– Incorrect washers supplied
– Difficult to install fans due to cable placement
– Pump cracked on both sides to install bracket
Click here for an explanation of our awards at Vortez.net.
Stay connected with the Vortez Social Media pages: